020 Rebuild Page 6
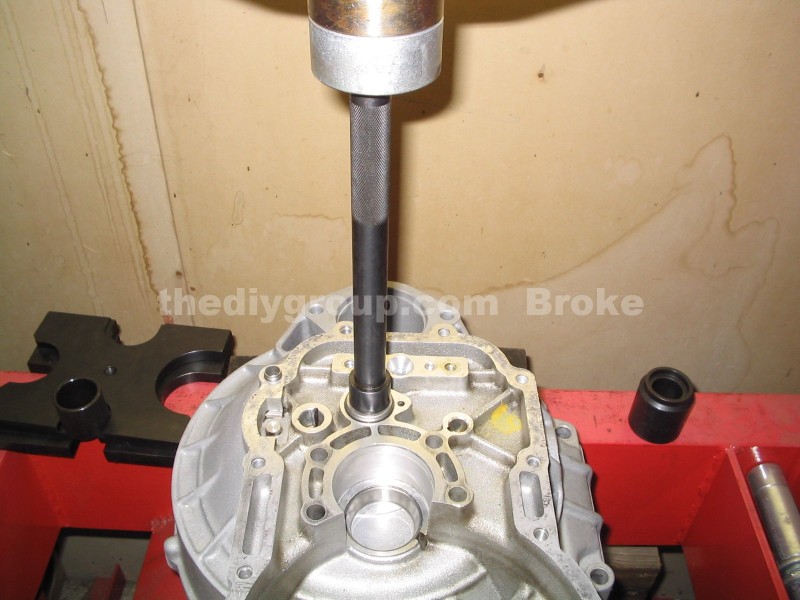
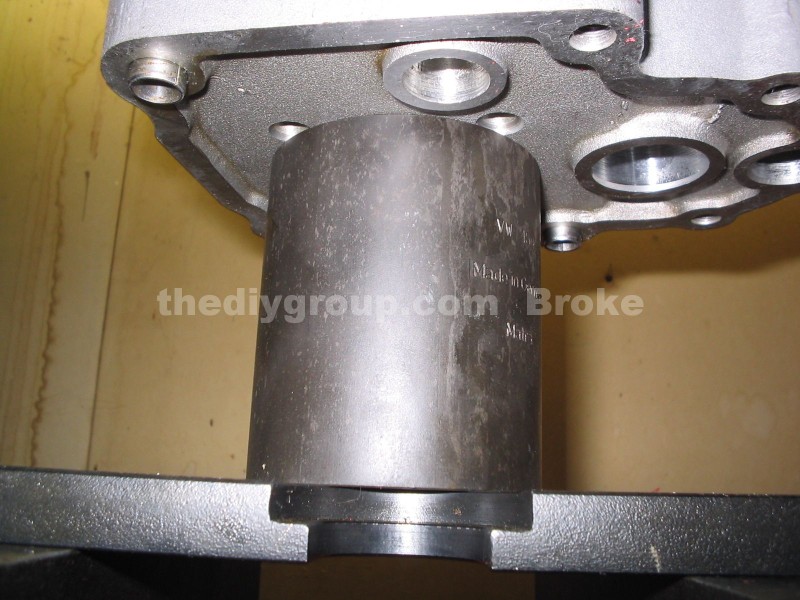
Press in the input shaft roller bearing into the gearbox after removing the output shaft. Press on the lettered side of the bearing...
Install the bearing until it stops....
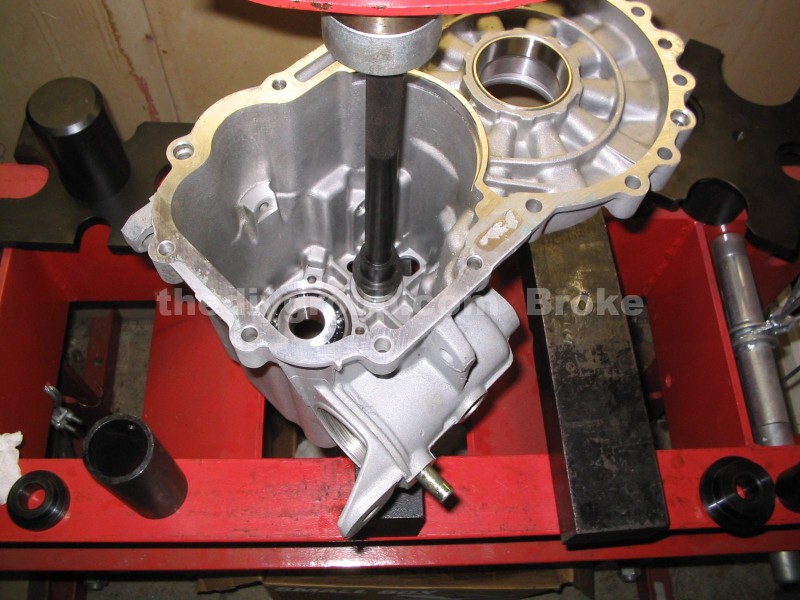
Now that the diff and output shaft preloads are done, you can install the diff into the bellhousing, install the output shaft and bolt it in place at 30 ft-lbs....
Press the input shaft large ball bearing into the gearbox case. If there was a shim under the bearing when you removed it, install it back in...
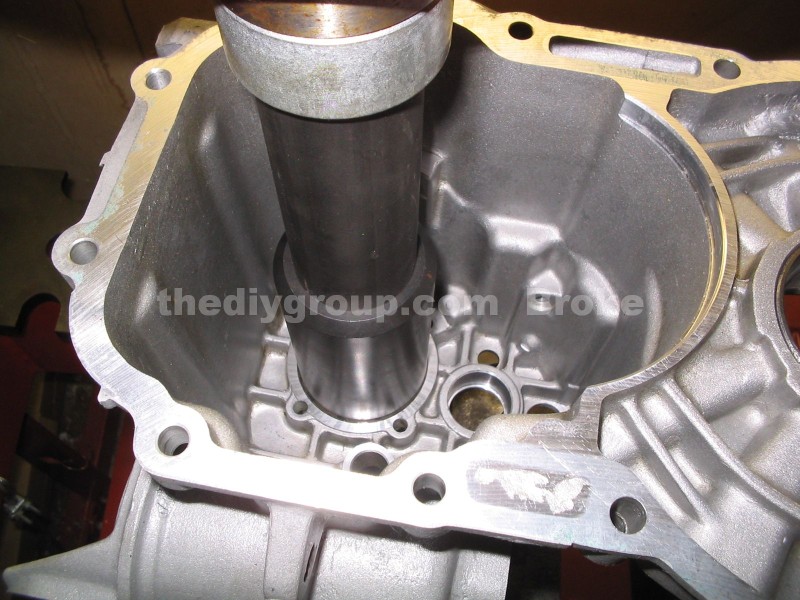
Support the underside of the trans case when pressing in the large bearing...
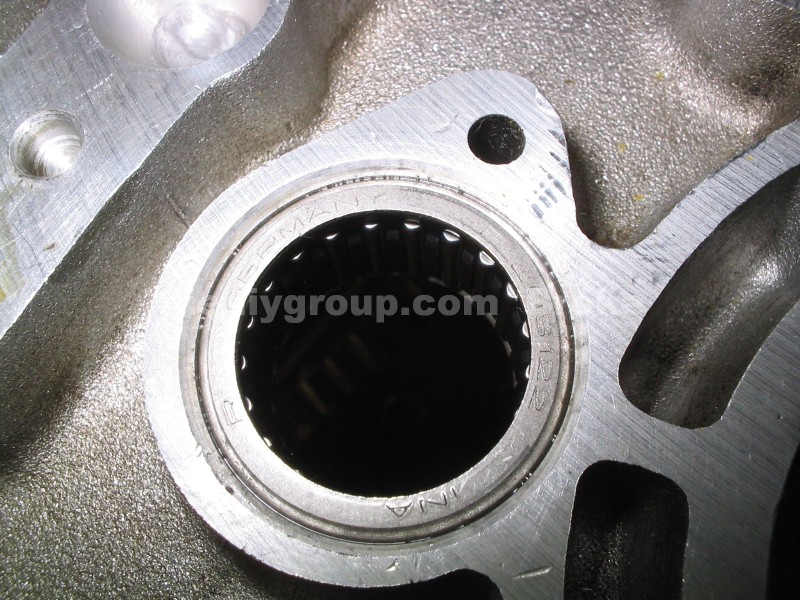
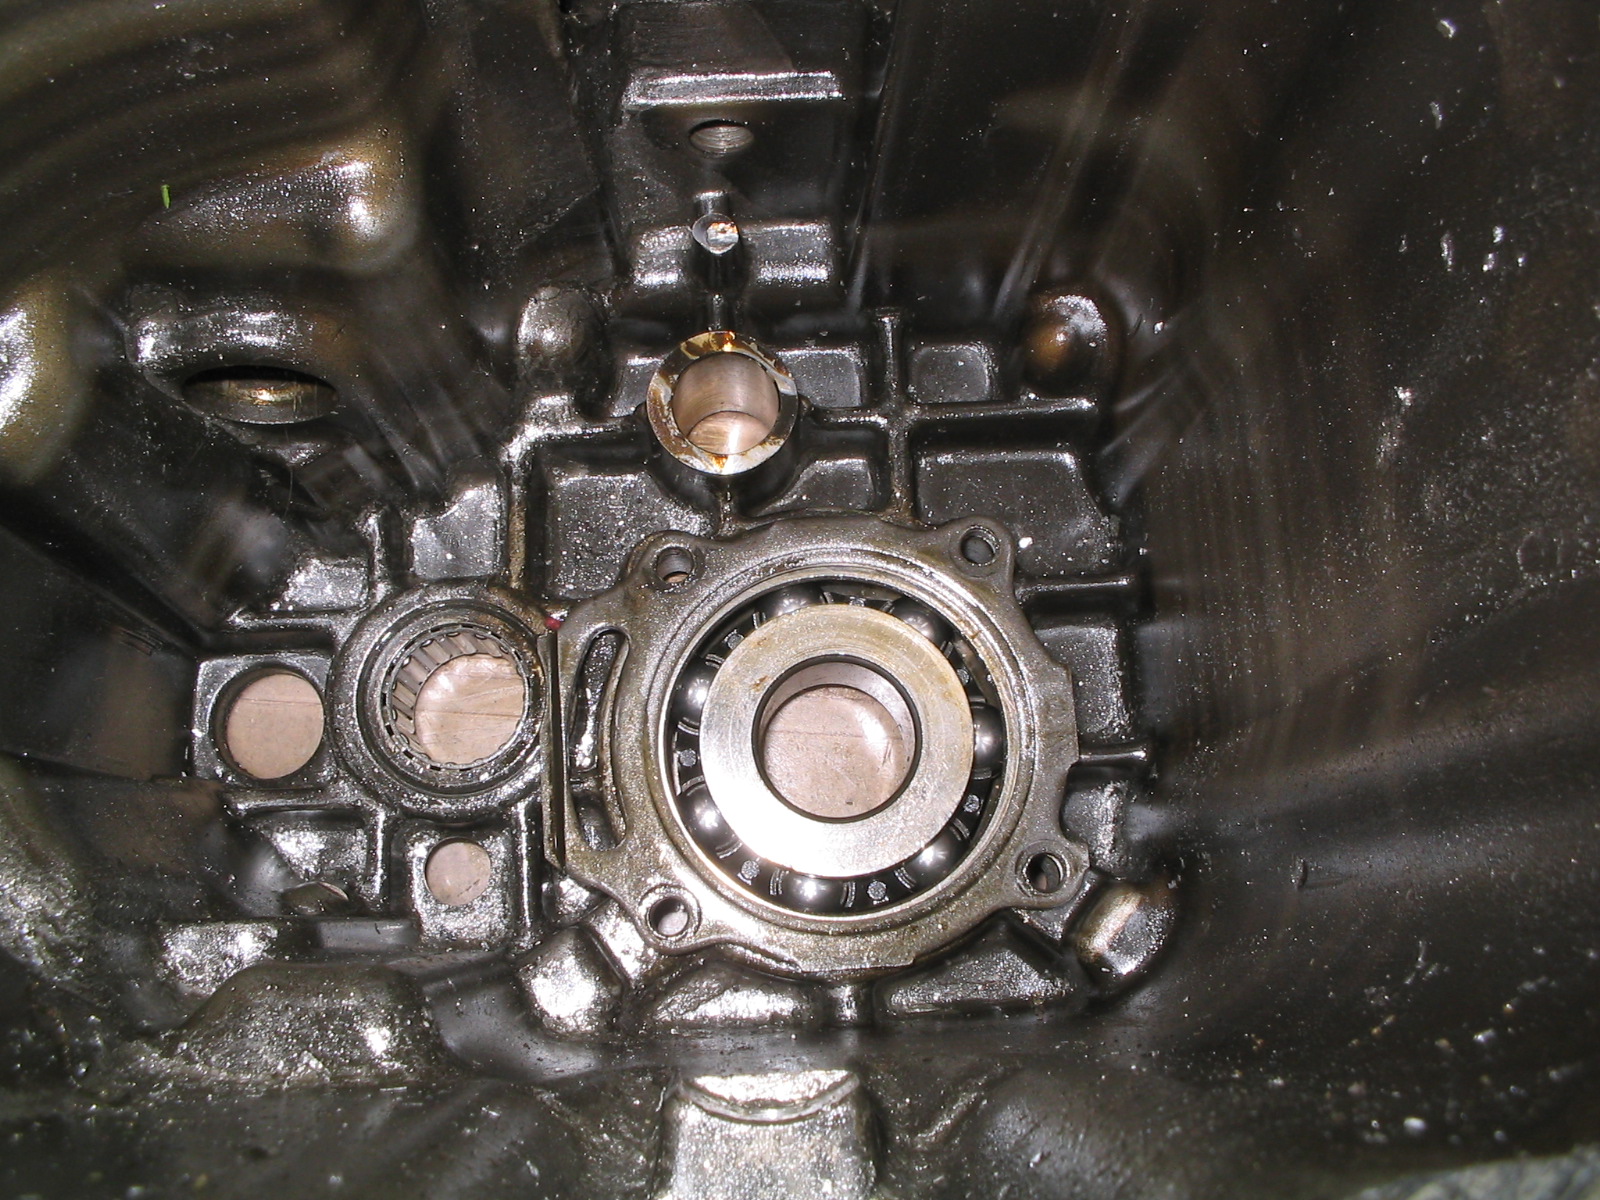
Install the output shaft roller bearing, again pressing on the lettered side...
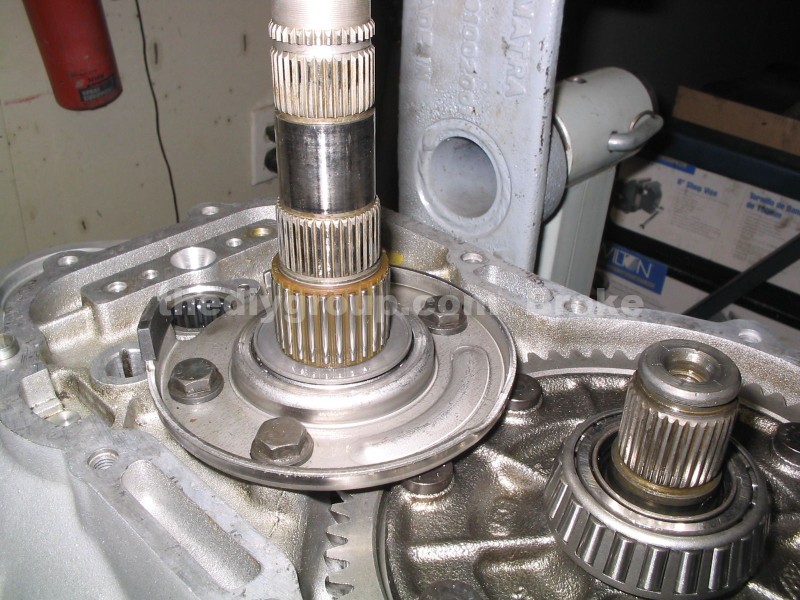
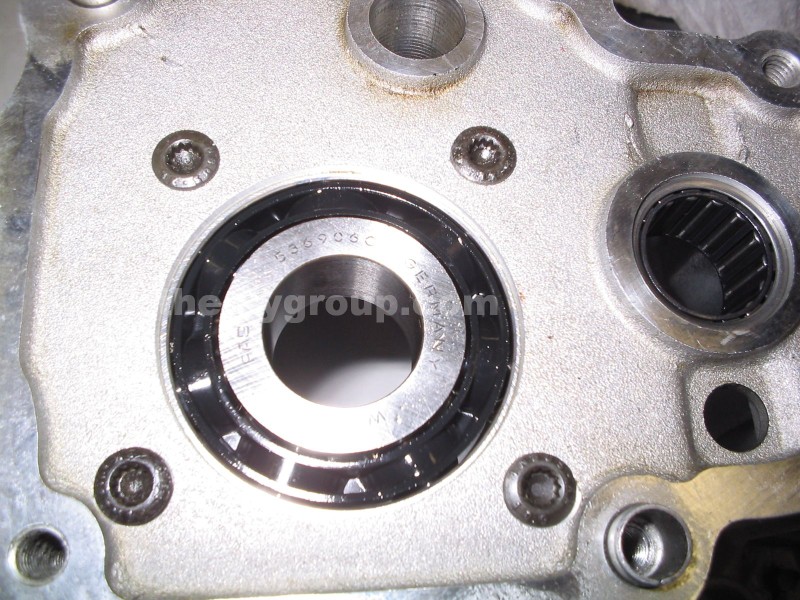
Install the input shaft ball bearing clamping plate as shown here (this is another pic lost that I had to go re-take with a dirty trans)...
Loosely install the 6mm XZN bearing clamping plate bolts....
This is the 1st gear thrust washer, make note of the shape of it, and the flared shoulder...
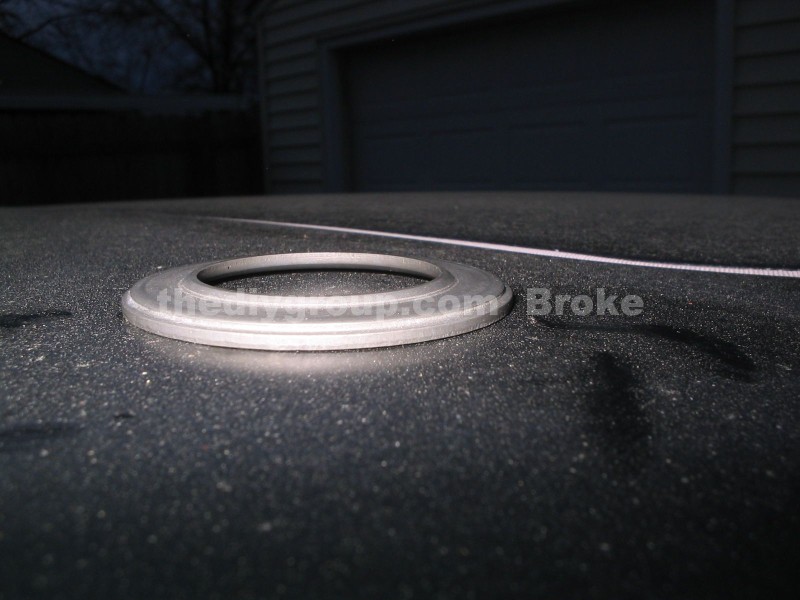
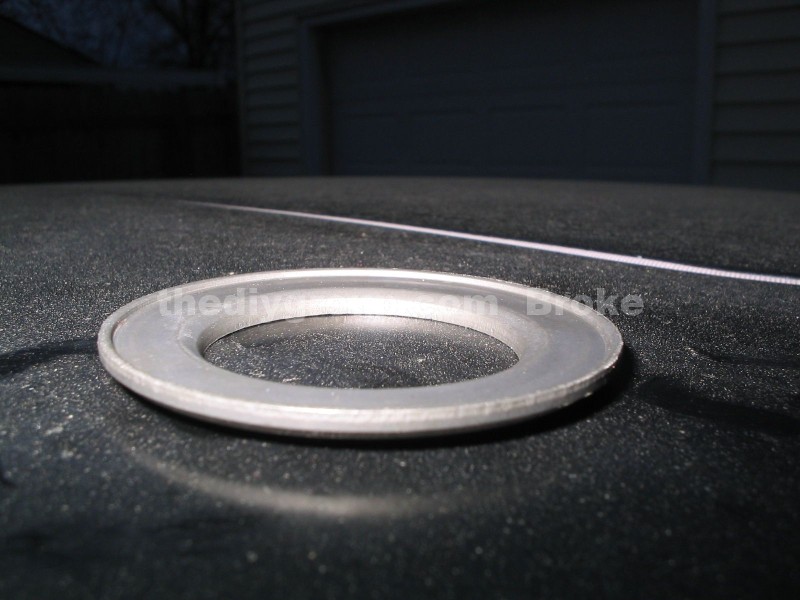
Install the 1st gear thrust washer as shown onto the output shaft...
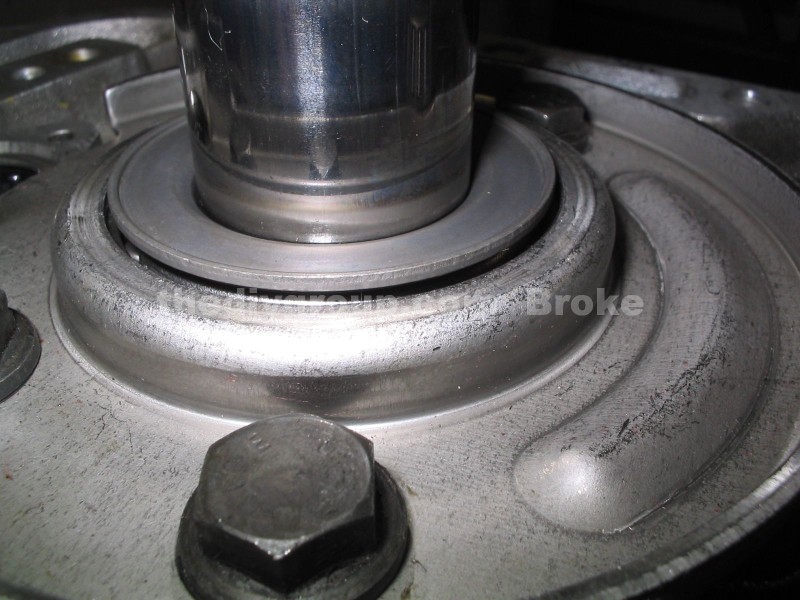
This pic shows the groove on the top of the 1st/2nd hub edge for identification. The groove faces 1st gear. The hub itself is quickly identified from 3rd/4th hub by the missing teeth for the sliding collar. Install the springs and keys and collar as shown previously for the other gears...

The completed 1st/2nd gear synchronizer hub...
