Pushrod Seal
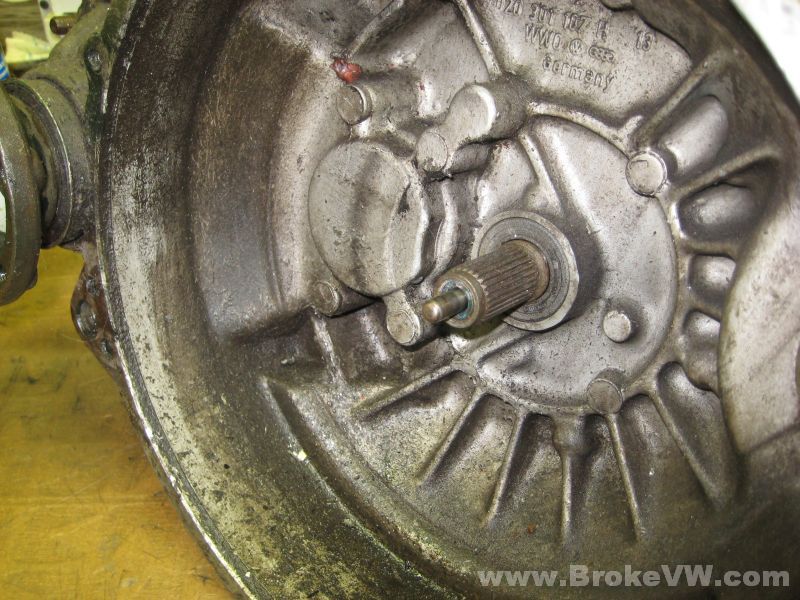
This page will show you how to remove the pushrod seal and bushing. The old page used pics of a bare input shaft, and was rubbish, resulting in more questions than answers:)
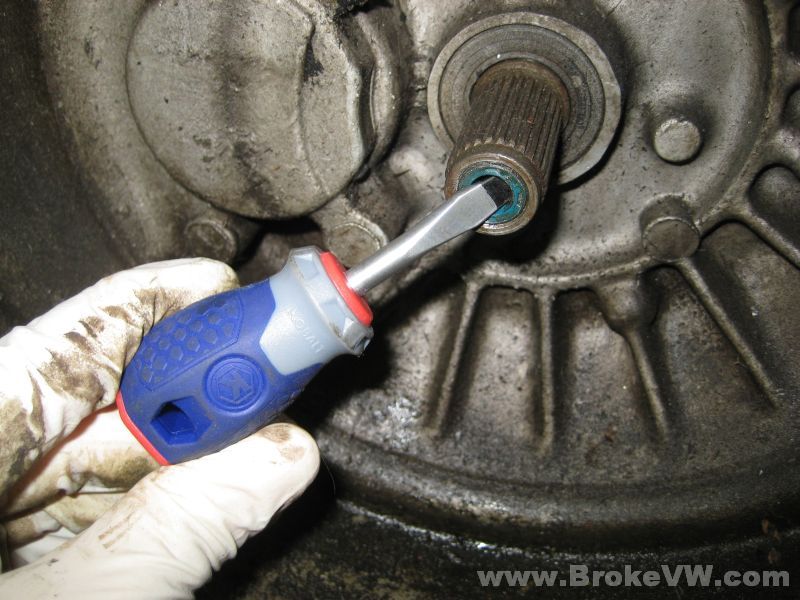
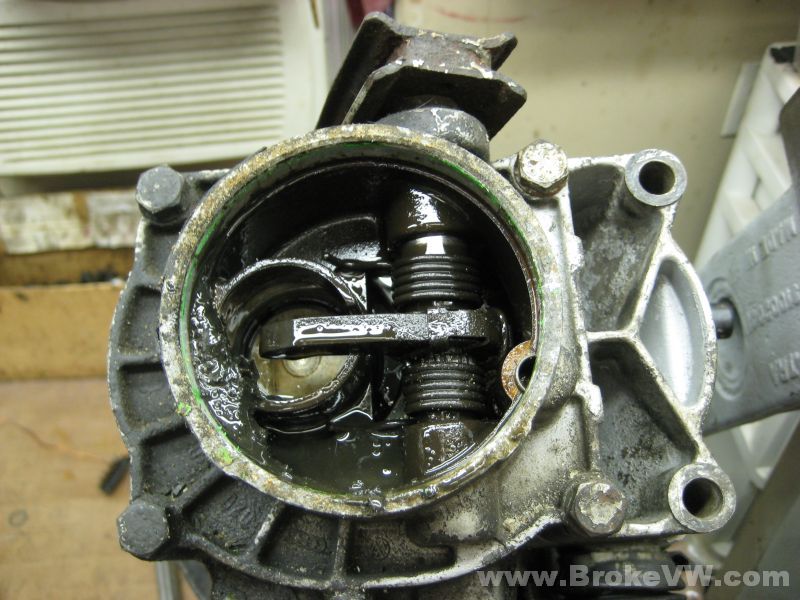
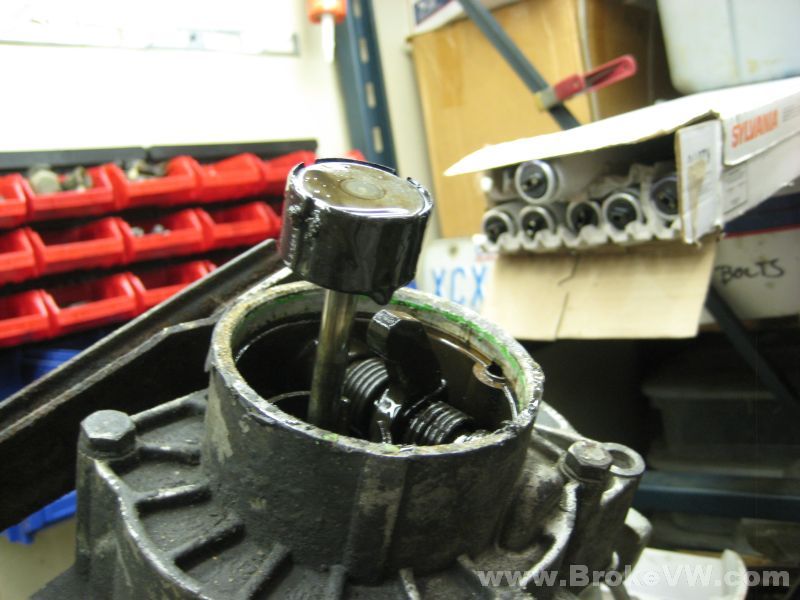
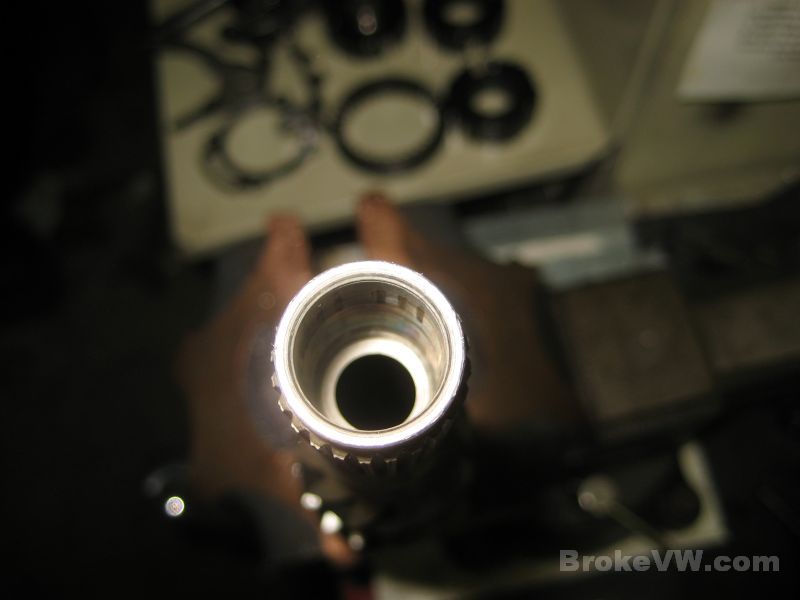
You'll quickly find that a normal screwdriver is too long to allow you to pry on the seal. Grab one of those stubby ones and lever the pushrod seal out...
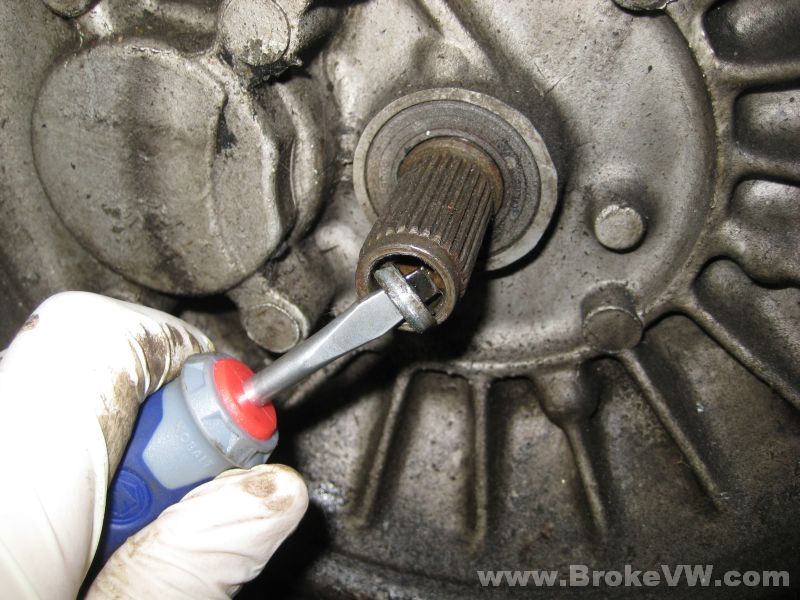
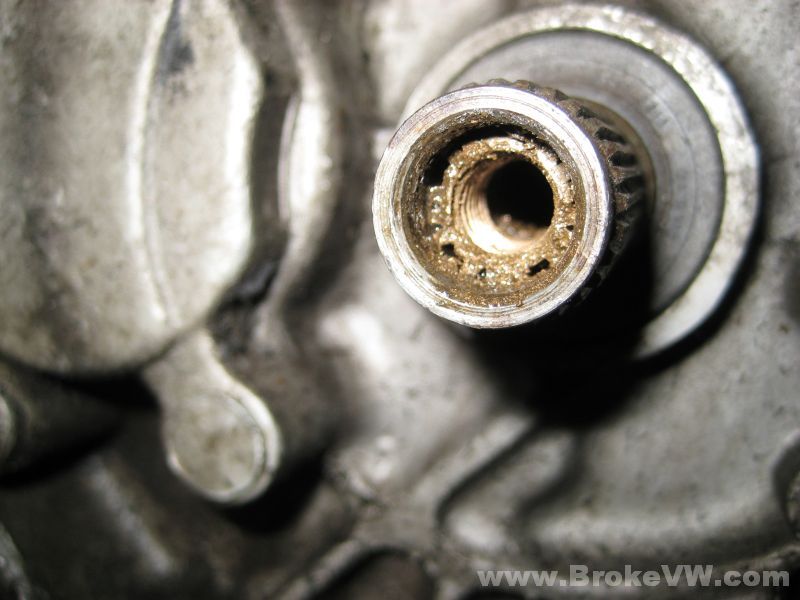
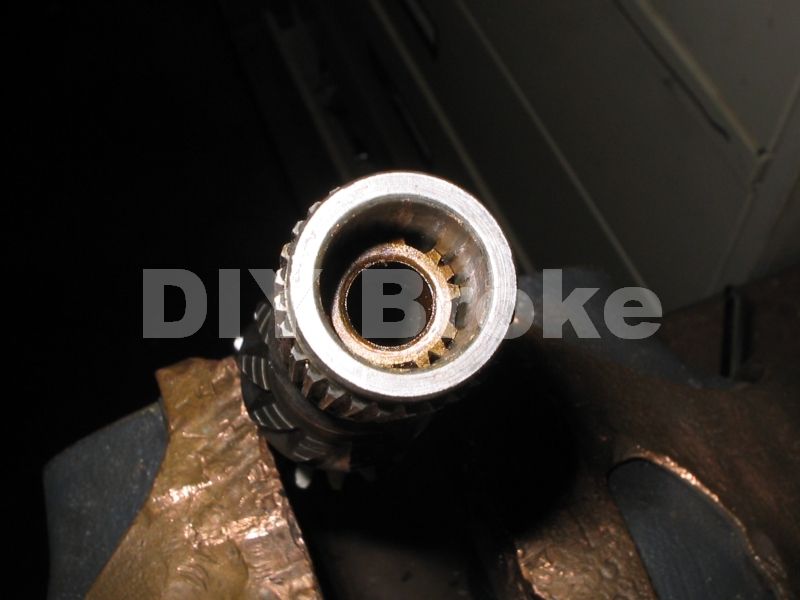
This will expose the pushrod bushing, a bronze bushing that supports the end of the pushrod so the seal can do its job. With a worn bushing, the pushrod has slop, and the seal leaks...
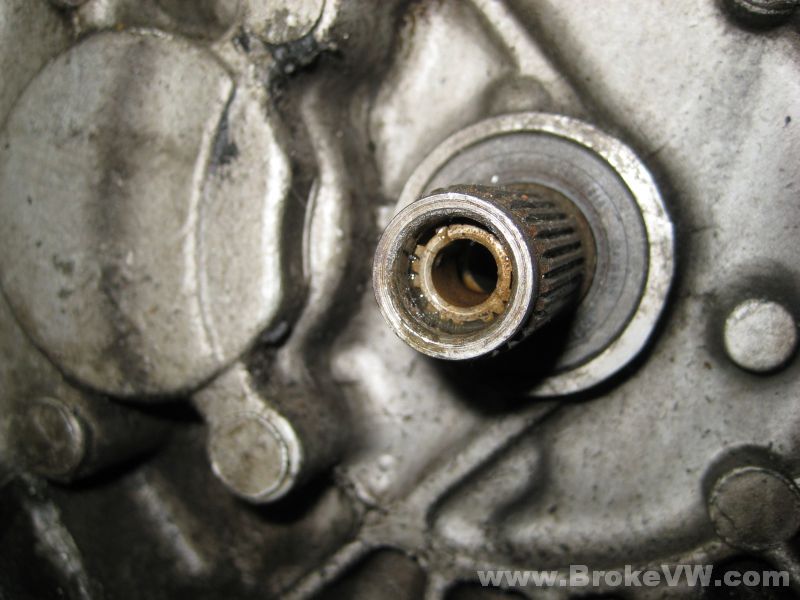
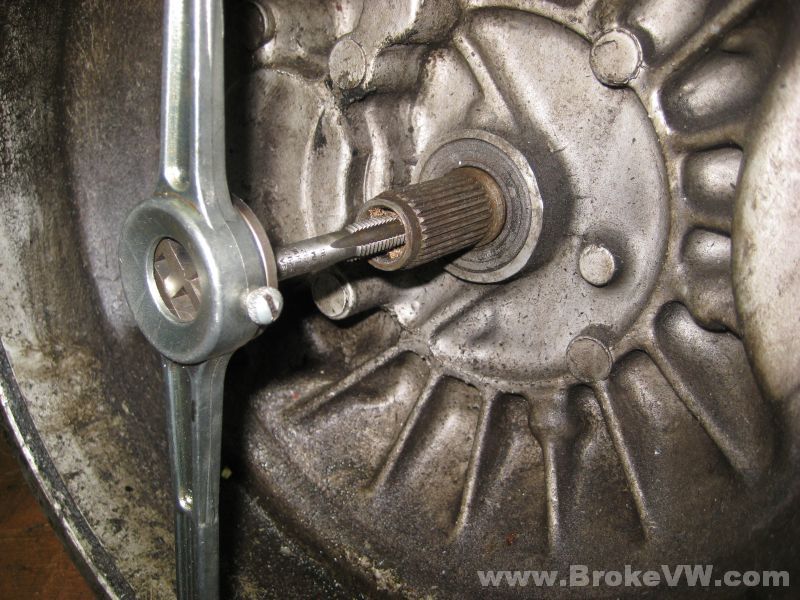
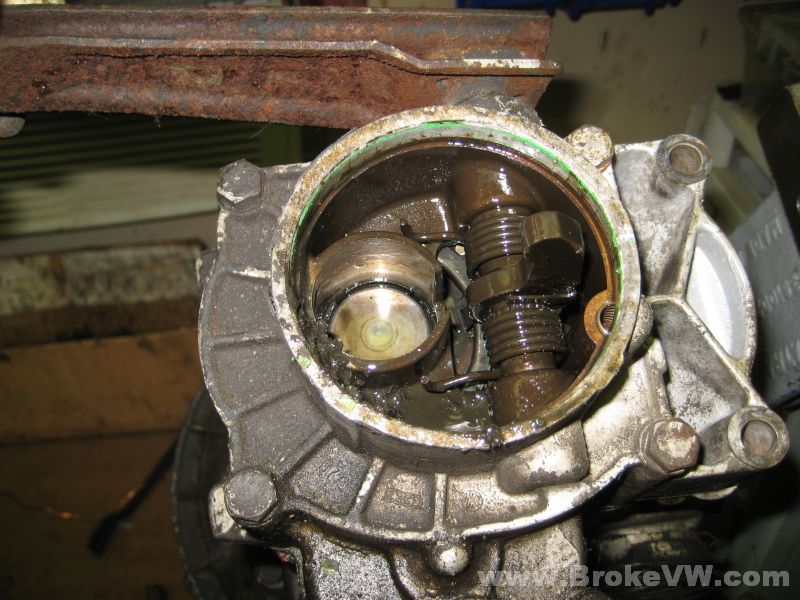
Grab a M10x15.0 tap and cut threads into the soft bronze bushing. It might want to just dig and not bite at first, but it is soft enough it'll start cutting if you keep at it. Don't worry about it getting a little crooked, they don't have to be straight threads....
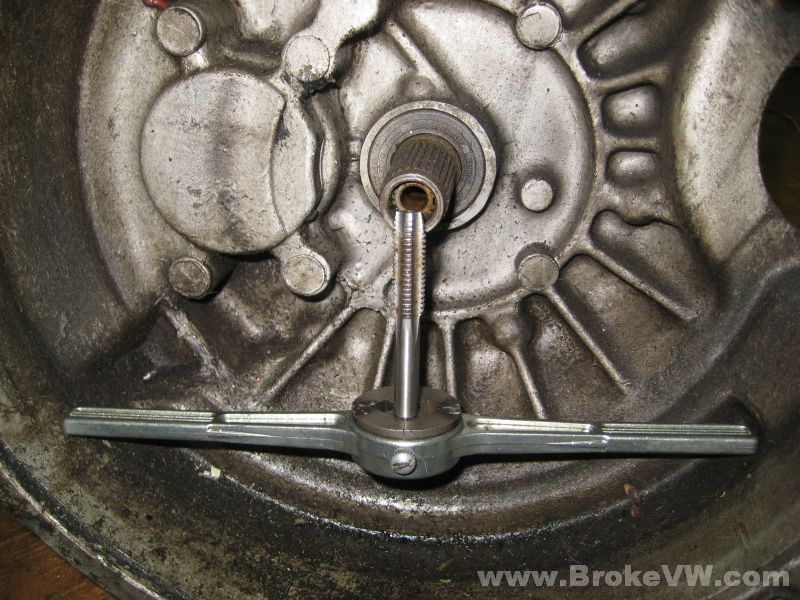
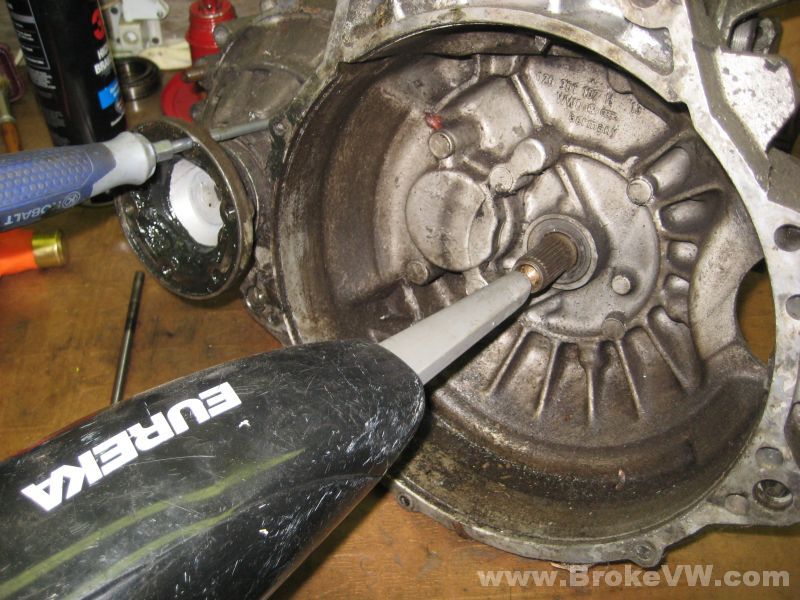
You can vac out the shavings you can get to, then clean the rest up after the bushing is removed...
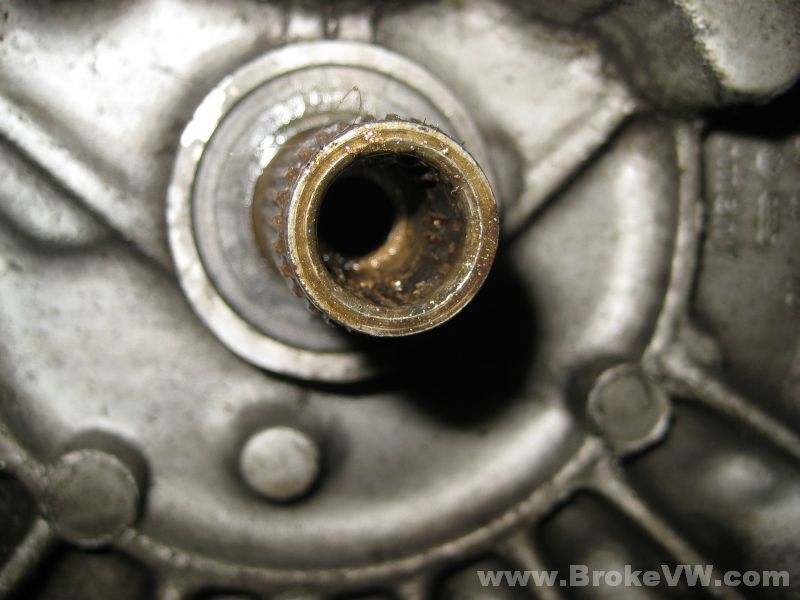
The bushing with the threads cut into it...
If you have a slide hammer, grab it. The VW slide hammer shown below has M10x1.50 threads standard on the end for the various attachments, so if you have one of those, just use the bare shaft into the bushing to pop it out...

If you don't have a slide hammer, you can thread in a M10x1.50 bolt into the bushing, then grab the bolt and pull on it. You can "make" a slide hammer as well if you have some cable or light chain. Attach the cable or light chain to the M10 bolt you thread into the bushing. The chain or cable needs to be a foot long or so, in order to give it slack.
Attach or wrap the other end of the cable or chain to a heavy hammer or some other substantial weight. Yank the hammer straight away from the bushing while there is a bit of slack in the cable or chain, and it'll act as a slide hammer for you.
If you don't have anything to make a slide hammer out of, or you can't pry the bolt out any other way, then you'll need to knock the bushing out of the shaft from the other side, via the 5th gear end.
Pop the green end cap off. You'll need a new one, they are one time use parts...
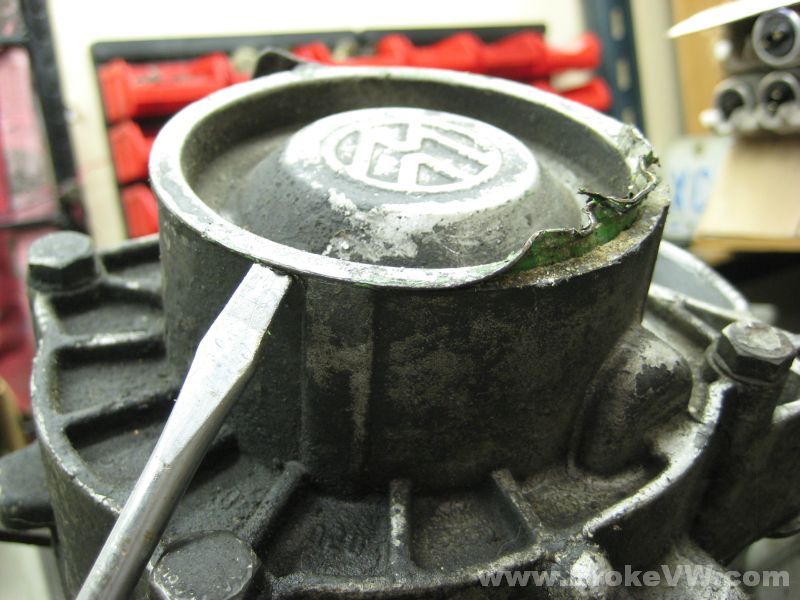
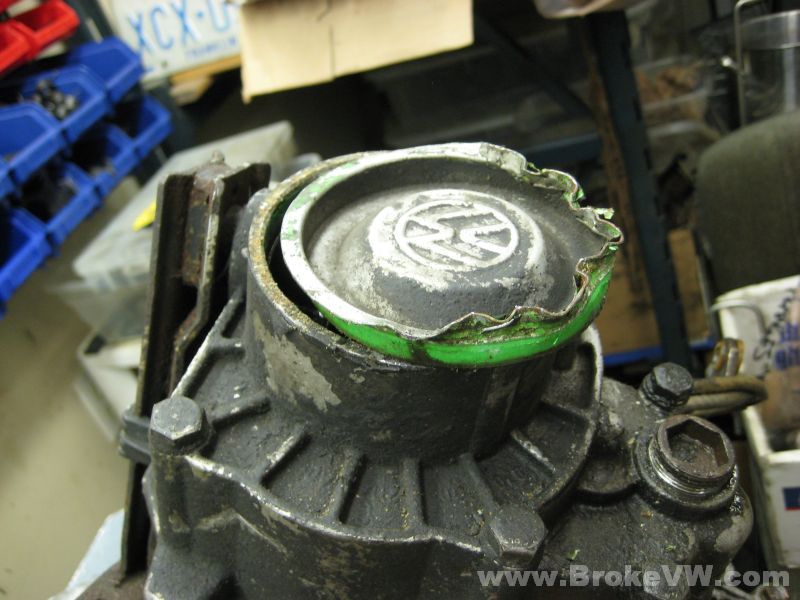
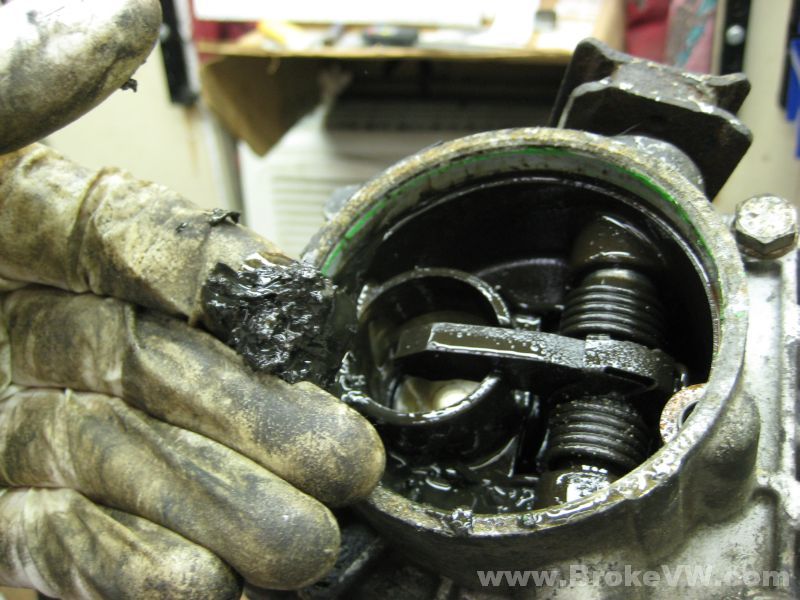
This trans has gunk inside... anything that fails in the trans ends up collecting at the 5th housing behind the green end cap...
Pop this black plastic stopper from the release arm, so the arm can swing further down than normal...
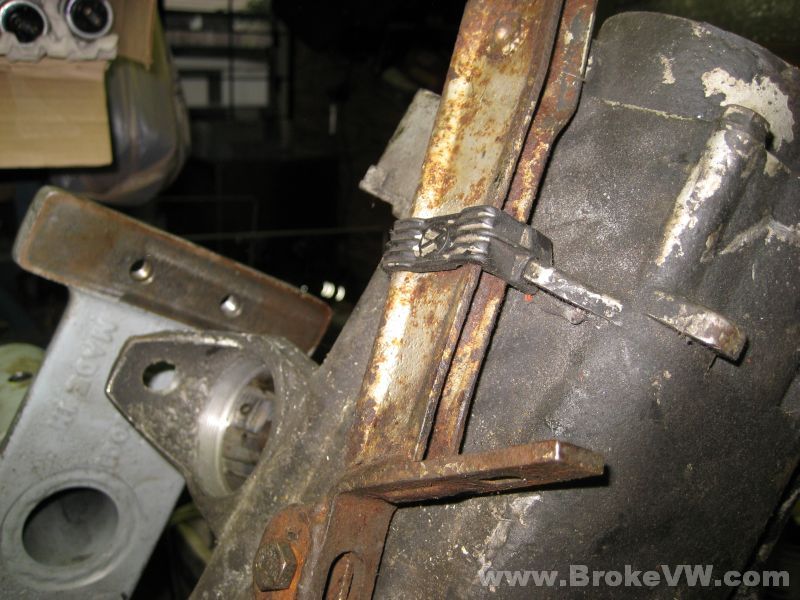
The actuation finger will swing out of the way, allowing you to remove the TO bearing...
Run the pushrod back up the input shaft, poke it through with a screwdriver or something, and pop the TO bearing out of the way...
Now, thread your 10x1.50 bolt into the tapped bushing...
Grab your pushrod, ideally an old one, but in reality, it shouldn't hurt the pushrod. Slide the push rod down into the hole in the middle of the 5th bolt after the TO bearing is removed.
It'll drop straight down into the hollow input shaft and hit the bolt at the end. You can then tap the bushing out. You can also lift the pushrod up, and flick it back down into the input shaft a few times, letting it hit that bolt, and it'll pop it out in a slide-hammer fashion.
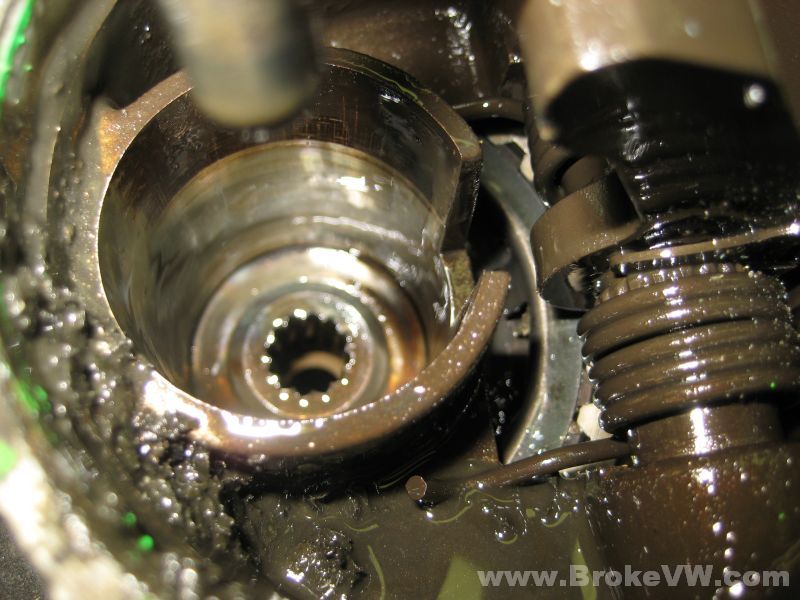
The bushing still threaded to the bolt and the pushrod will fall right through the input shaft when the bushing finally is pressed out...

Q-tips and rags and clean the inside of the input shaft up. You can see a step for the bushing. Drive it in until it stops. I like to use an old pushrod to keep inside the bushing as I tap it in place with a deep socket... this prevents the soft bushing from deforming when pressed in. If you press your bushing in and the pushrod binds up, don't worry. It won't stop the pushrod from sliding, and it will quickly wear in and loosen up. Do NOT attempt to bore the bushing out to allow the pushrod to slide smoothly, just leave it alone ;)
If you don't have a M10x1.50 tap to cut threads into it...
If you can't tap it, you have to knock it out. To knock it out, you obviously have to come in from behind and hit it. This requires the use of a 10mm or 3/8" rod to fit down the input shaft from the TO bearing end. This will slide down the input shaft from the 5th gear end and should catch the bushing without fitting through, and should drive it out.
I found a long piece of threaded rod that was M10x1.50 that worked for knocking the bushing out.
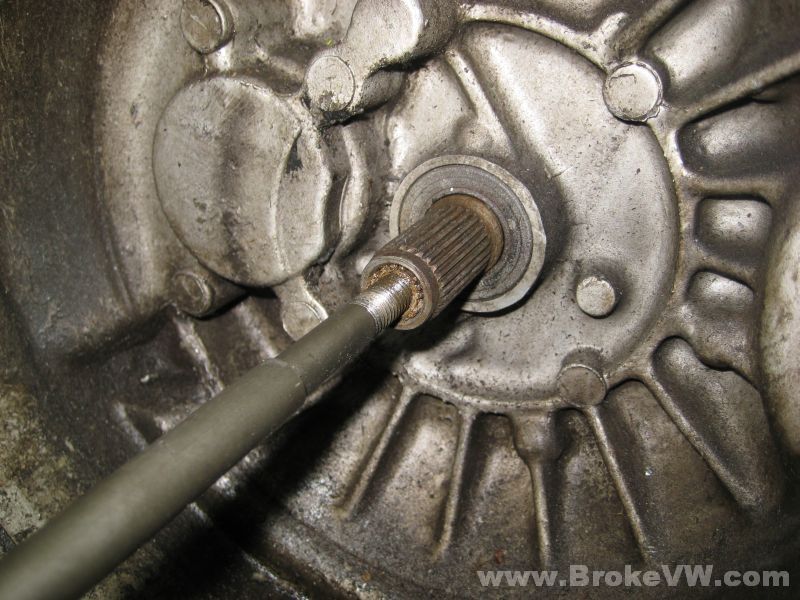
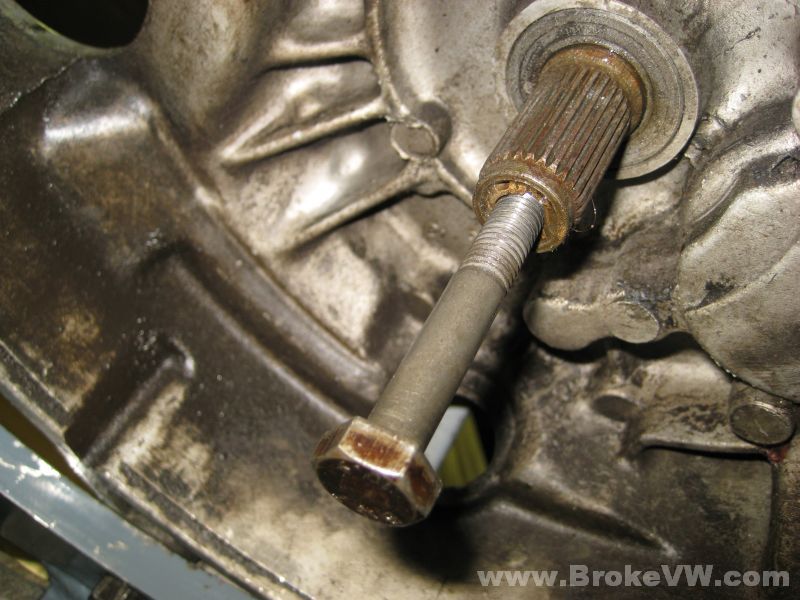
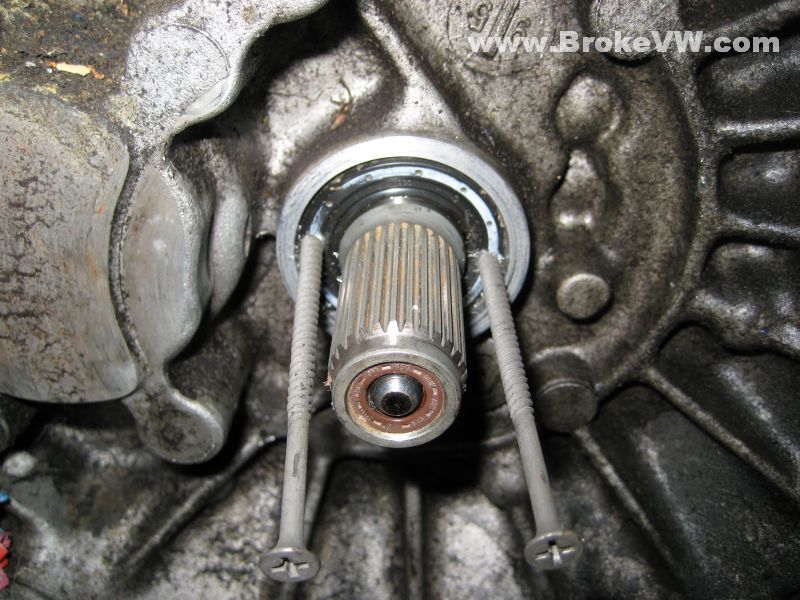
To install the bushing, just drive it in until it stops. This is a bare shaft with a new bushing installed...
The seal is inserted just under flush with the end of the shaft. VW specs call for it to sit 0.8mm-1.3mm under the edge of the shaft. There is sometimes a white plastic cap that comes with the new seal, and it is the installation tool.
It is 0.8-1.3mm thick, so it allows you to drive the seal and cap in flush, pop the cap out, and the seal will be in the right spot. These pics show the seal and tool on a bare shaft...

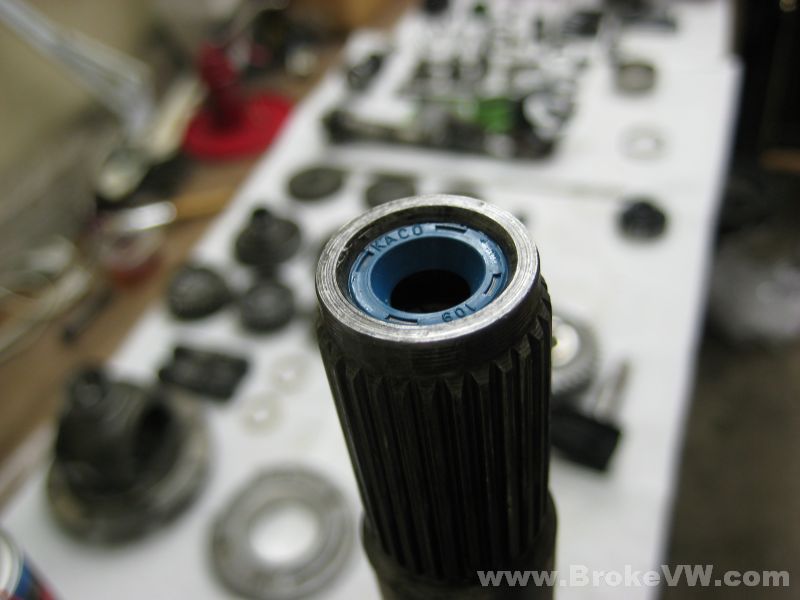
Be sure to lube the new seal with trans fluid before installing it to allow it to slide in easily.
Input Shaft Seal
Here are some pics showing one way to remove the input shaft seal... it isn't the proper way, and I take no responsibility if something goes wrong, but in a pinch this can work.
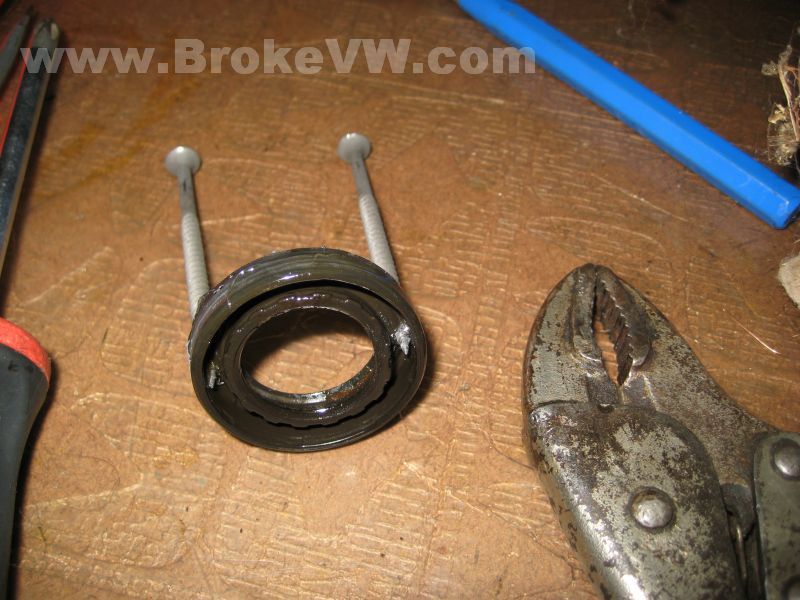
Drill 2 small pilot holes into the seal body with a drill. The seal is metal covered in rubber, so it will be easier than trying to force screws into the seal without the pilot holes. Try to drill only into the seal and not into the casing by going slowly and not using too much pressure near the end so it doesn't pop through.
Find a couple screws to force into the pilot holes. Coarse deep threads like on a drywall screw work well and provide good bite.
Grab the screws with a pair pf vise-grips and give it a tug, work back and forth evenly pulling the seal out.
If possible, have the input shaft tilted down so that gravity helps keep any shavings from drilling the seal from getting into the bearing behind it.... thinking about it while I type, I wonder if a sharp nail or punch could be used to make the pilot holes instead of drilling, so no shavings from drilling are produced. That might be better, actually... I'll have to try that sometime. If you're wondering why I wouldn't know this already or have a good method, it's because I never pull the seal with the shaft in place... I strip the trans and simply knock the seal out of the way when the case is apart, which is MUCH easier than when the shaft is in the way...(assuming you wanted to take the trans apart, that is!).
This pic shows the screws inserted into a 16V seal, which is the thin one. 8V seals will have even more room for the screws. That pushrod is flattened out on the end and should be replaced, BTW:)
You can see how much room there is behind the seal itself in this pic, so you have a little buffer when drilling through it to stop before hitting the casing...
Here is what it looks like behind the seal, so you know what is behind the seal as you drill... the parts you want to avoid would be the shaft and then the roller bearing. You can't really see the roller bearing in this pic but it is in there. ..
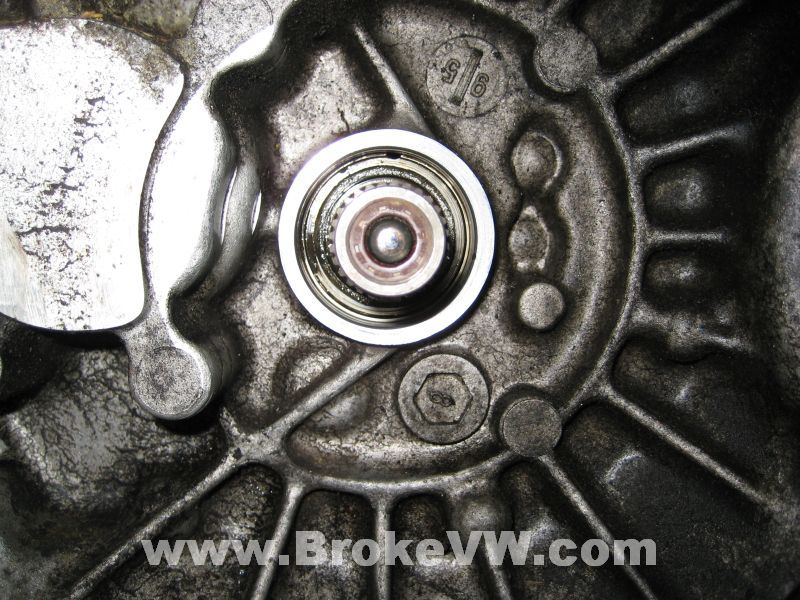
This pic shows the bearing without the shaft in place... unless you just don't stop after going through the seal, there is no real risk to hitting the bearing...