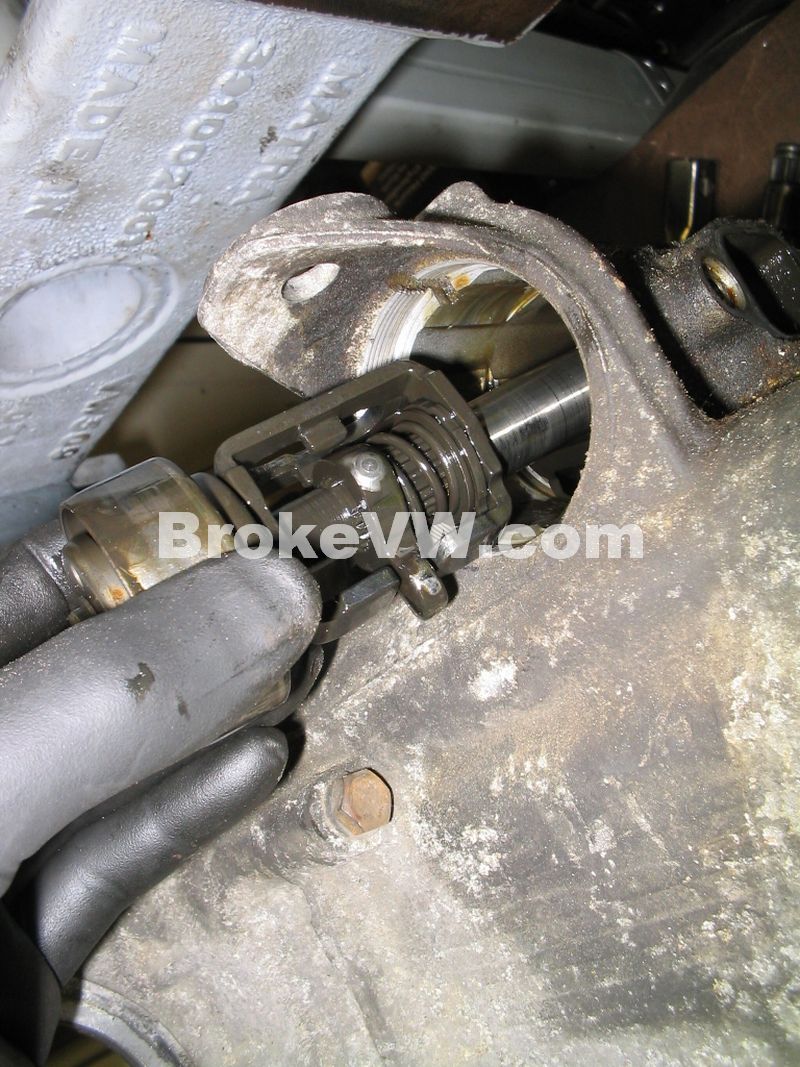
Remove the 13mm nut holding the shift linkage lever to the selector shaft.
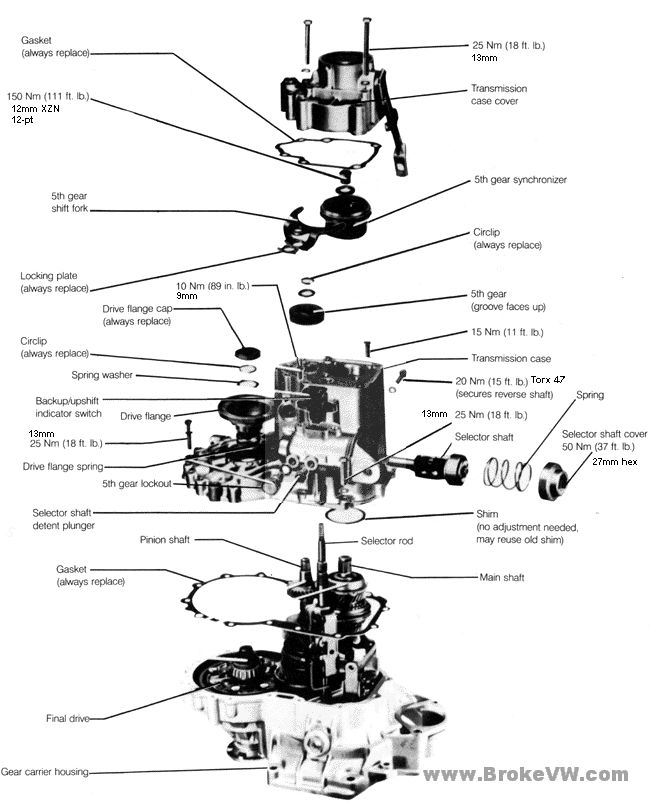
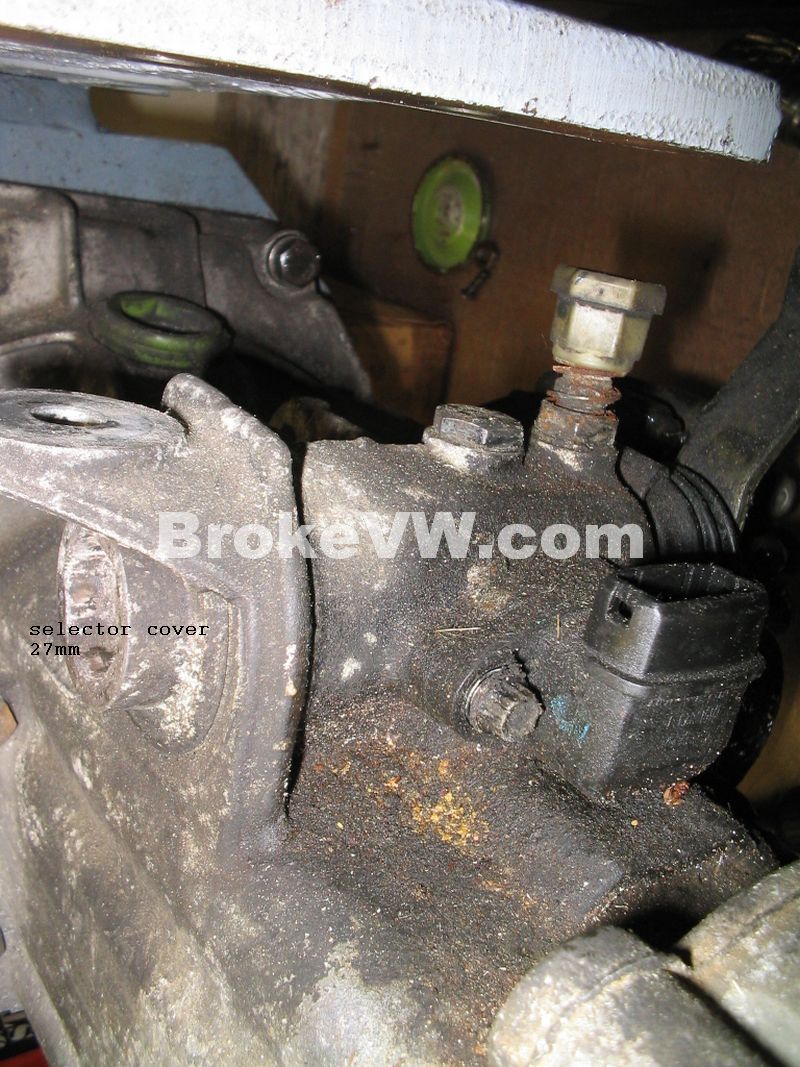
Remove the 27mm selector cover. I found a plumbing socket that fits the 27mm hex to remove that cover and the timing hole plug, which is also 27mm. You can also use a smaller hex and shim it to fit as shown on this page.
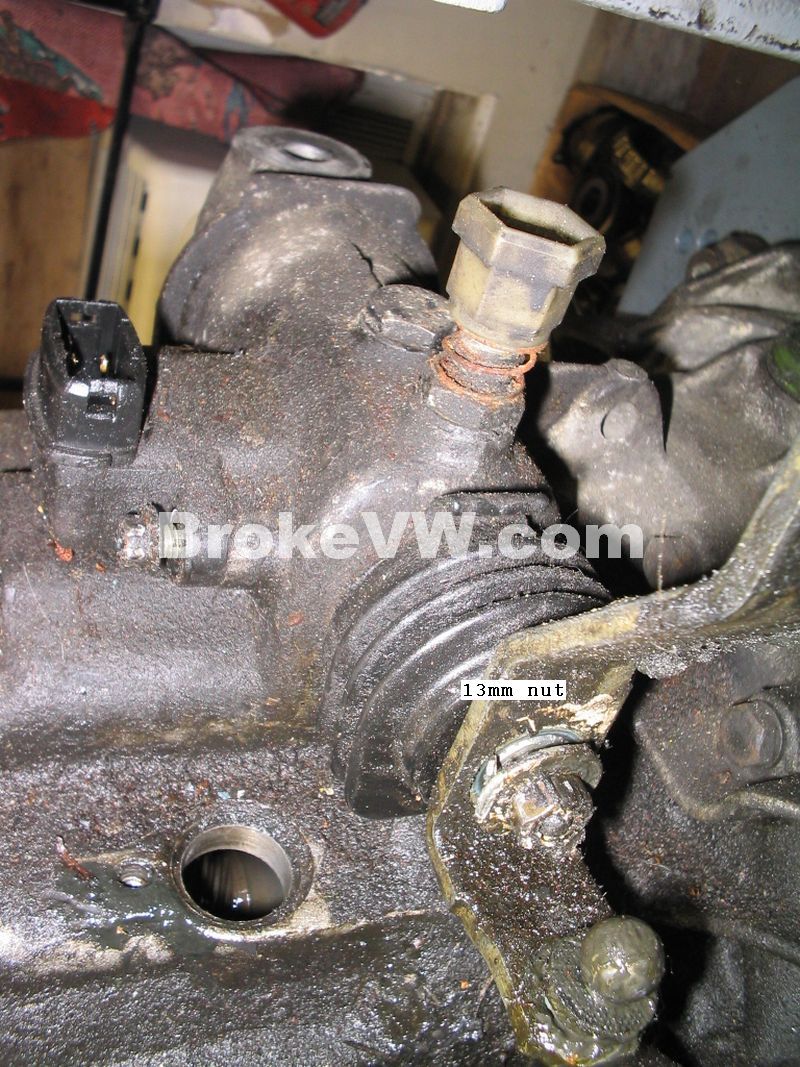
When removing the 13mm nut, hold the bracket in neutral and keep it from turning and selecting a gear.
When removing the selector cover, there is a spring behind it to be aware of...
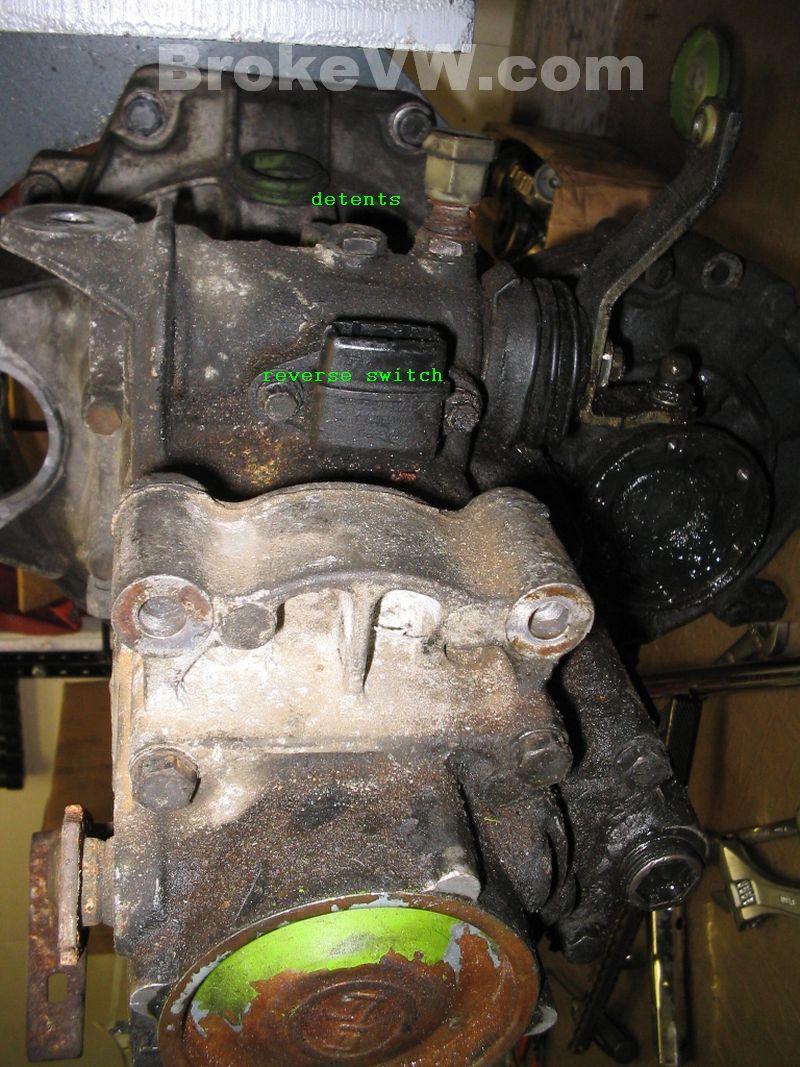
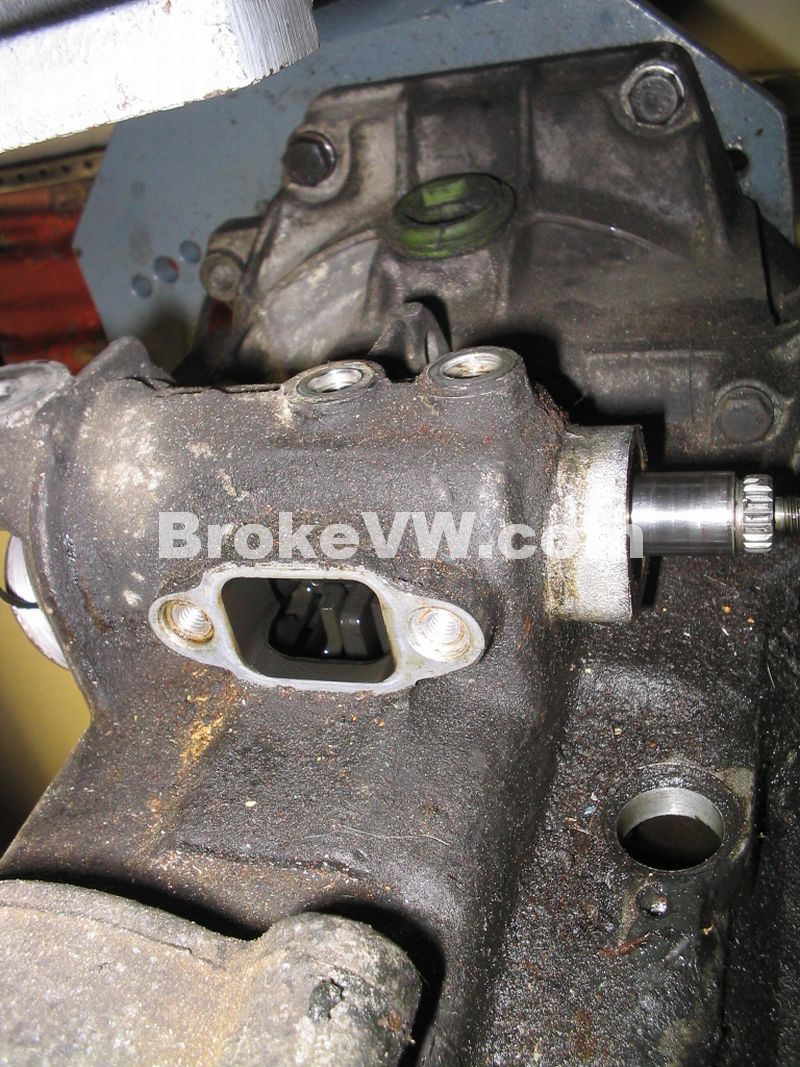
Here is a pic of the trans with the reverse switch, shift bracket, and detents removed...
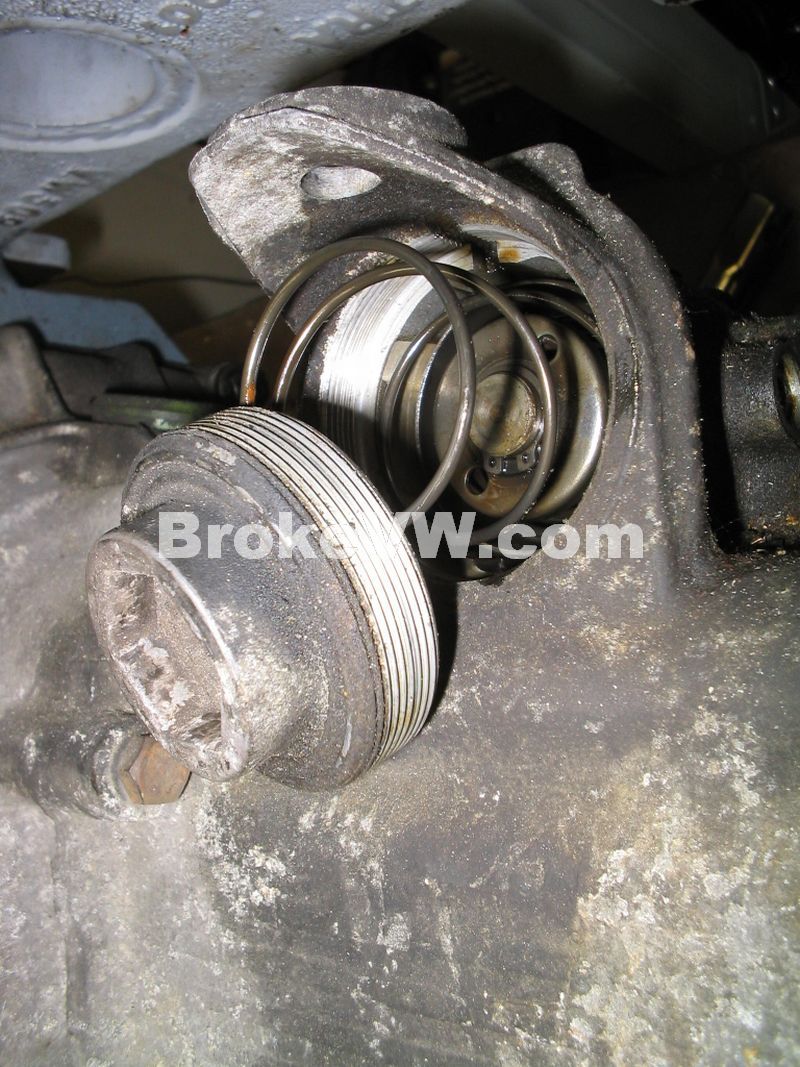
Pull the selector out of the selector housing, it has to be in neutral to do so...
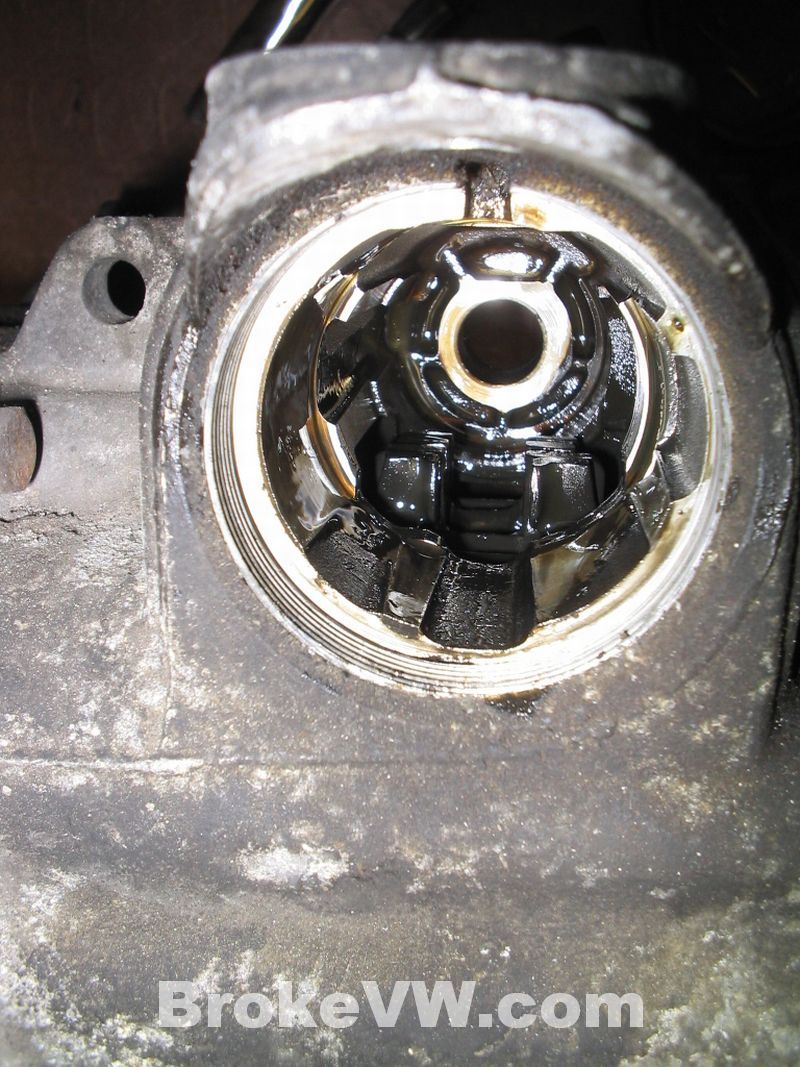
Here is a picture looking down into the selector housing, you can see the four shift forks inside...
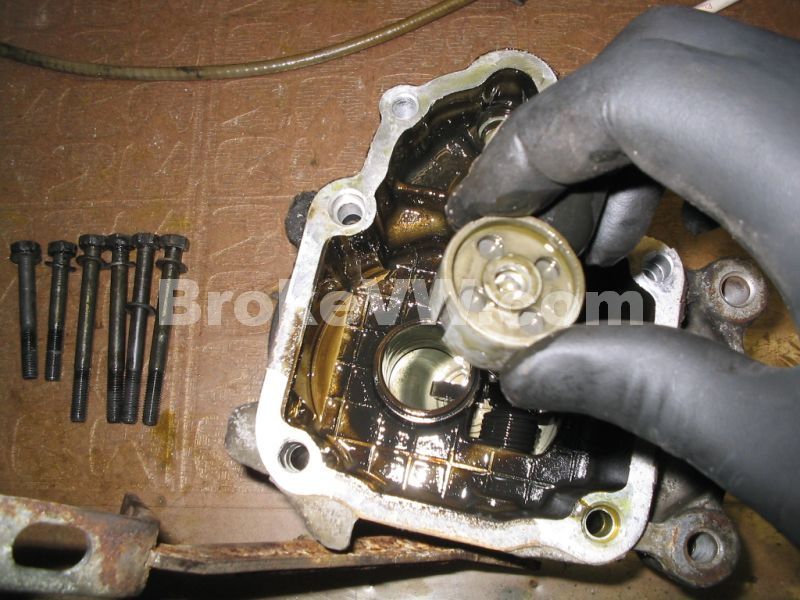
Remove the circled bolts. The yellow are the 2 shorter bolts....

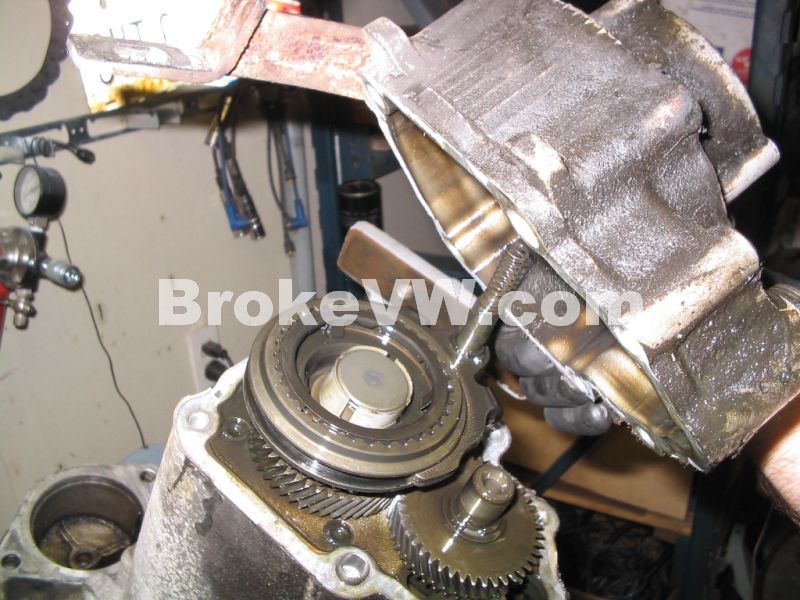
Lift the 5th housing off of the trans case, it may take a few taps to get it to crack free from the case. Once removed, you'll see a rod with a spring on it, it is very important to leave this rod inside the trans!
If the rod is pulled out, you will hear the shift forks inside drop out of alignment, and then you have a real chore to get the rod back in, and it most likely will require the trans be fully opened, so don't let it come out of the trans! In these pics, the trans is bolted onto a rotating stand on my bench, so the end is sticking up in the air, and the TO bearing has fallen out of the case....
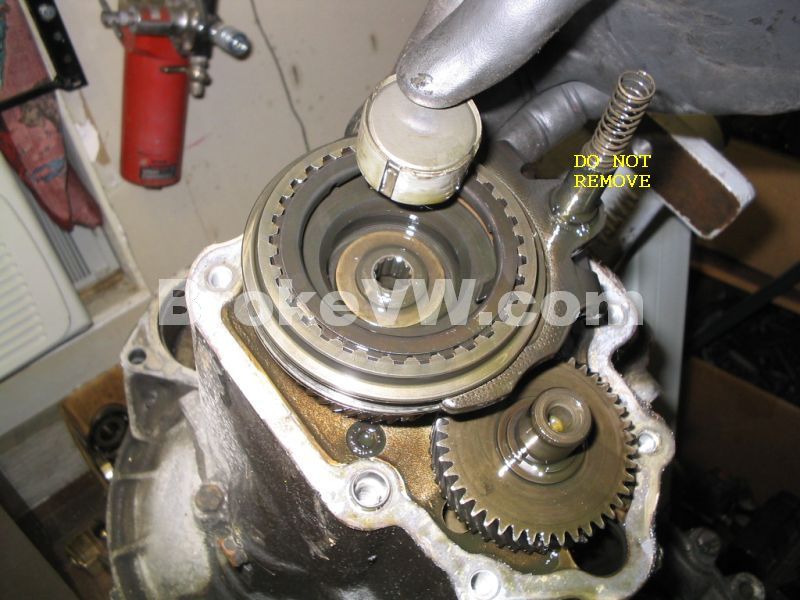
Here is a pic of the rod that the shift forks ride on that needs to stay in the trans, and then a pic of the inside of the 5th cover, and where the TO bearing should be. You can see the 6 13mm bolts, and the 2 shorter bolts beside the cover....
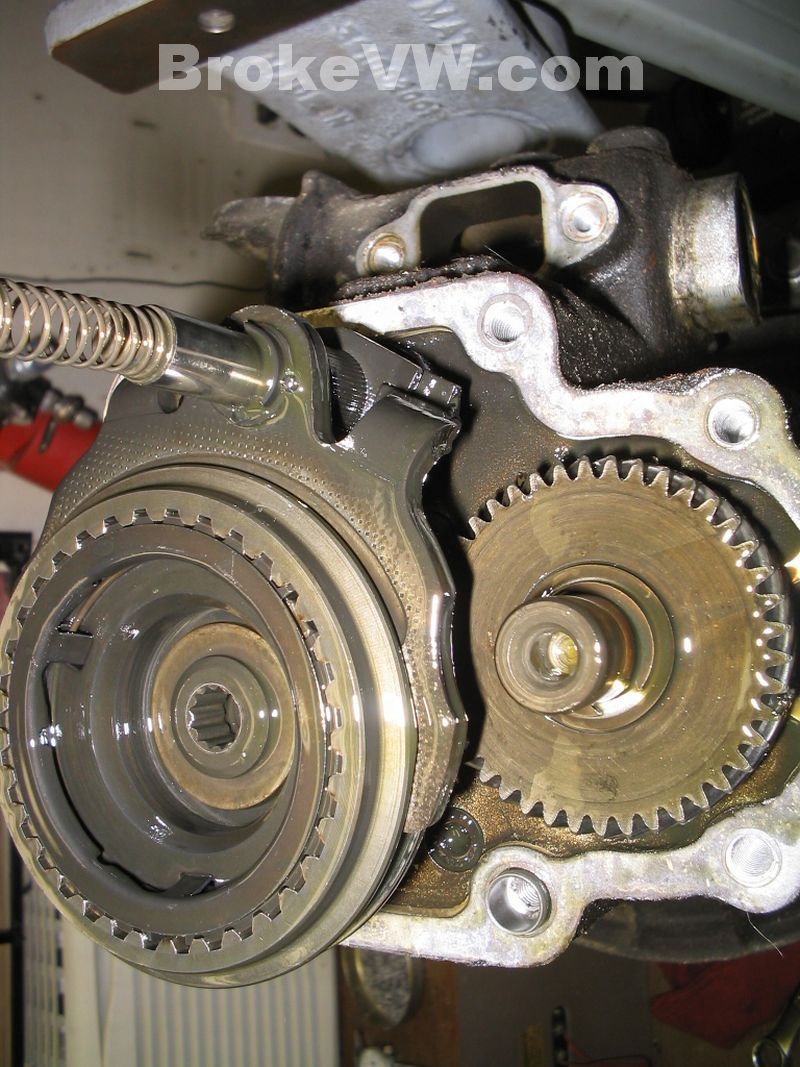
Now you should be looking at this...