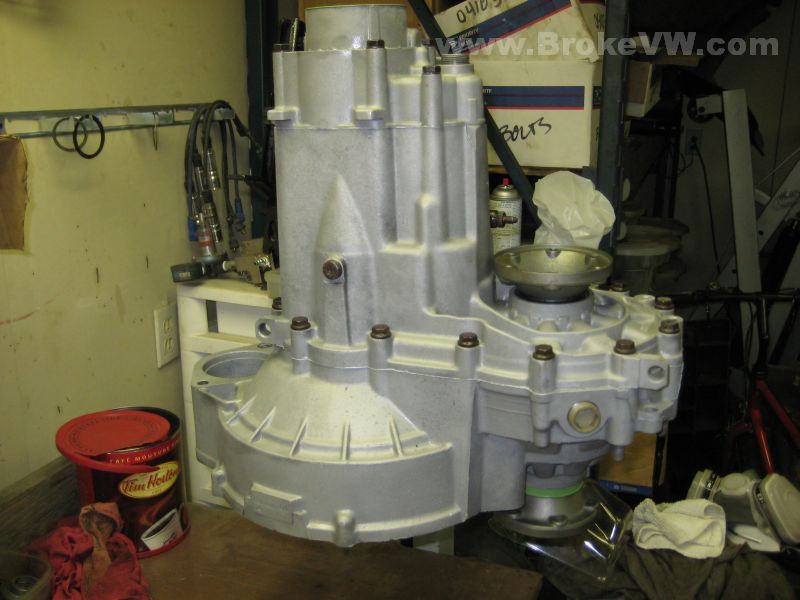
Ben K. AUG 07101
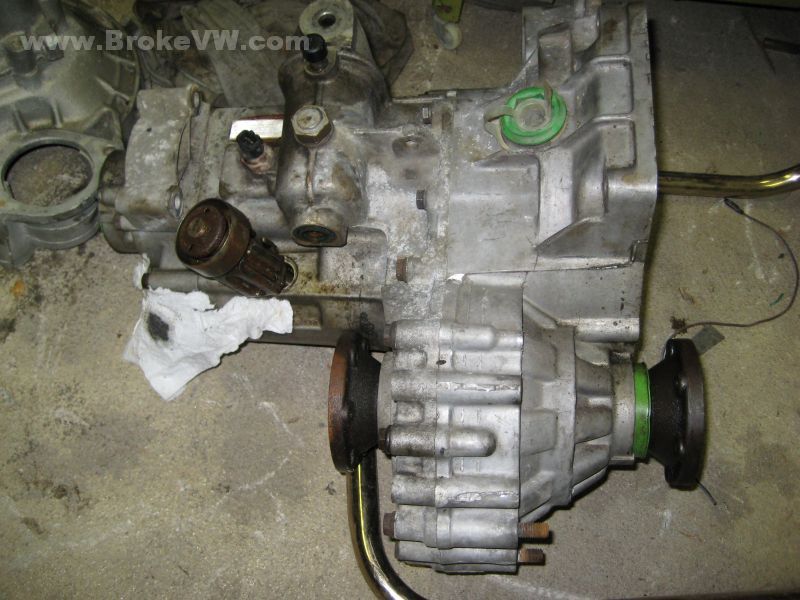
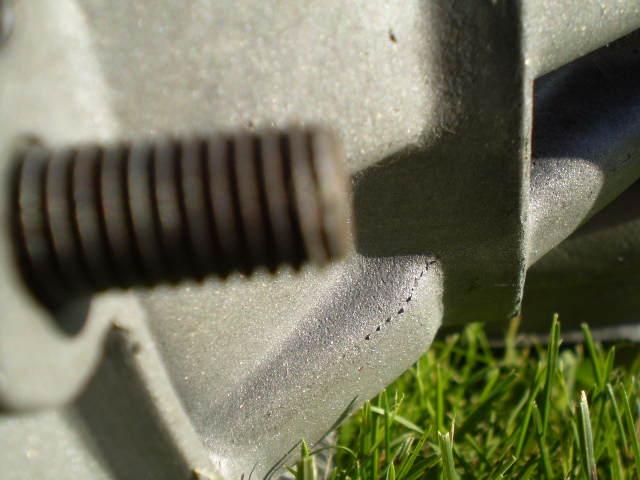
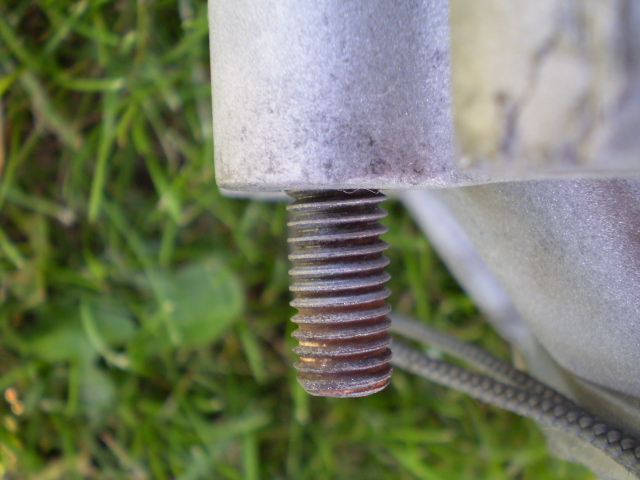
Your trans has arrived, and I did a quick check on it, and pulled the selector out to get an idea of what the forks inside were doing. When I removed the 20mm detent bolt, it fell apart, the bolt has failed, which then let the selector damage the spring.
There is also a lot of rust inside the trans, which is not at all common, except on older boxes that have been left outside and allowed to get wet over a long period of time. I am interested to see how rusty the rest of the parts are.
With the 20mm detent bolt removed, I pulled the selector and operated the forks by hand, and as far as I can feel, the 3/4 sync hub is missing the 3 locking keys which makes it click in and out of gear. When it over-shifted, the keys popped out, and when you got it back into gear, it was because they fell out of the way, and the hub could slide back.
I'll send you an email when I update this page.

Update 4/24/08
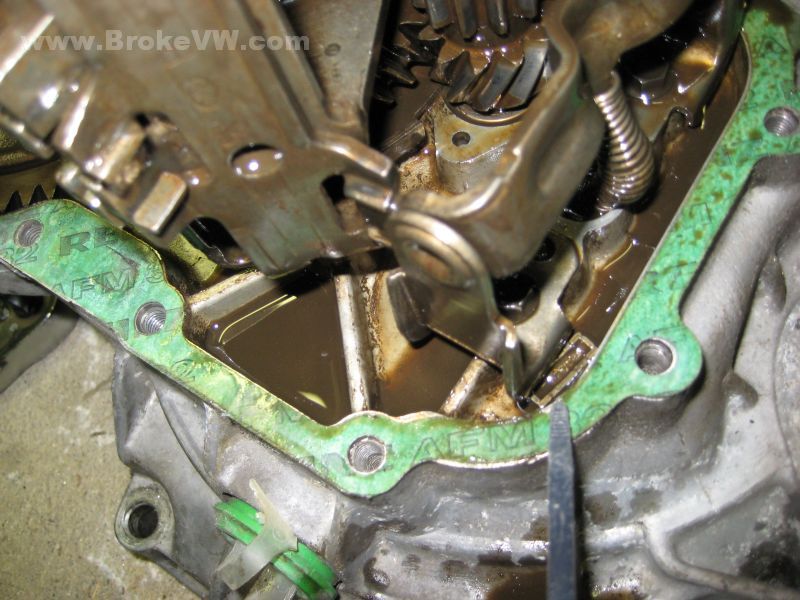
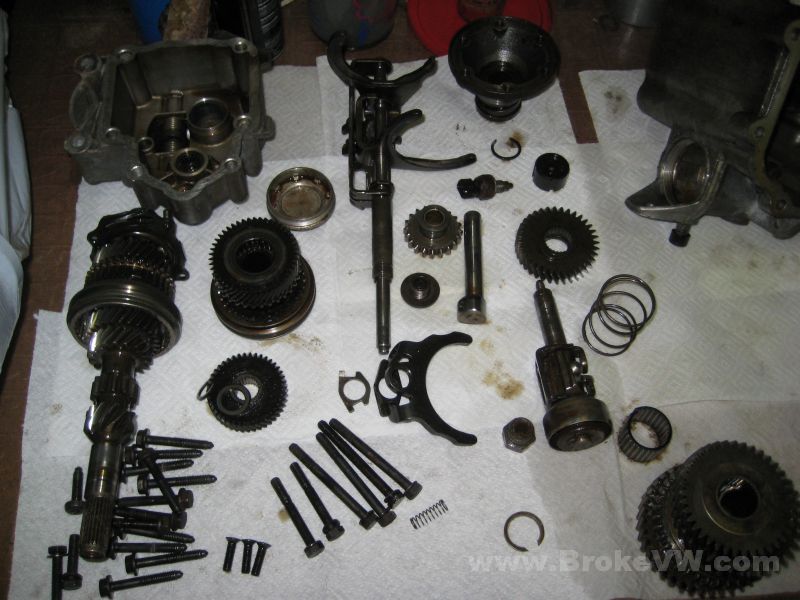
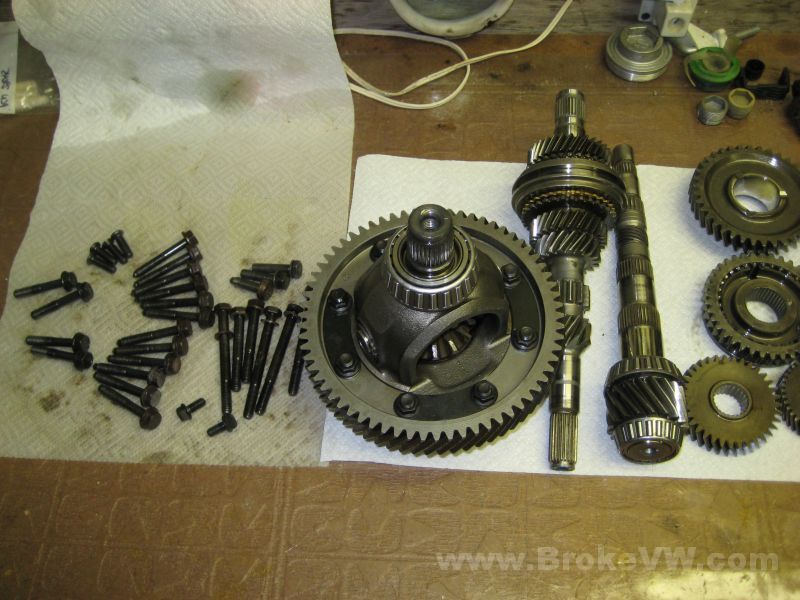
A few more pics I took tonight. The outlook is not good for your trans. I decided to go ahead and split the case apart to have a look, but the bench was tied up, so I just split it on the floor.
The first thing I noticed was how tight everything was... someone had been inside the trans before and over-tightened some of the fasteners, and when I got to the main bearing bolts, I knew someone had been in there before me, because one bolt was damaged, and the tool wouldn't fit... someone had rounded out the head of the 6mm XZN bolt. It required drilling to get it the head removed to allow me to knock the shaft of the bolt through to allow the case to be split.
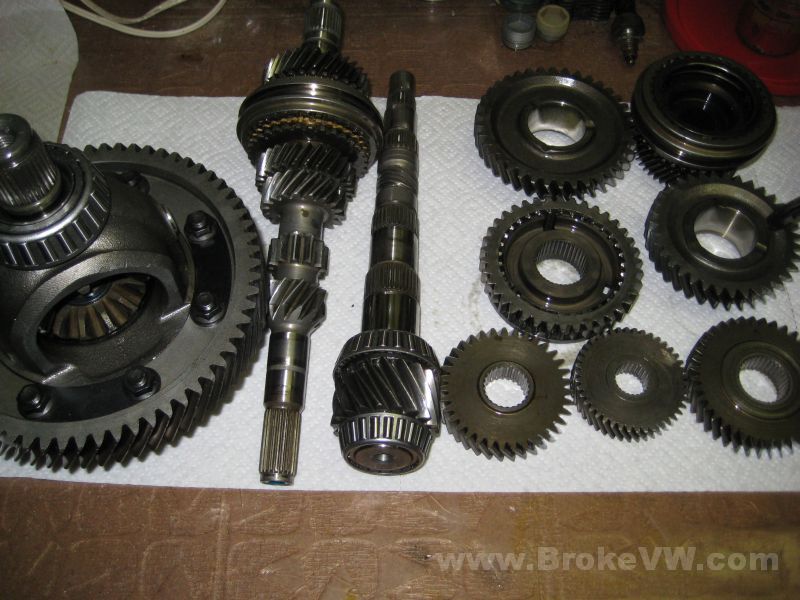
Once inside, I could see some signs of light rust inside the trans. Some of the parts like the bearing cages had rust spots. Your 5th gear was literally miles away from stripping out completely. Someone has ran the box low on oil, and it has ruined 5th gear. I'm also afraid to inform you that it has ruined the pinion or output shaft of the trans where 5th attaches.
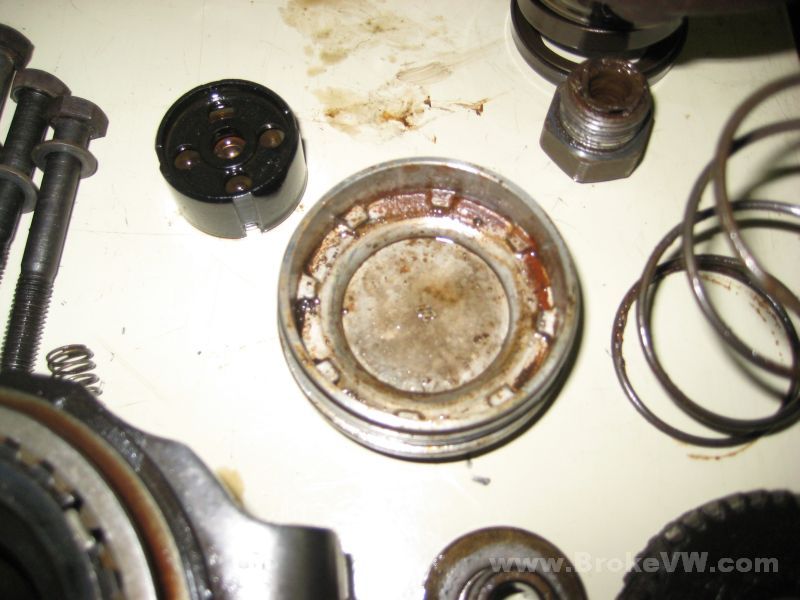
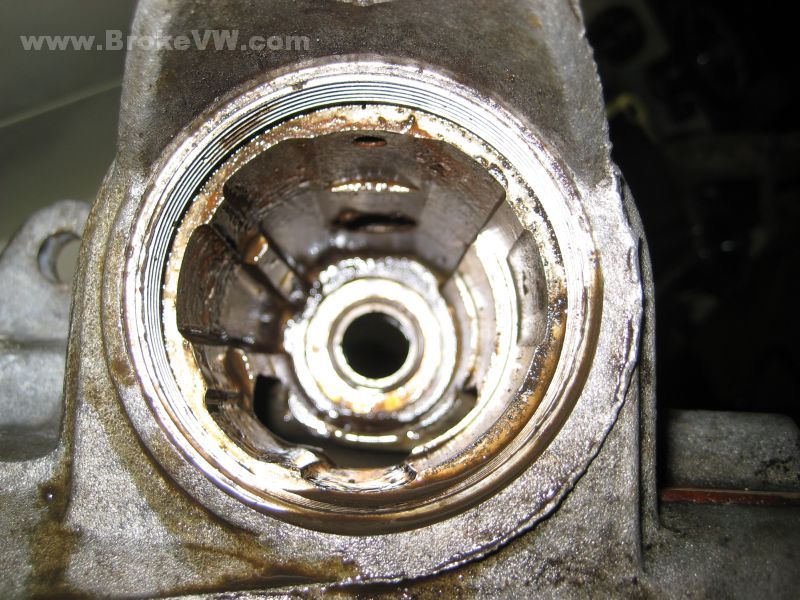
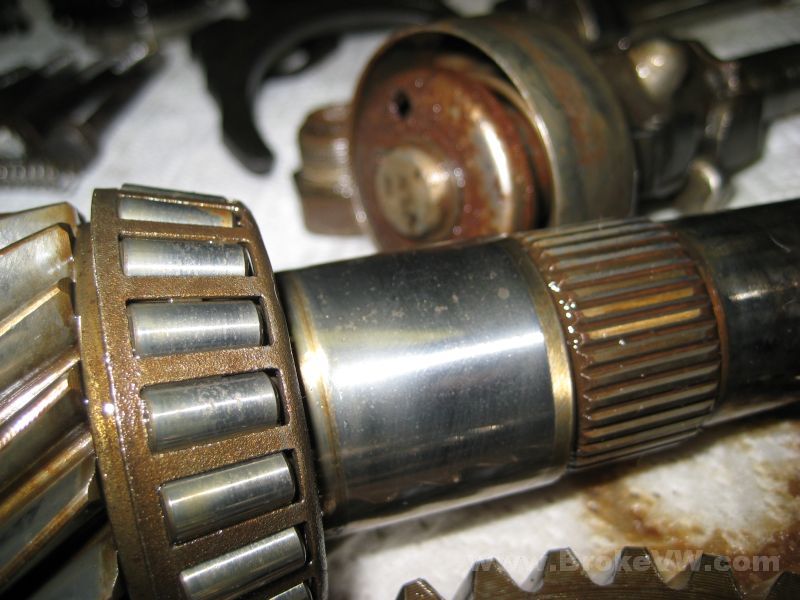
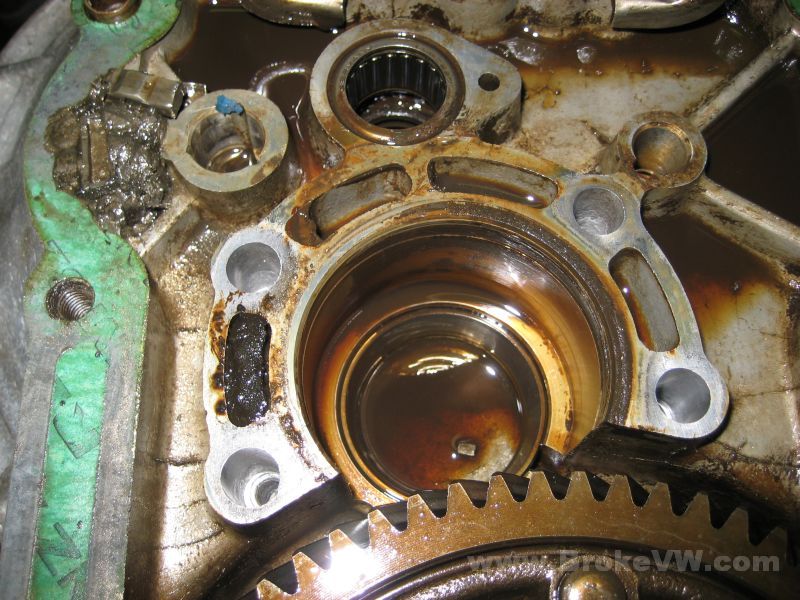
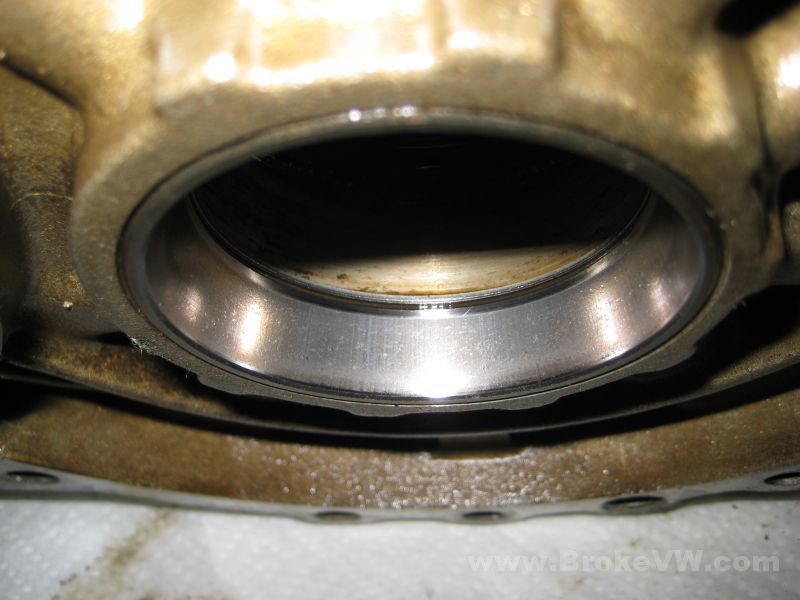
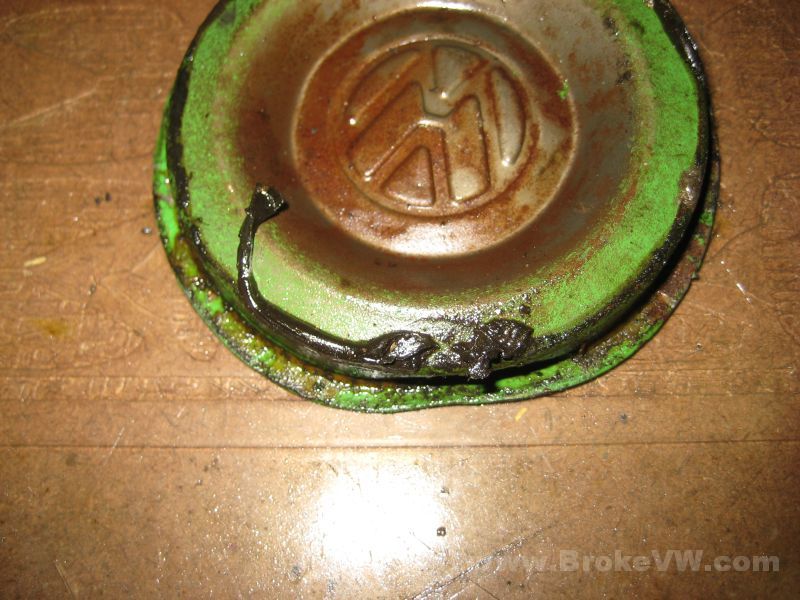
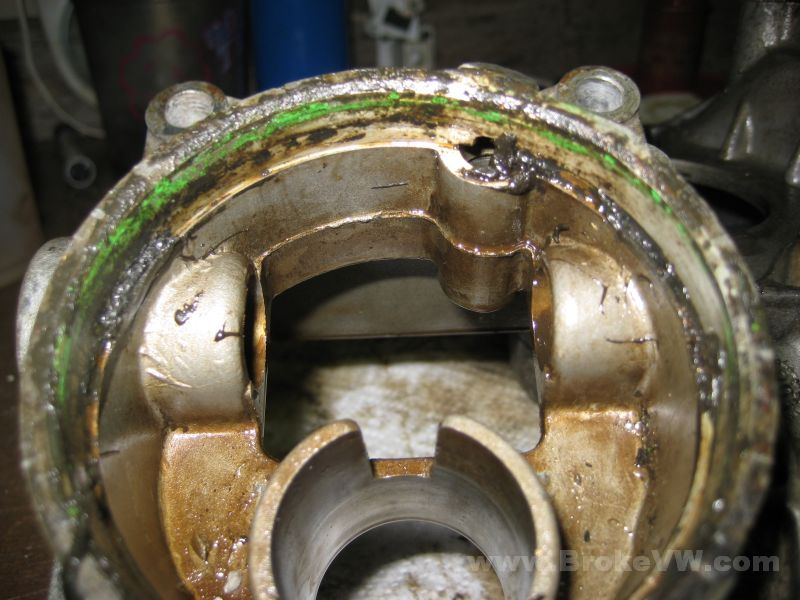
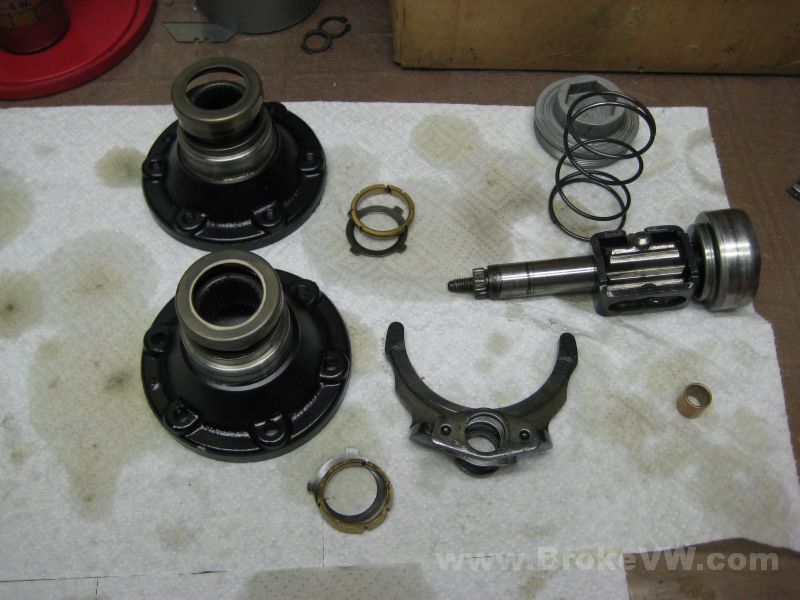
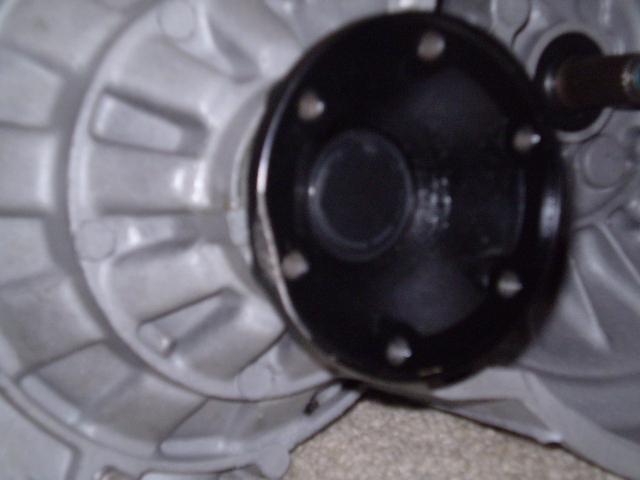
A pic of the 27mm selector cap inside, showing the rust from the selector.
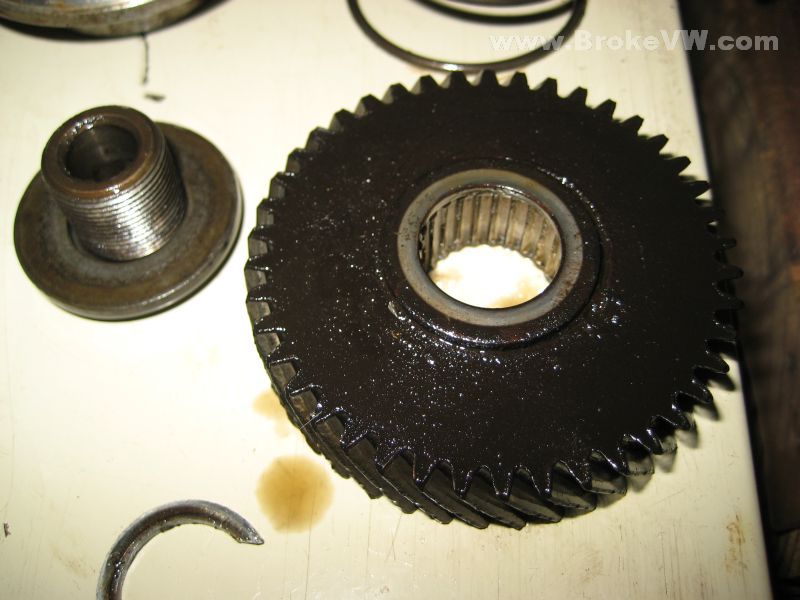
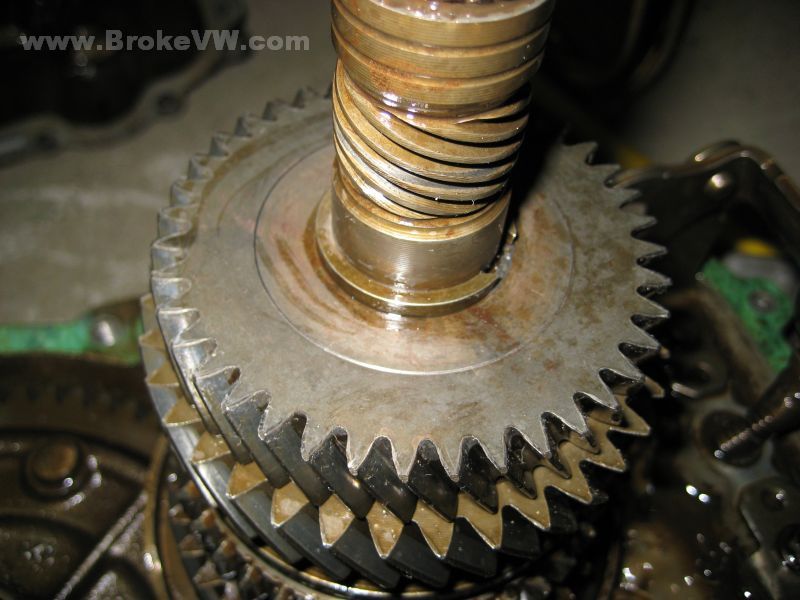
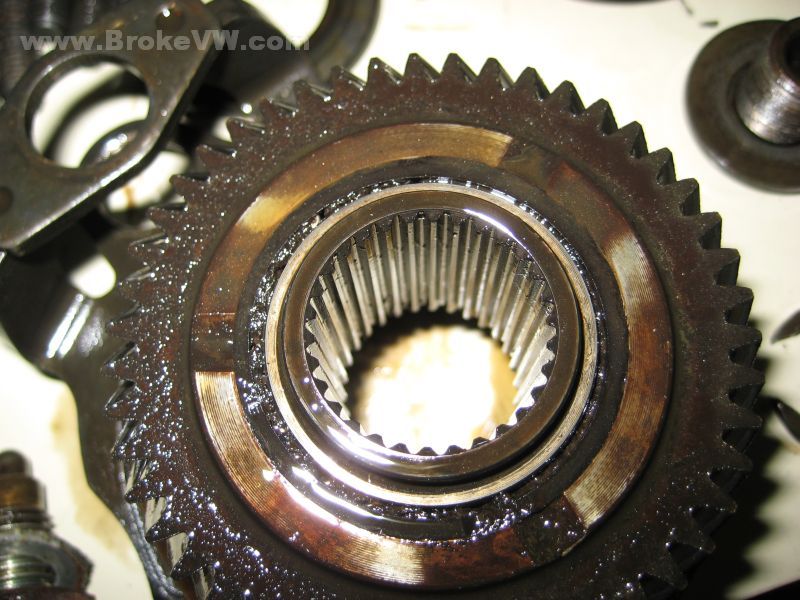
Your driven 5th gear from the output shaft. The first sign something is wrong is the very black or dark blue color of the gear... it has been very hot. The black textured look is plastic, melted from the needle bearing on the other 5th gear and spun out onto this gear. Notice the splines on the inside of the gear, they are just about gone. The gear wobbled so badly on the shaft, I'm amazed it hadn't stripped out fully yet.
A shot of one of the sync keys form 3rd/4th hub, and the other 2 keys were still stuck to the magnet. It is good the keys didn't get between any gears, they would have broken the teeth from them.
A pic of the damaged XZN bolt that needed drilled out, and the resulting damage to the bearing clamping plate when the case was split with the bolt still holding what it could. Punching the bolt through allowed the case to be split.
These pics show the rust on the diff carrier bearing cages. If you look closely, you can also see one rivet head damaged from the key getting into it...

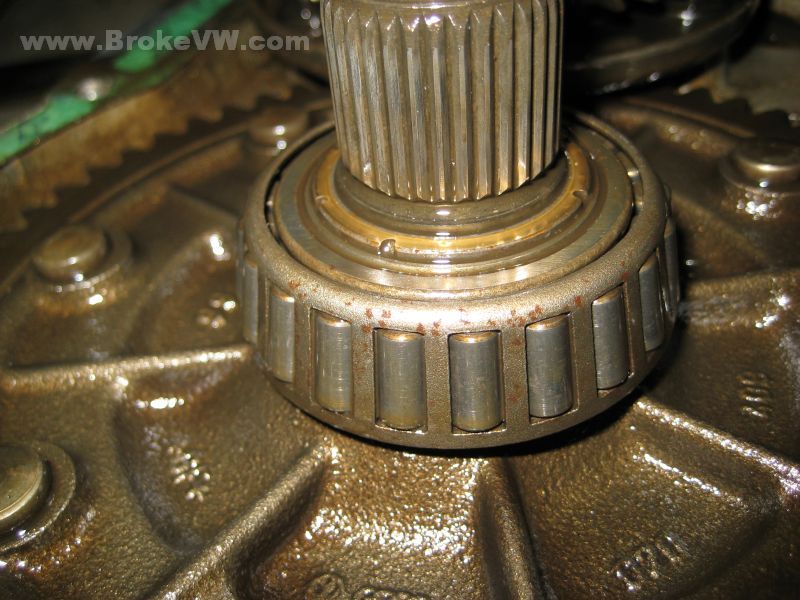
The selector shaft has been allowed to rust for some time, it is pretty corroded...
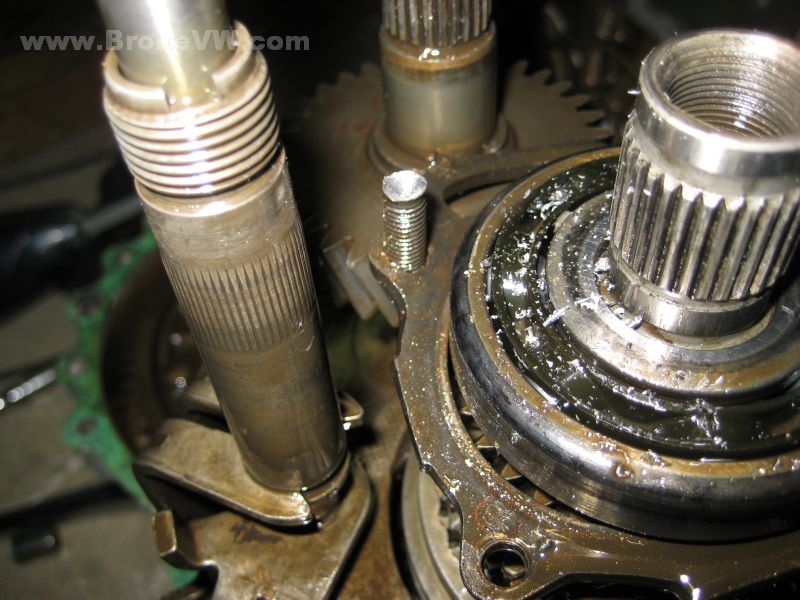
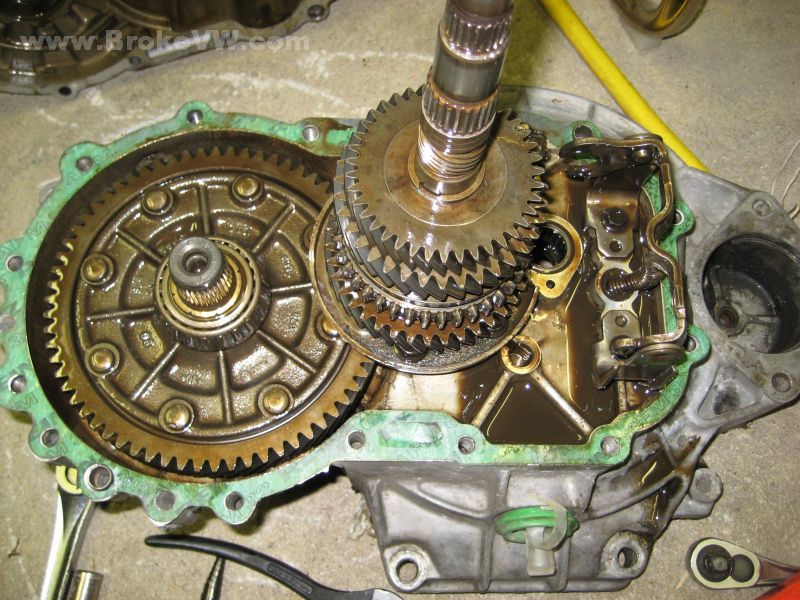
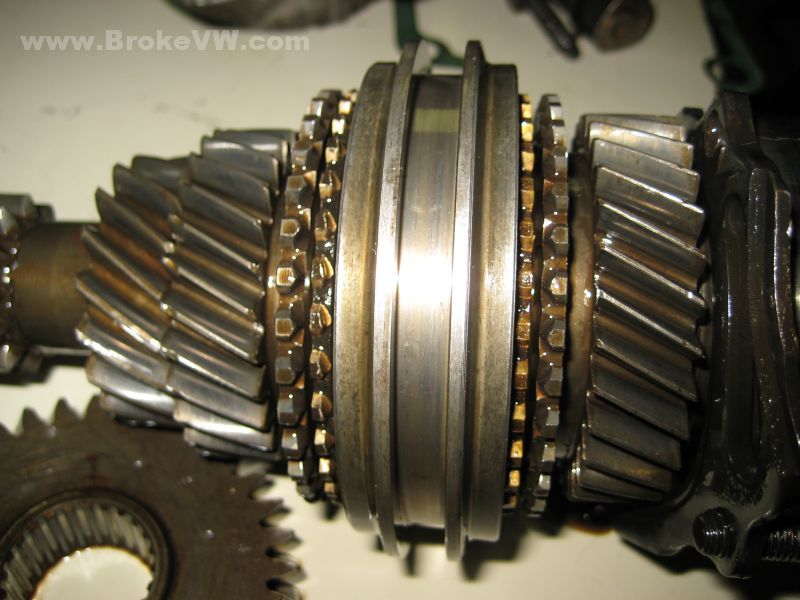
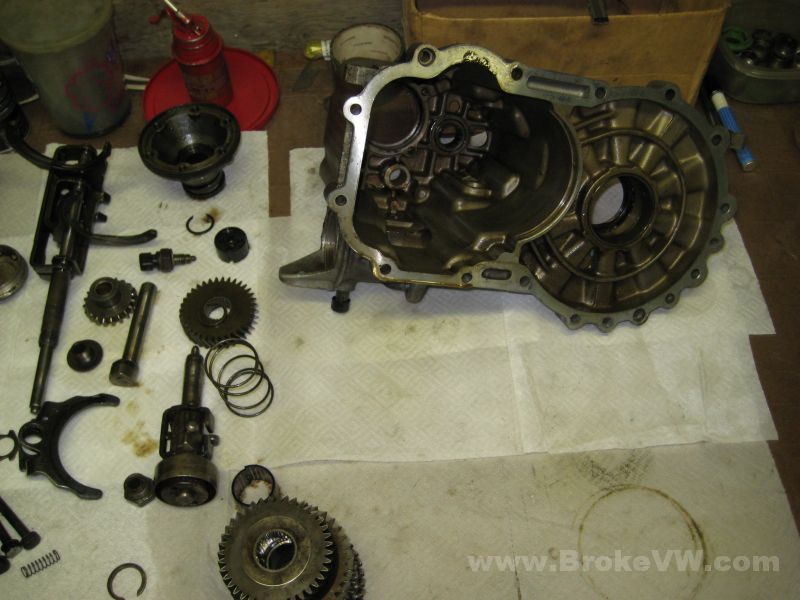
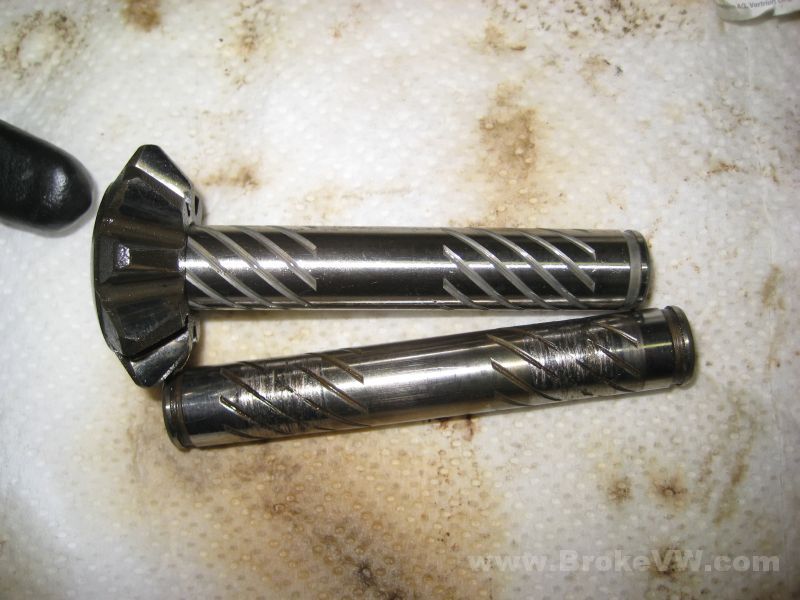
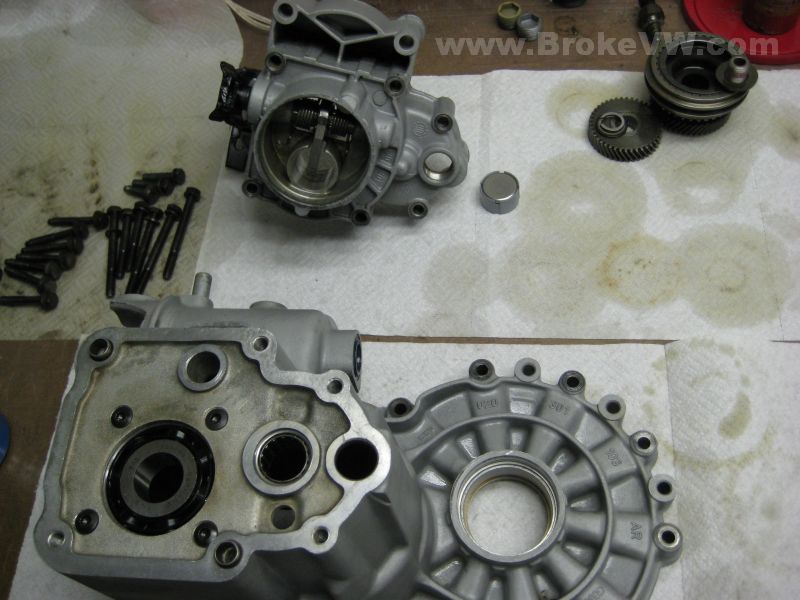
The trans split with the input shaft lifted out...
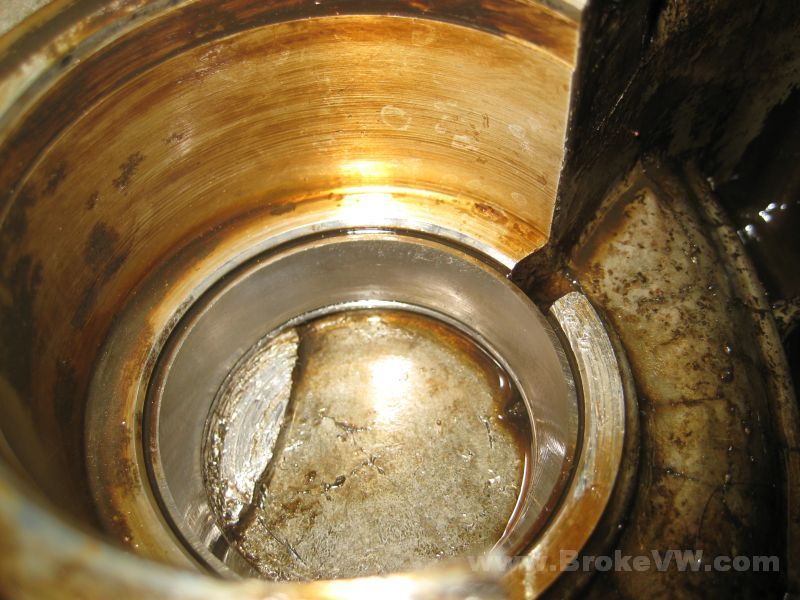
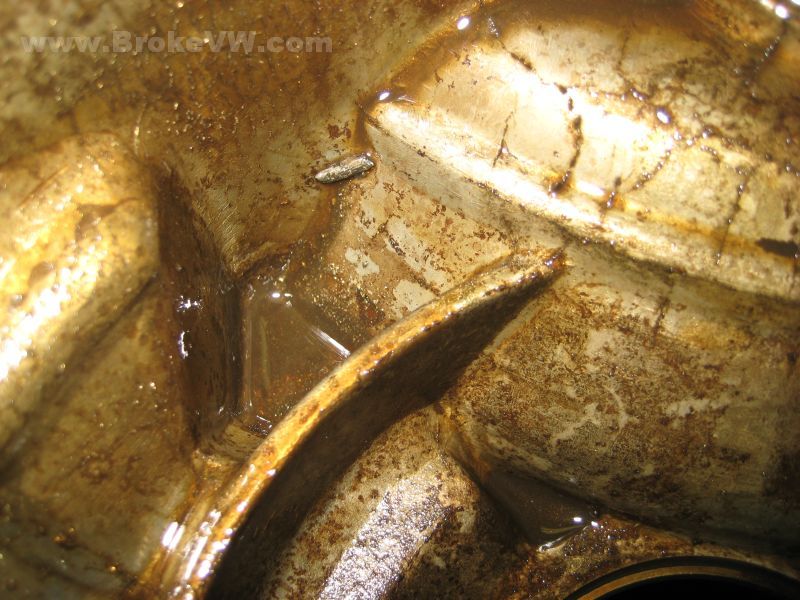
These pics don't show it very well, but I was trying to show some rust spots on the gear face. What looked like rust in the shop doesn't look like rust in the pics... after the gear is cleaned, we'll know for sure if they have any rust on them...
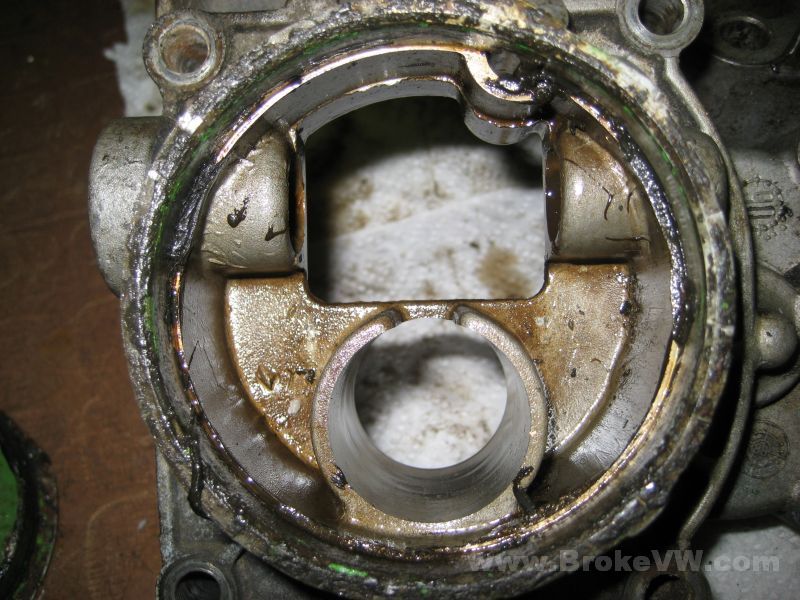
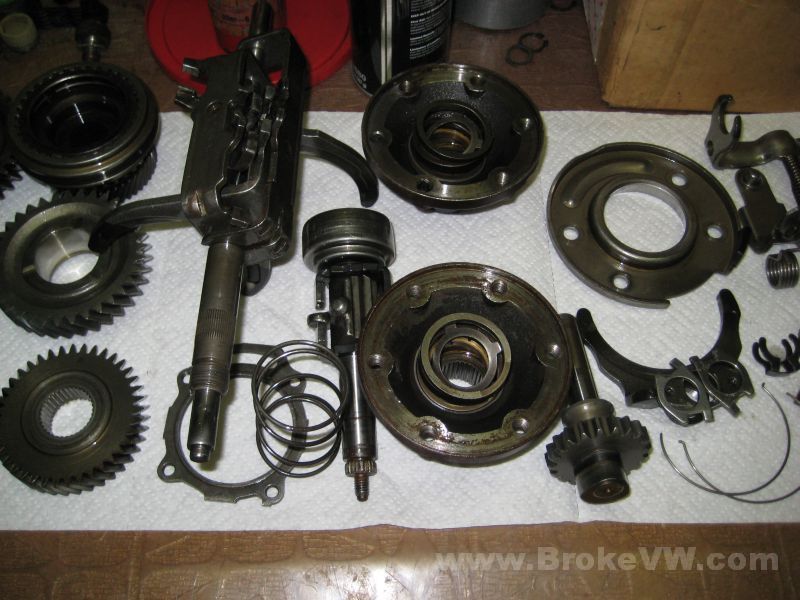
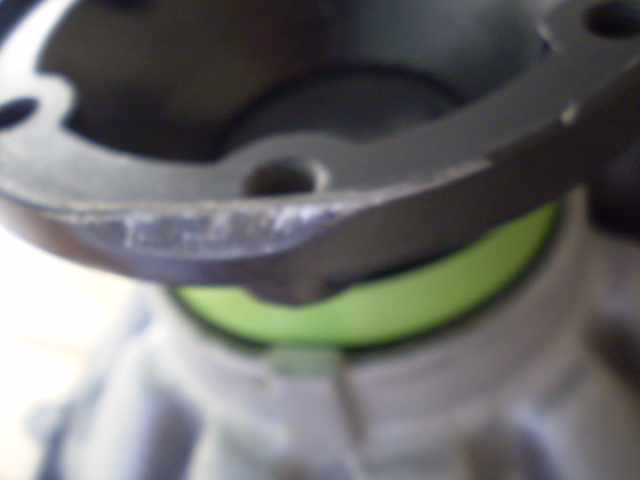
A couple pics showing the inside of the selector housing, where the rust is the worst...

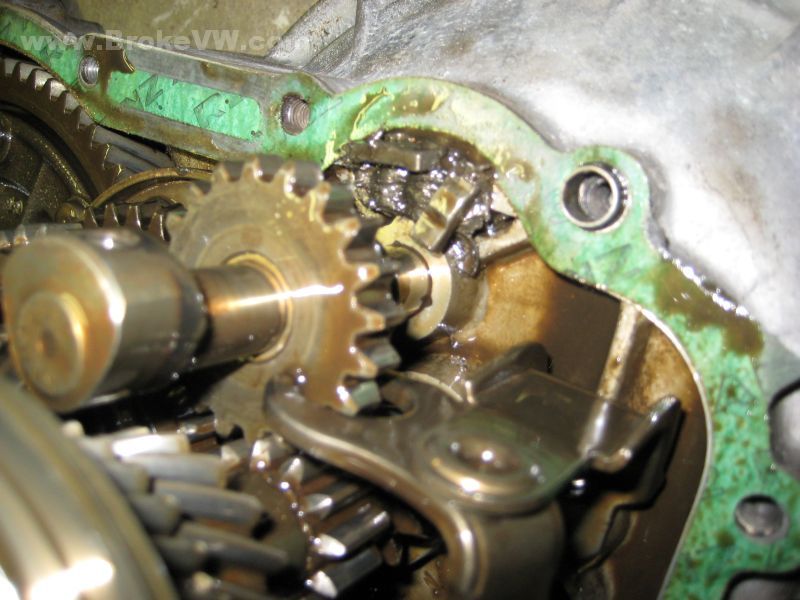
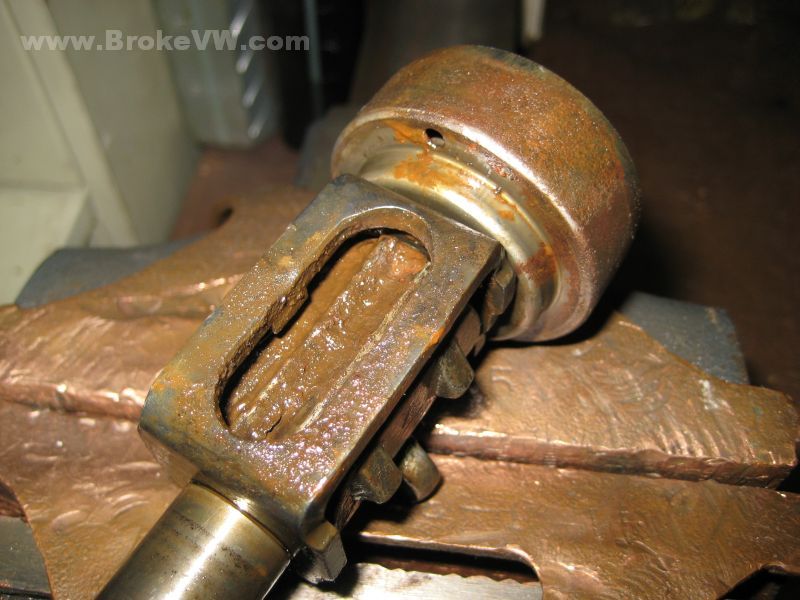
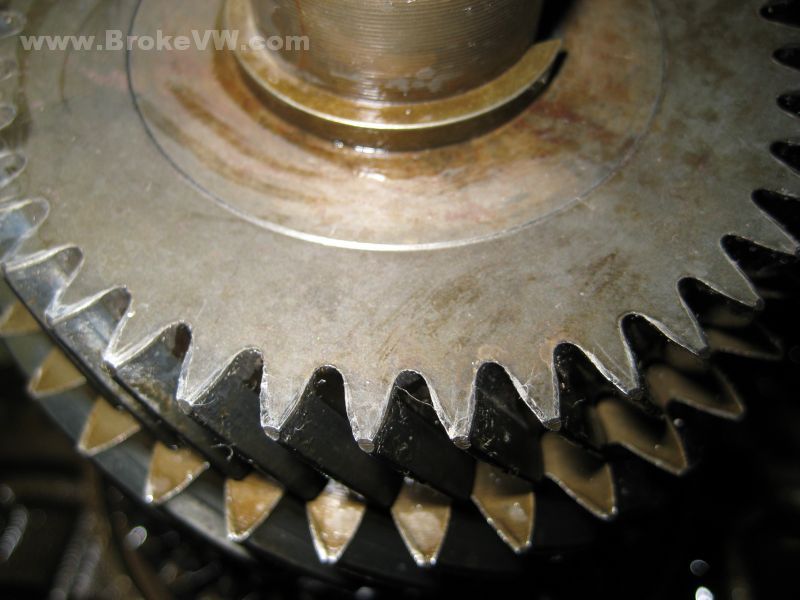
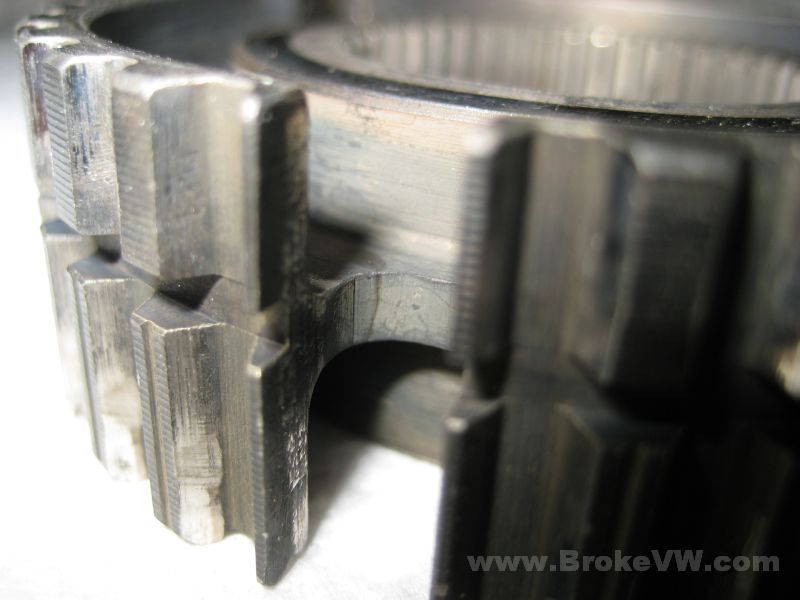
Damaged reverse idler gear. I checked the 1st/2nd sync sliding collar, and it looks like it is worn, but no chipped or missing teeth there. The damage appears to be only on the reverse idler gear, which is common...
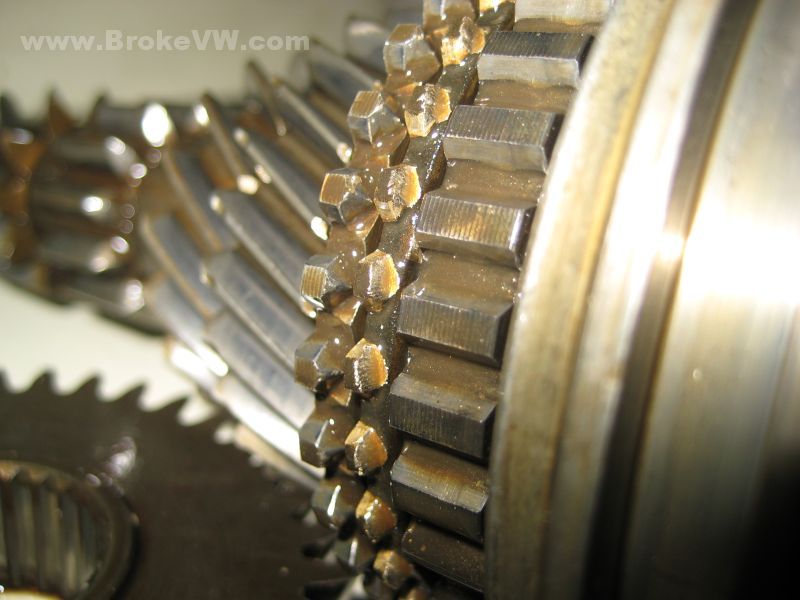
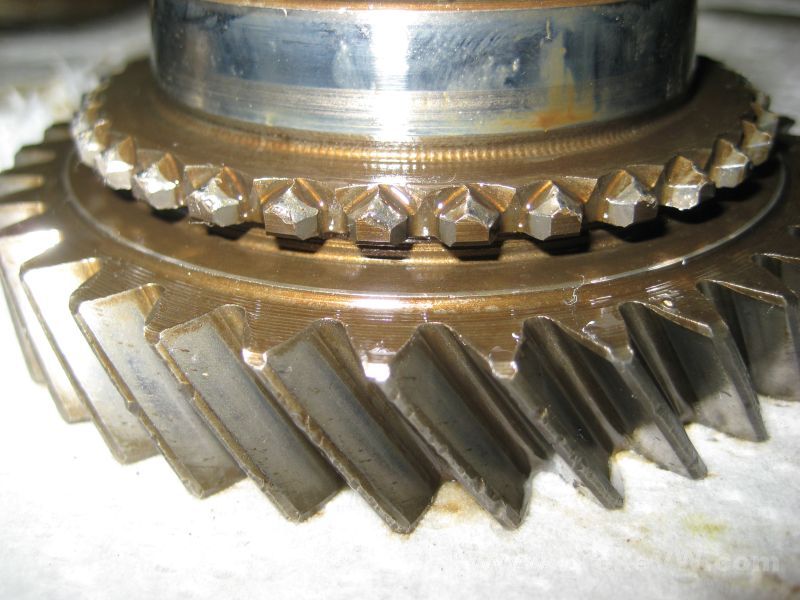
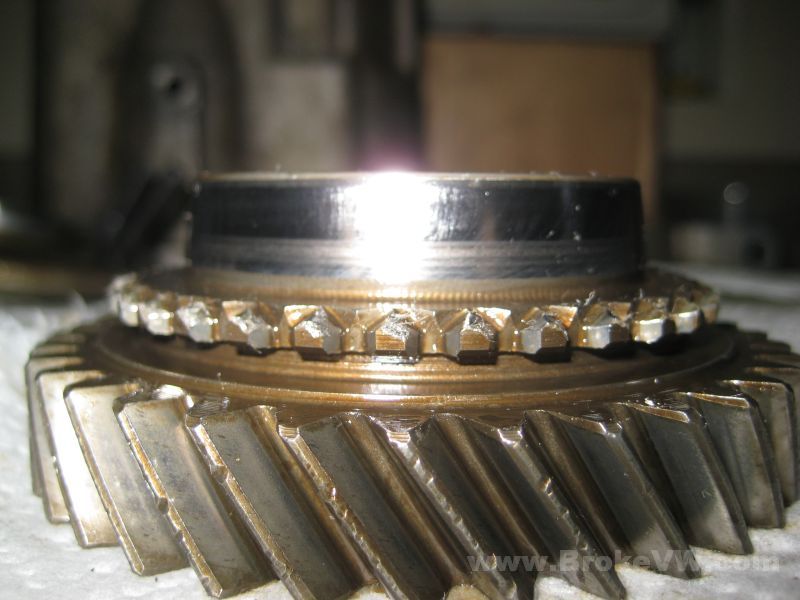
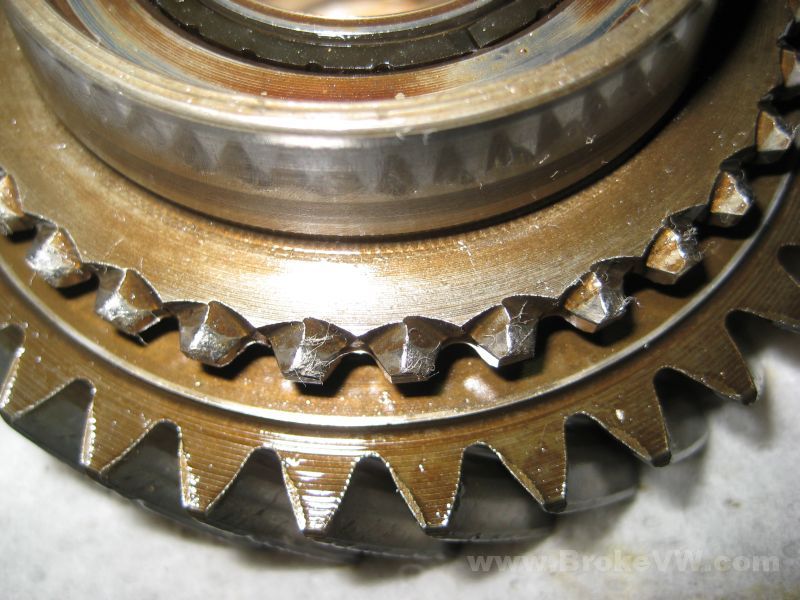
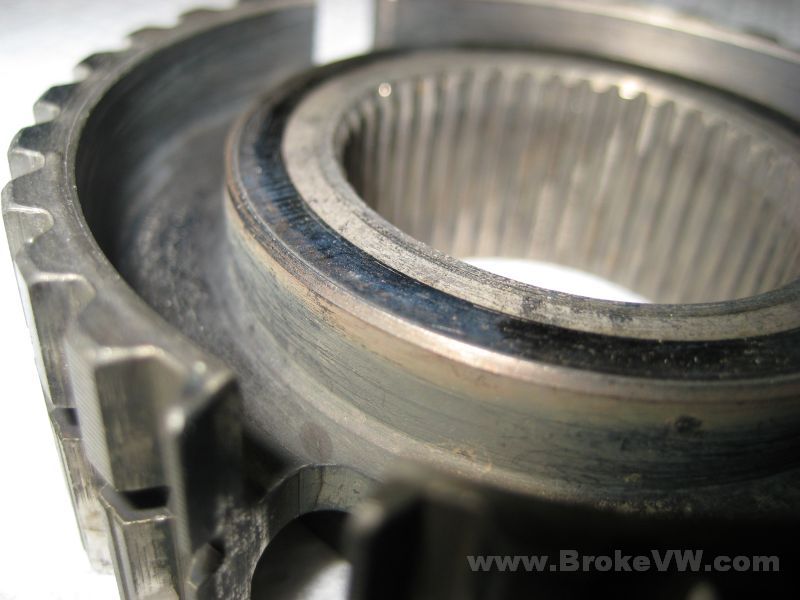
The offending 3rd/4th sync hub assembly. The 3rd gear is to the left in the pics. You can see the damaged 3rd gear sync ring teeth from the collar not being locked out of gear... it was allowed to float over and try to engage 3rd gear when it shouldn't be, and it has chewed the teeth away...
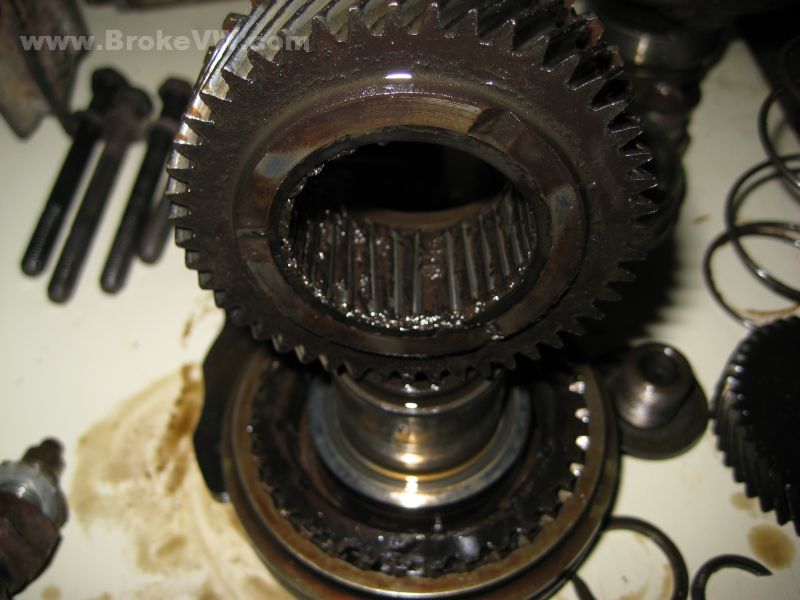
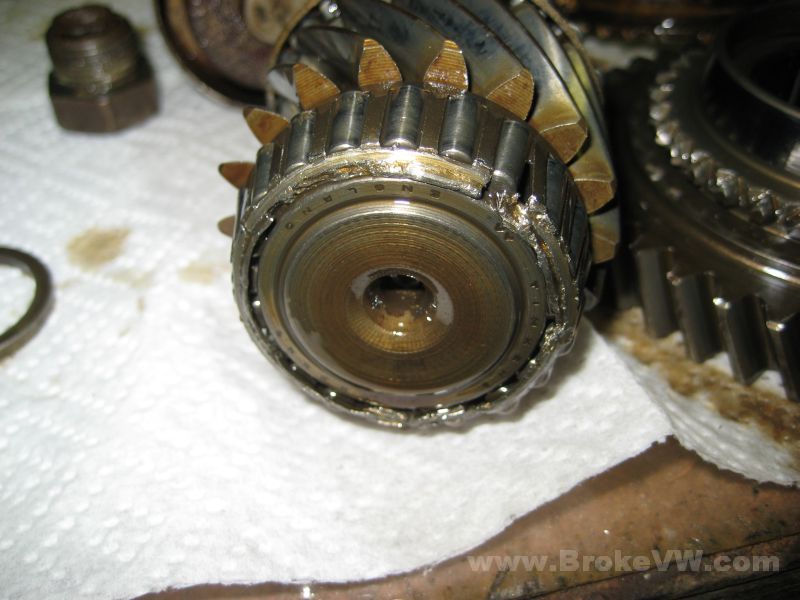
After seeing the driven 5th gear, I wanted to pop the driving 5th apart, and verify what I knew I would find... a melted 5th gear bearing cage...
The output shaft in the trans is ruined, it will not accept another 5th gear. You can put on one it, but it'll strip it in no time at all.
I'll update you with more info, I'll try to get a rough estimate of what it'll cost to repair, and you can decide then if you want to carry on, or try to source a used trans instead if I can't repair it cheaply enough.
Update 5/18/08
More pics as I get the trans taken apart...
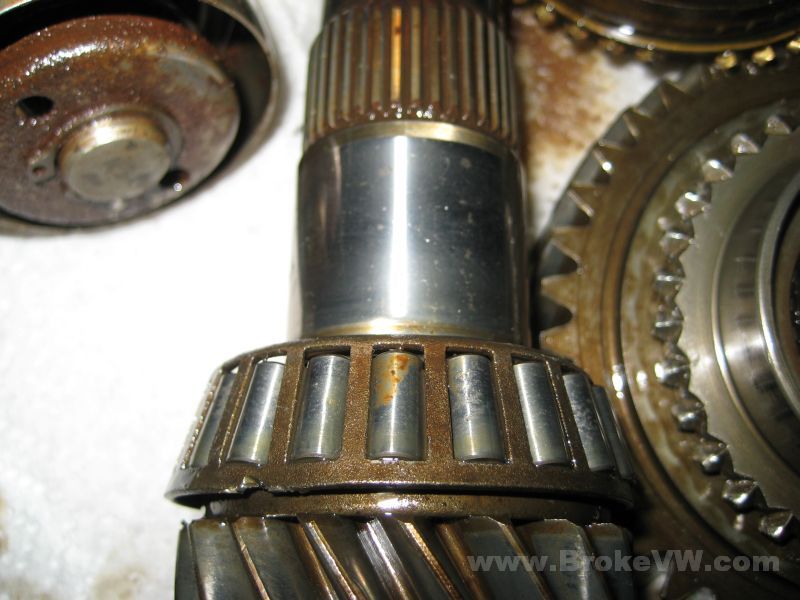
Damaged small output bearing...
Rust on the large output bearing, and on the output 1st gear needle race...
Worn 2nd gear sync teeth, the trans has been grinding 2nd gear quite a bit...
1st gear sync teeth are also worn, but not nearly as bad as 2nd above. Compare the shiny surface where the sync ring mates, and you can see 2nd gear is more worn in that area as well...

Pieces of metal under the output shaft...
Worn large output race...
... small output race...
... and diff races...
Very small amount of cavitation on the diff spider gears, but not bad really...

Debris collected in the oil under the diff...
Update 5/20/08
A few more pics...
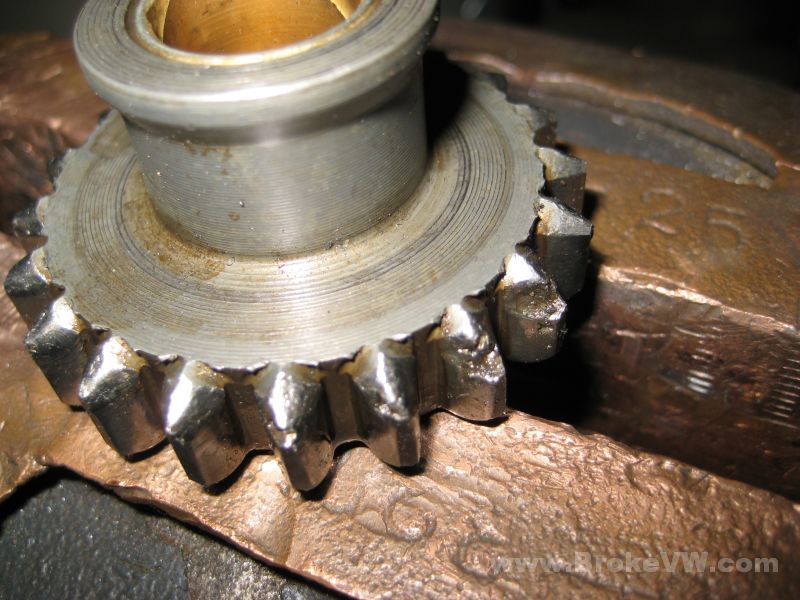
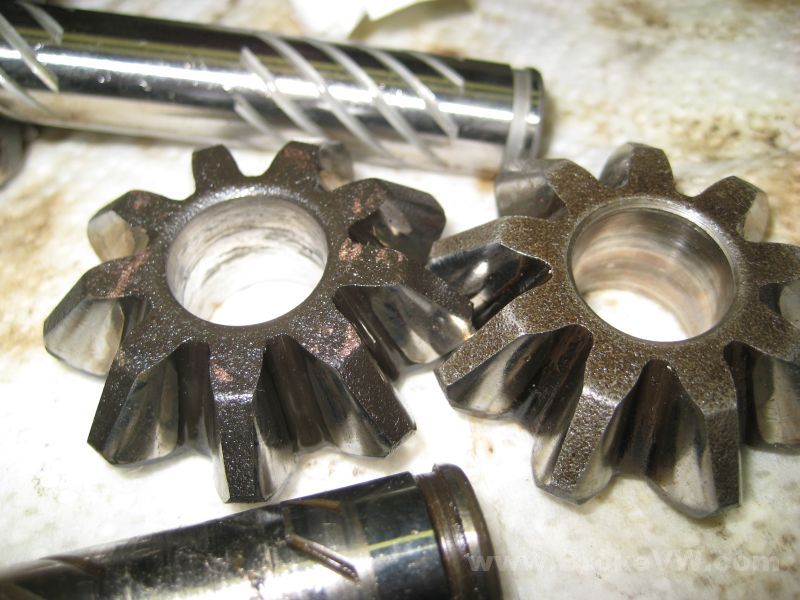
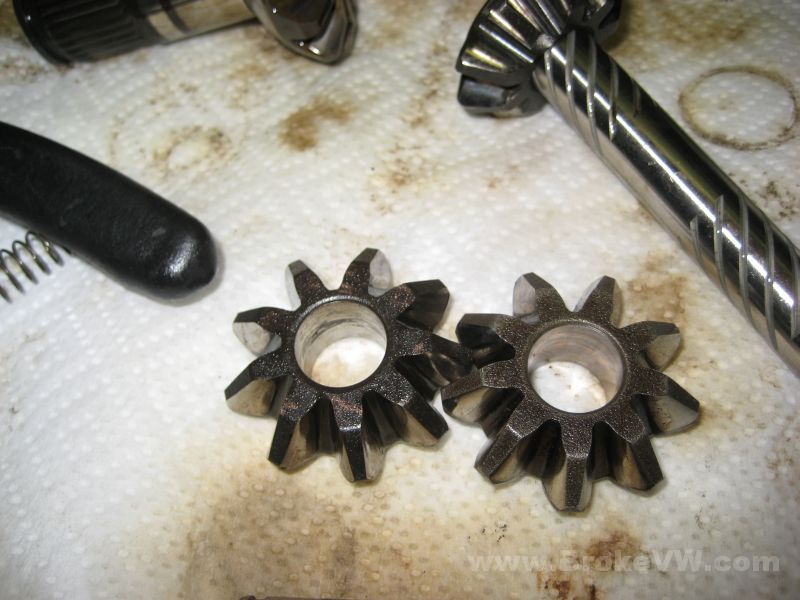
Damage I found to the cross shaft and gears once the diff was tore apart. You can see there has been contamination like steel that has got between the gears and the shaft they ride on. The gears are pitted where they contact the shaft, and the shaft is all chewed up. Your gear is on the left, the used gear I will use in the rebuild is on the right.
A pic showing the shaft damage. Your cross shaft is on the bottom, the top one is a brand new German shaft I just happened to have in the shop. I don't normally have these, but ordered a diff gear set for a customer, and there was an extra shaft in the box. I'll include it for free.
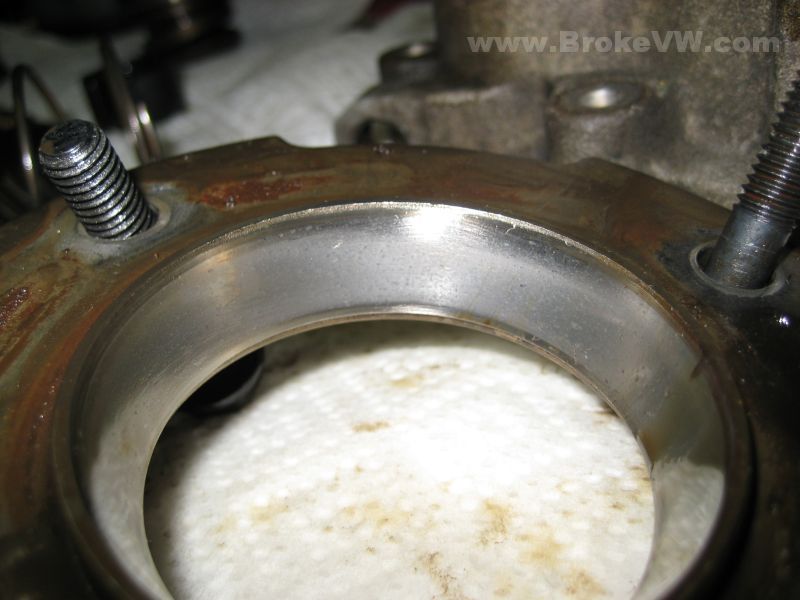
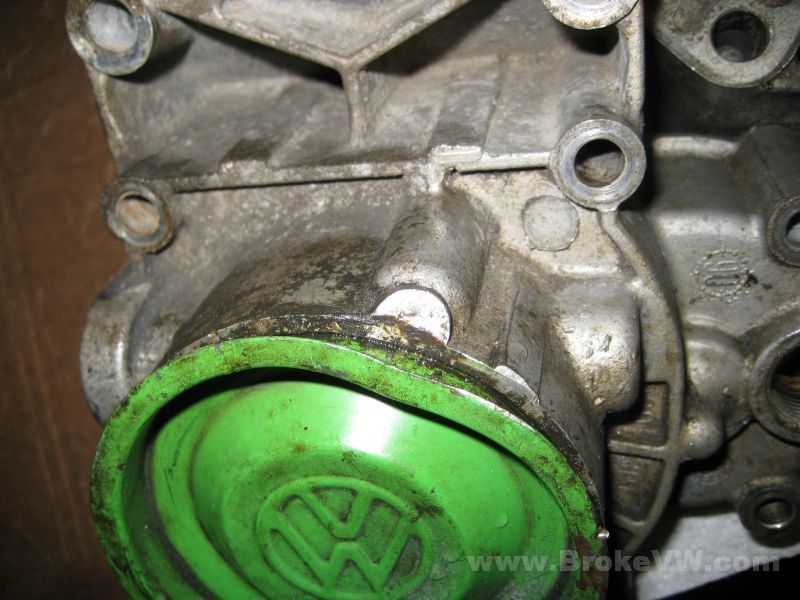
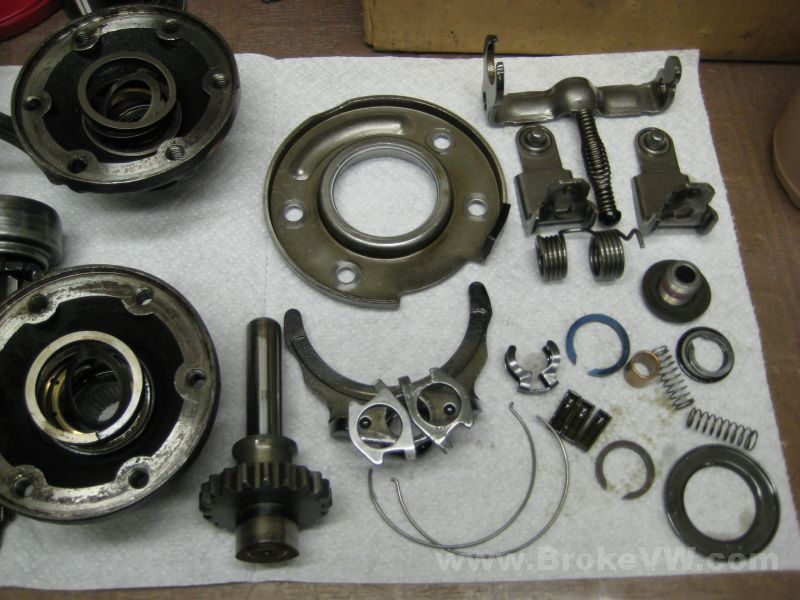
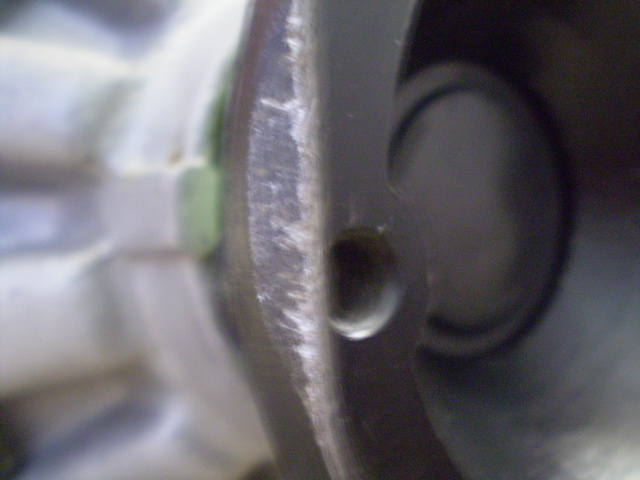
Pics showing the end housing flattened on one side... I honestly can't tell if the sealing bore is out of round at the moment. Someone has used a sealant or goop under the cap, so it leads me to believe that the end cap will leak if not sealed up because of the damage to the casing. I'll get a better look once it is cleaned up and I can see more.

Update 5/22
I'll be cleaning and inspecting the internal parts for a few days, and then the case will get cleaned up, and after that the build will start.
It turns out your 3rd hub, which before cleaning it I thought to be OK because it was a new style hub with the rounded key slots in the hub, actually is cracked in the slots just like the old square slot hubs. Pics of the old style hubs and new style hubs can be found here http://forums.vwvortex.com/zerothread?id=3227033
I didn't think these hubs suffered the same problem, as I've not come across any of the new style hubs with cracks, but yours are for sure cracked in the corners. The oil seeping and creeping out of the crack is a sure sign the hub is faulty. I have a replacement for it I will install during the build.

Update 5/28/08
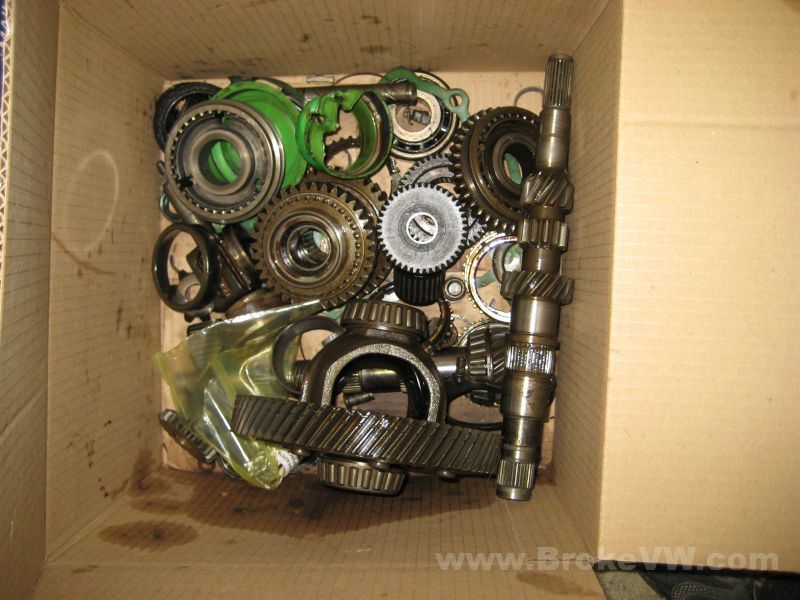
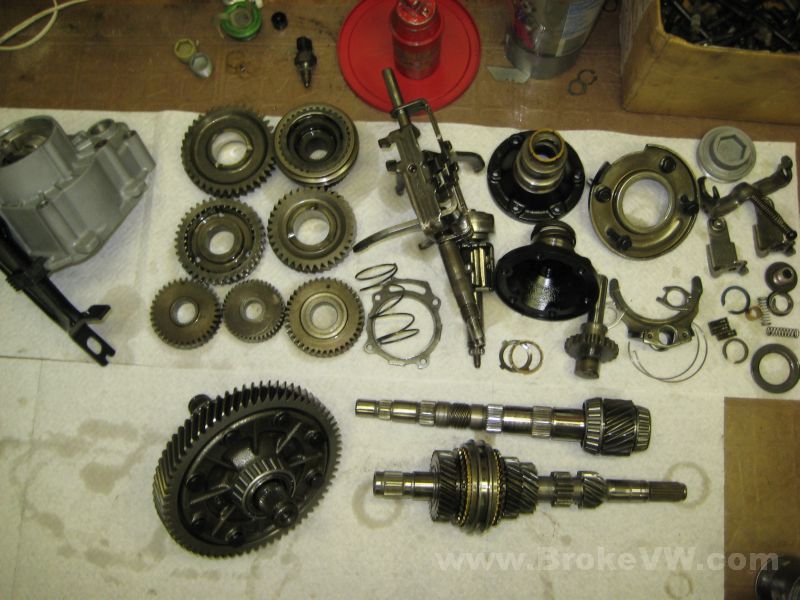
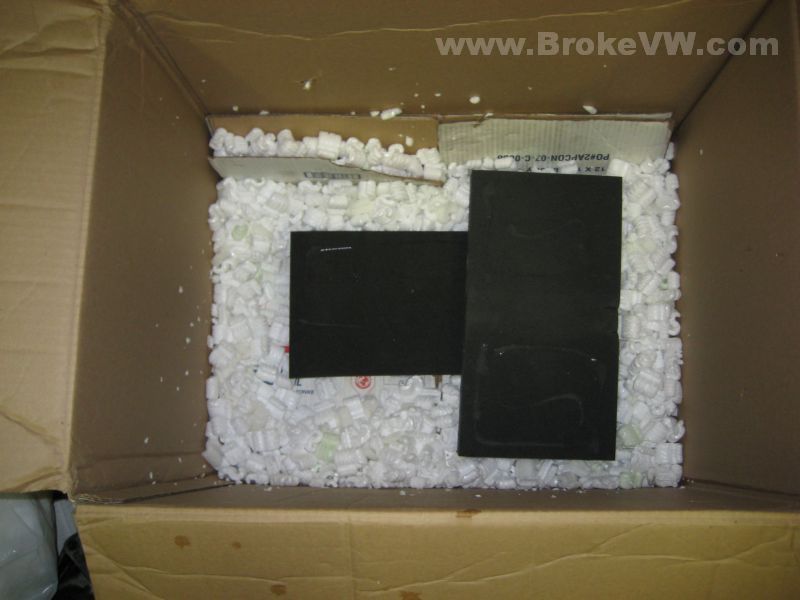
The box of parts not being used in the rebuild from the trans you sent. It is nearly all of the internals...
The parts that will go into your trans, cleaned and inspected and ready for assembly when the case is cleaned. The diff assembly is built, the input shaft is built, and the 5th gear assembly is built....
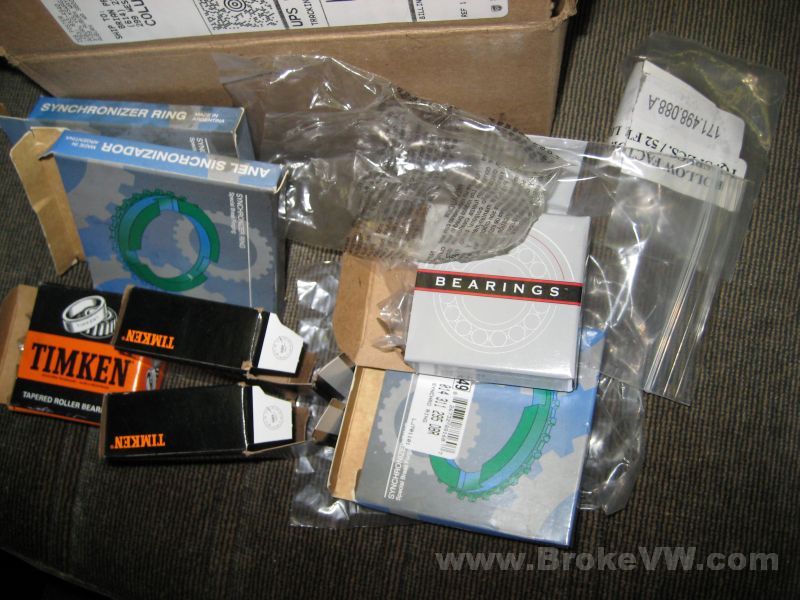
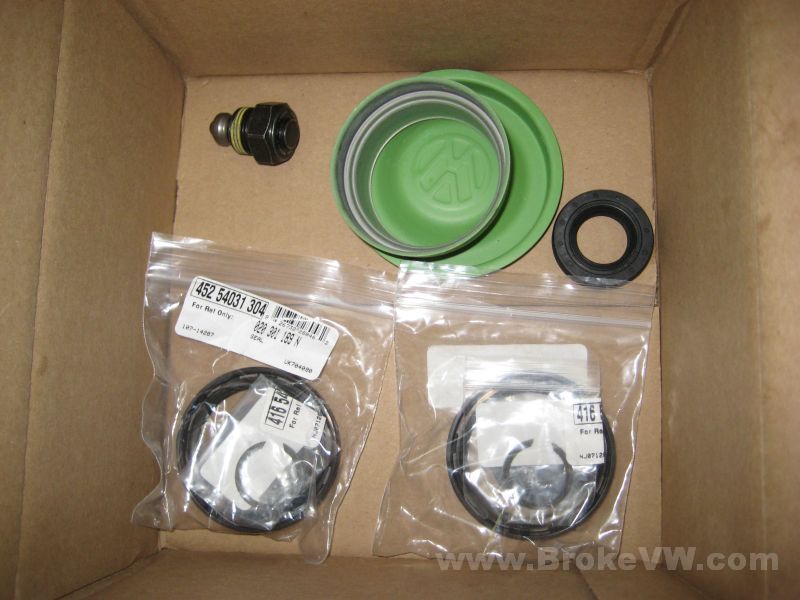
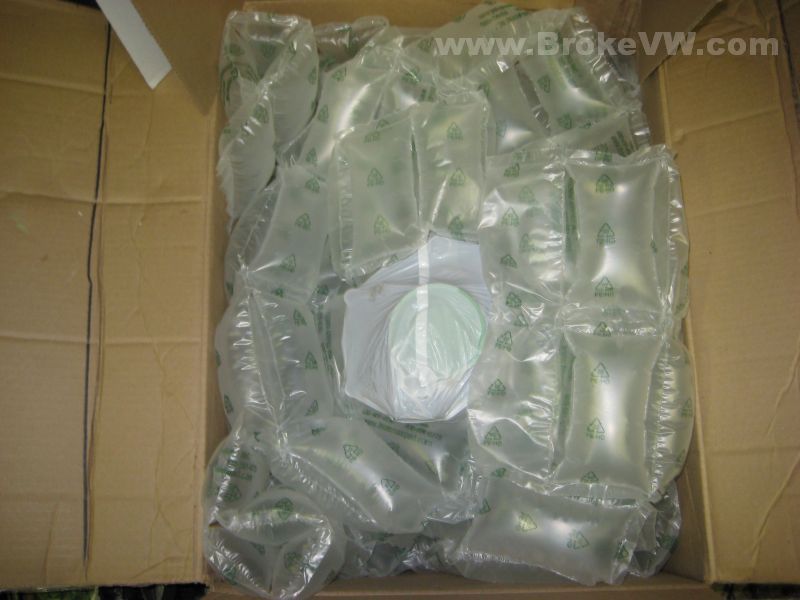
This is the box of some of the new parts used in your trans, the others have already been used...

The new parts I've used so far in the build...
I'm cleaning the cases up now, and will get started on building the trans when the cases are cleaned up. All of the bearing races and bearings need installed into the case, then the preloads need adjusted for the taper bearings, then the output shaft needs built inside the case, and all the other assembled sections get installed, and the case will be sealed up, and 5th installed, followed by the flanges.
Update 5/31/08
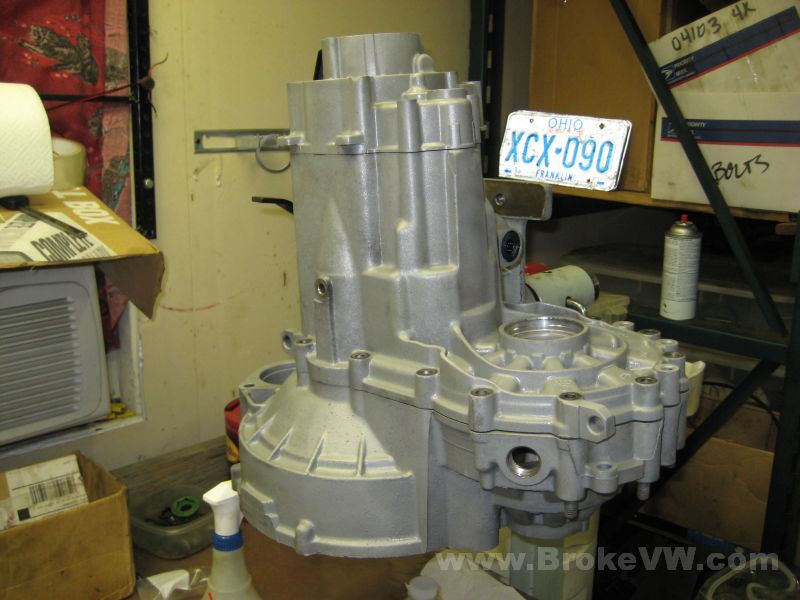
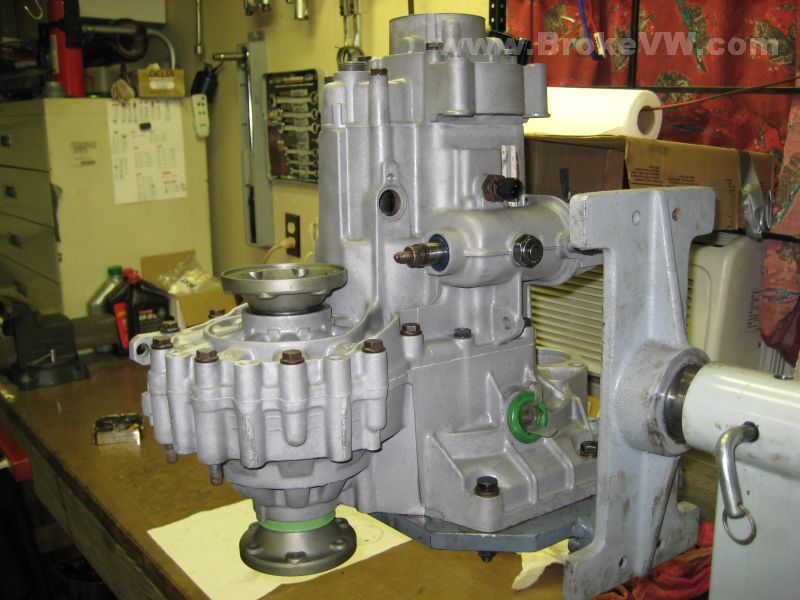
I'm heading off to Cincy for the Scirocco gathering in a few hours, but was able to get some work done on your trans this morning. I've got the output shaft preload set, it is at about 11 in-lbs, and I have the races pressed into the case for the diff carrier bearings, and will do the preload on those later. I have the 5th end housing assembled. I've got the case sand blasted, and I blasted and painted the release arm and flanges black. The blasting on the case cleaned it up more than it was, but I had limited sand and just wanted to clean it up some, as opposed to trying to put a new finish on it by sand blasting it and then glass bead blasting it, but it looks OK as it is.
Update 6/2/08
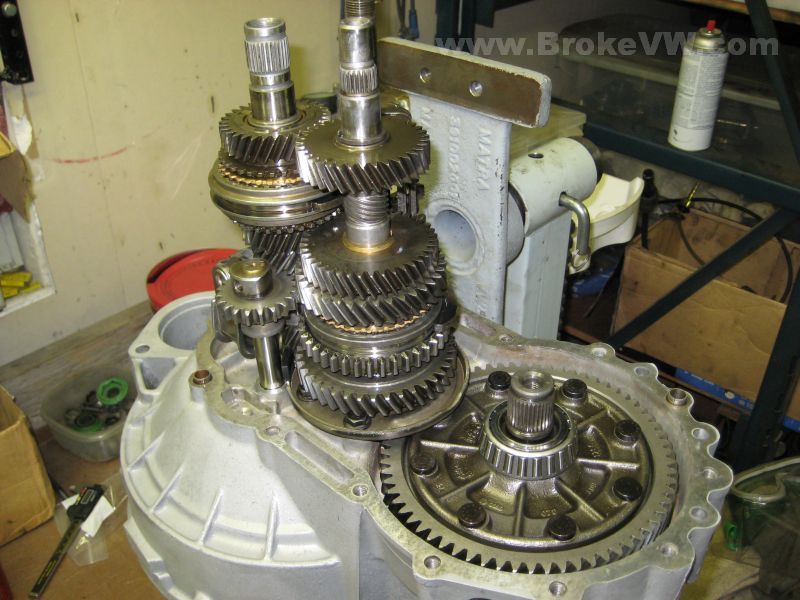
I've adjusted your diff carrier bearing preload to about 18 in-lbs, and completed the build of the output shaft, then installed the input shaft, reverse idler gear, and the shift forks...
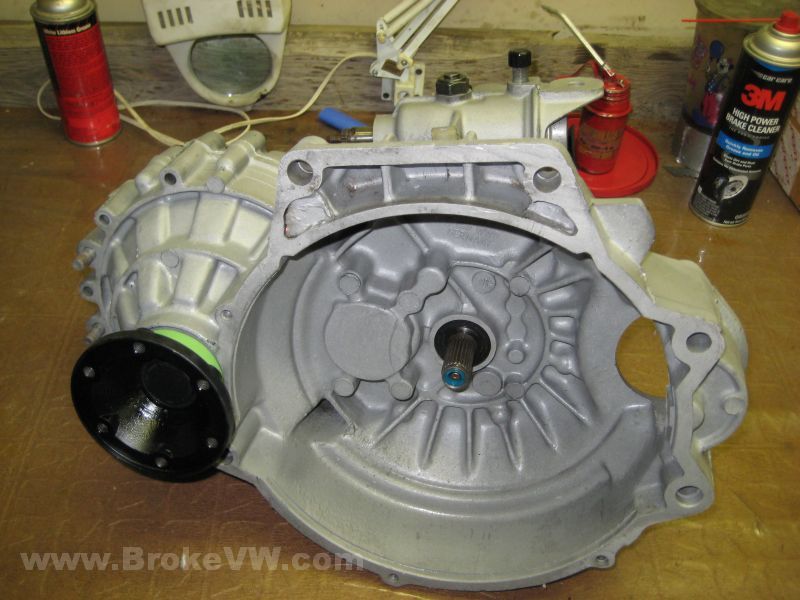
Not many parts left to install, just the selector, flanges, 5th set, and the casing...
New parts left to install are just a few seals and the 20mm detent bolt...
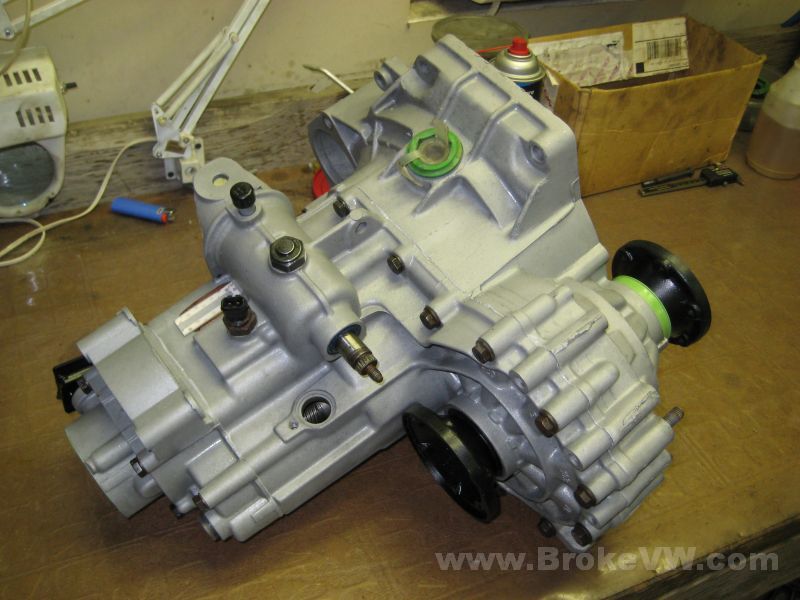
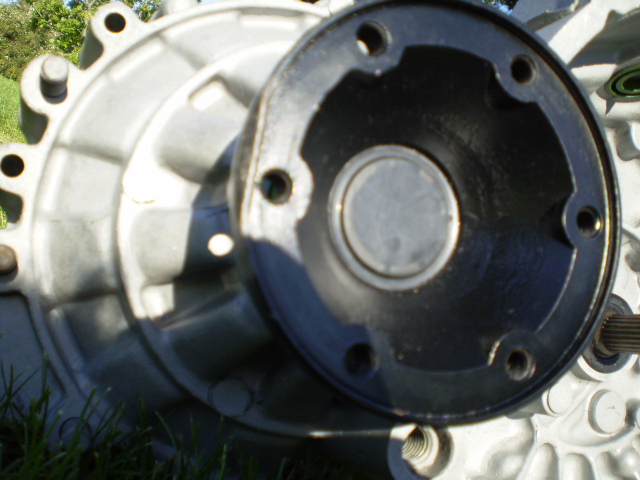
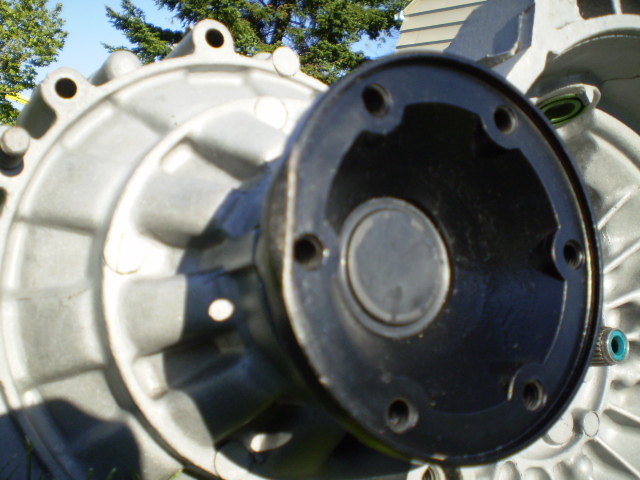
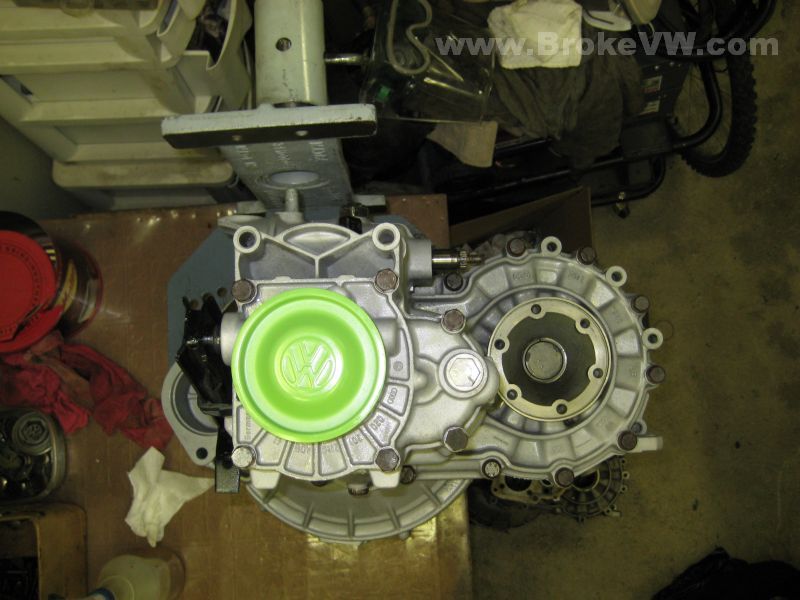
The casing pressed together and sealed up, with 5th gear set installed.
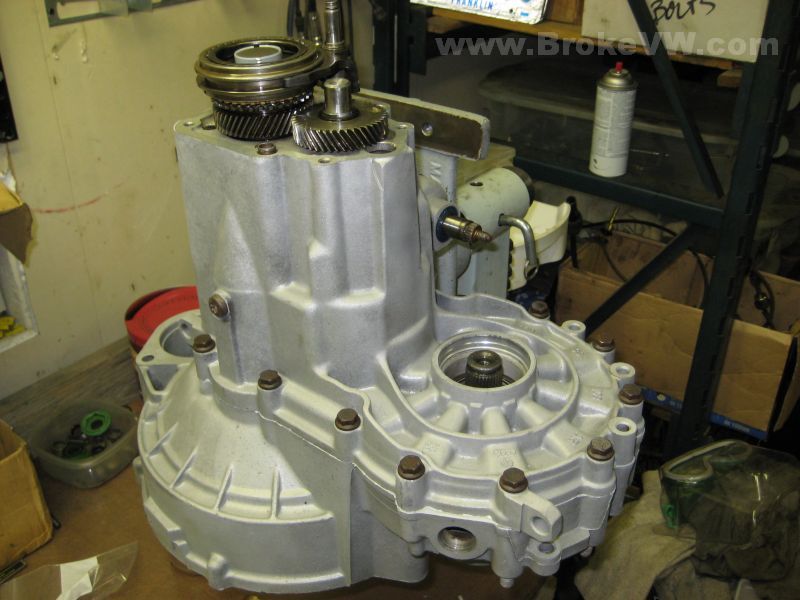
5th housing cover installed and bolted on...
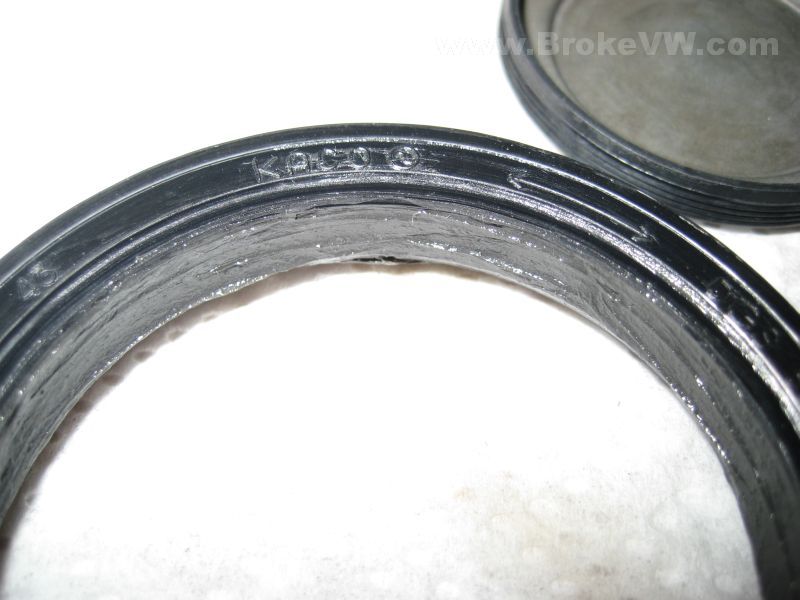
When installing new shaft seals, pack the gap between the 2 sealing lips with grease before installing. Also coat the outside edge with trans fluid before pressing the seal in...
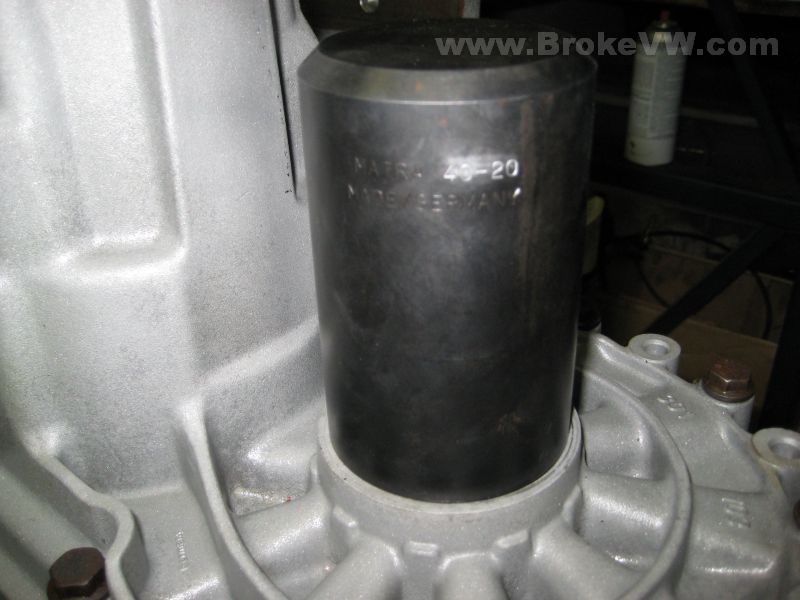
Use a suitable sized tube to press the seal in flush and even...
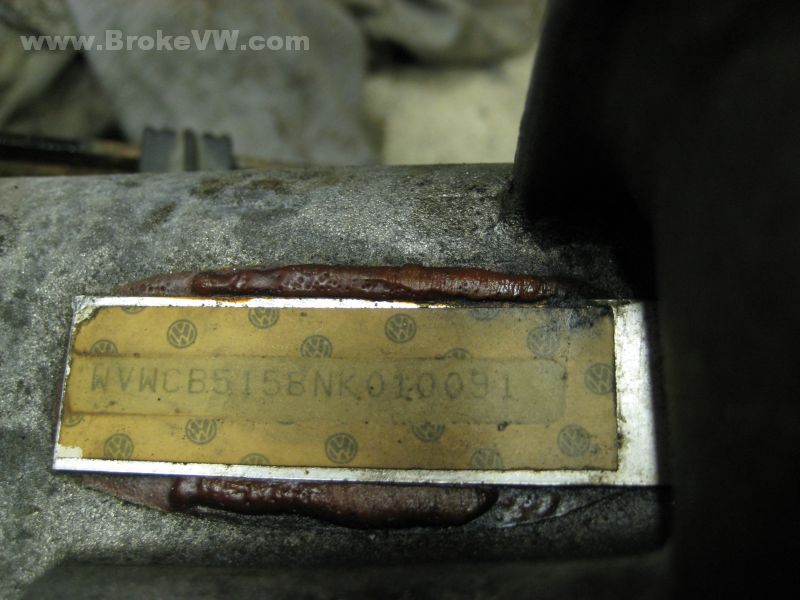
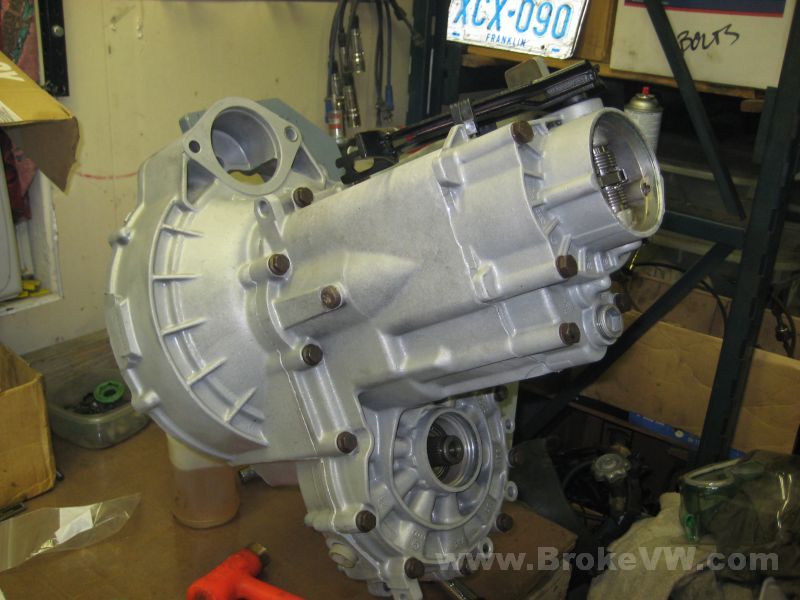
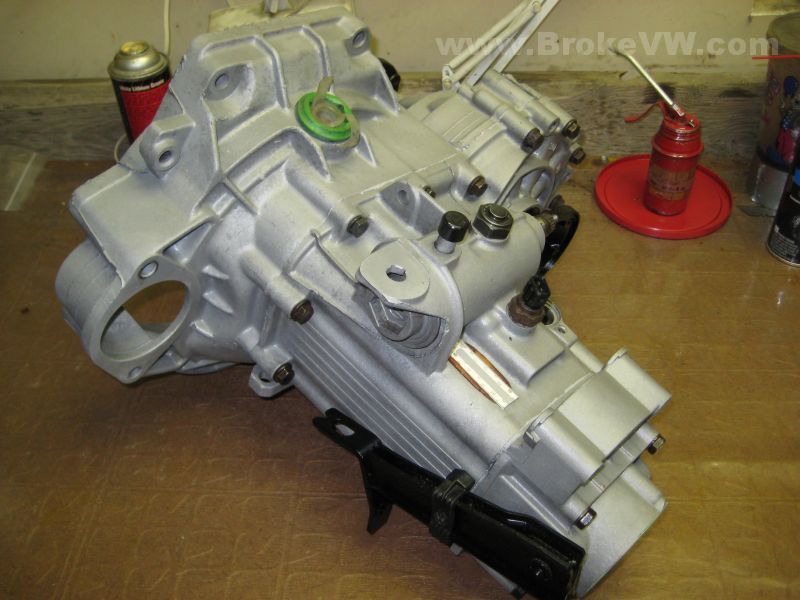
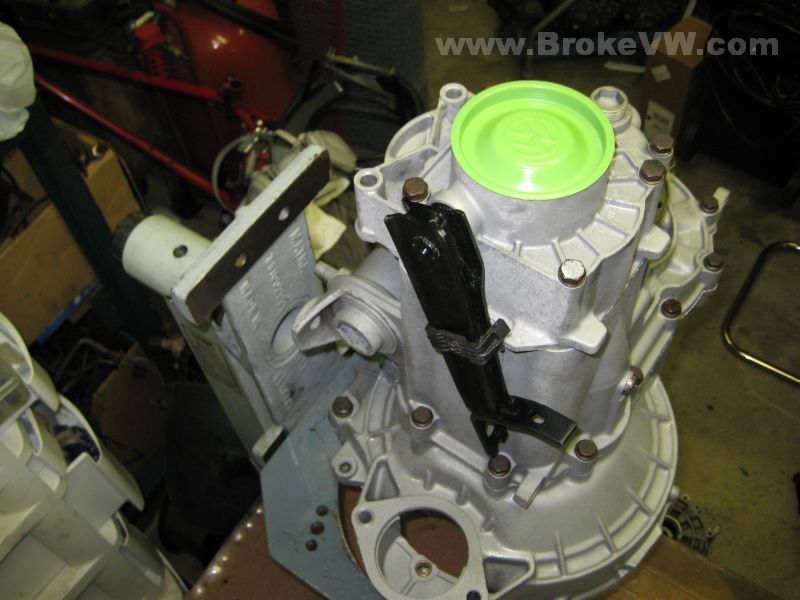
All done with the rebuild! I screwed up, and didn't think of the glued on VIN plate on the casing, as they're not usually on the trans, so when I blasted the stains from the casing, the sand removed the VIN number from the plate. At least you've got a pic of it before I erased it with the blasting. Sorry about that :)
I've got to get it bagged up and packed back up, and I'll get it shipped back to you.
Horrible Update 6/10/08
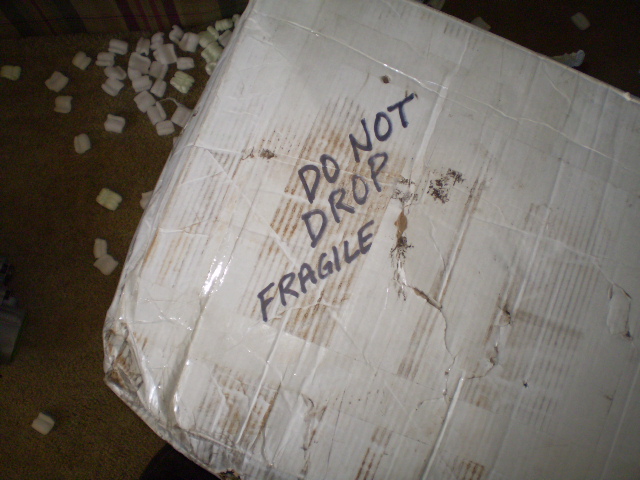
DHL shipping damage pics from the customer...
Bent flange
Seal sleeve knocked sideways in the casing...
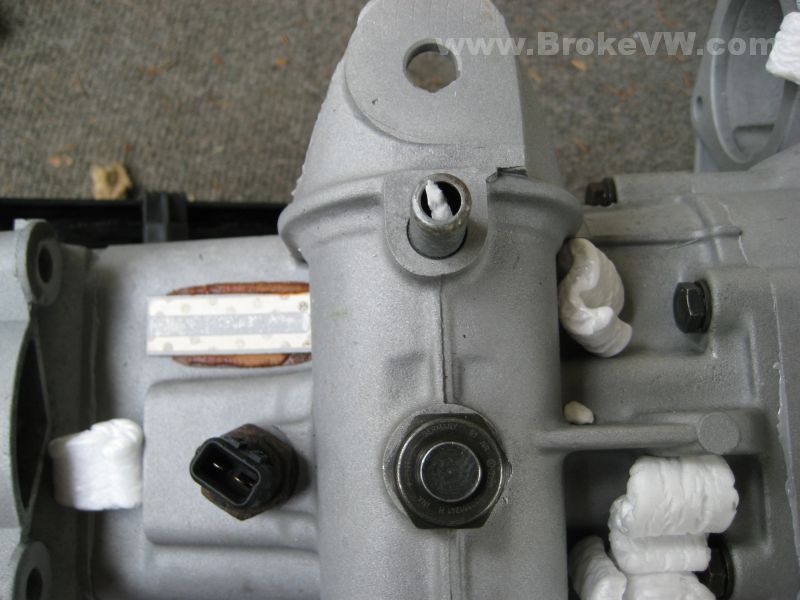
Mounting studs bent...

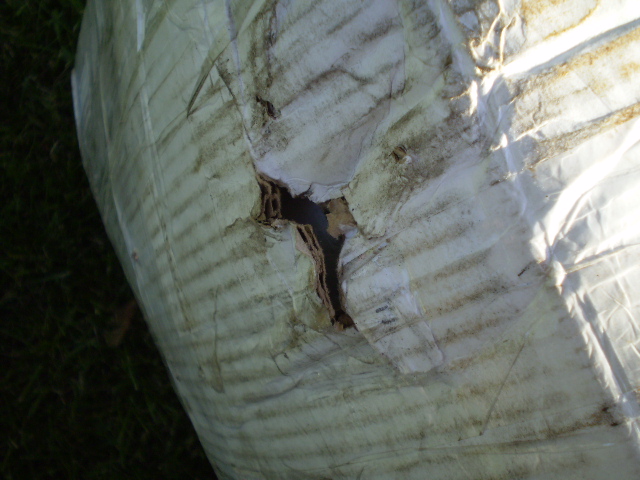
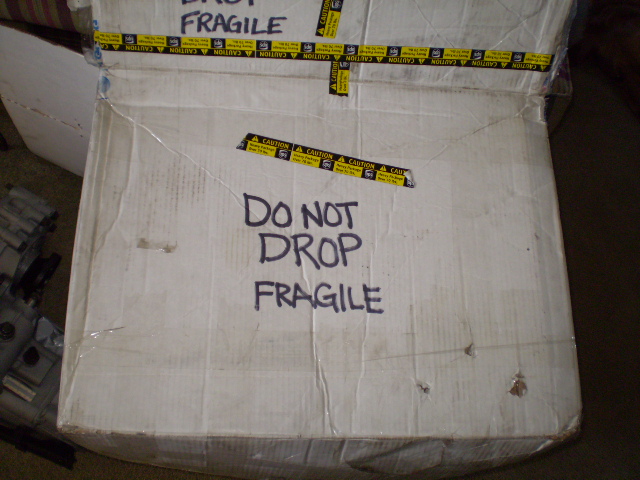
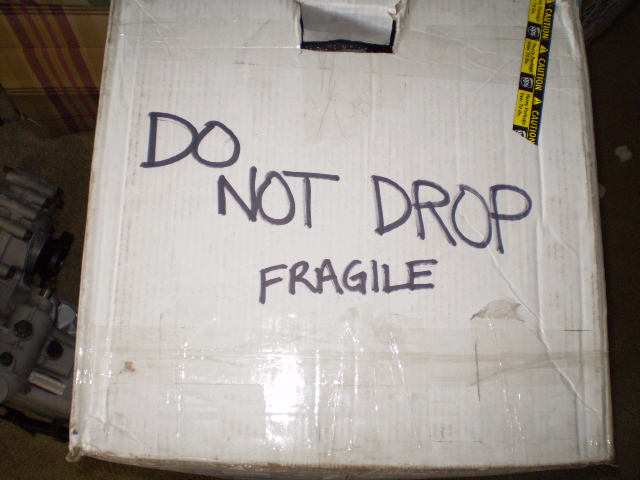
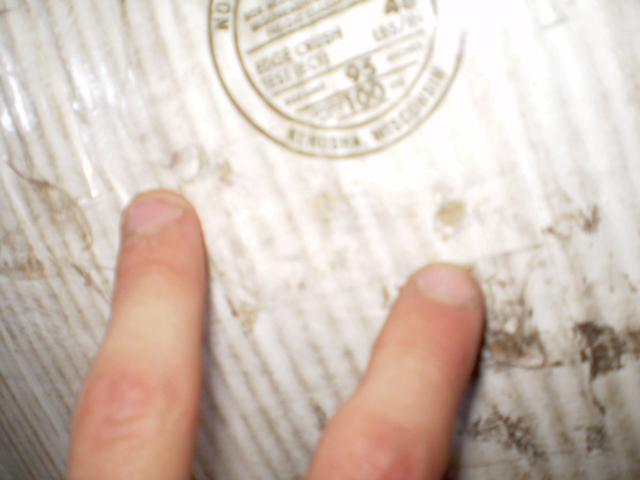
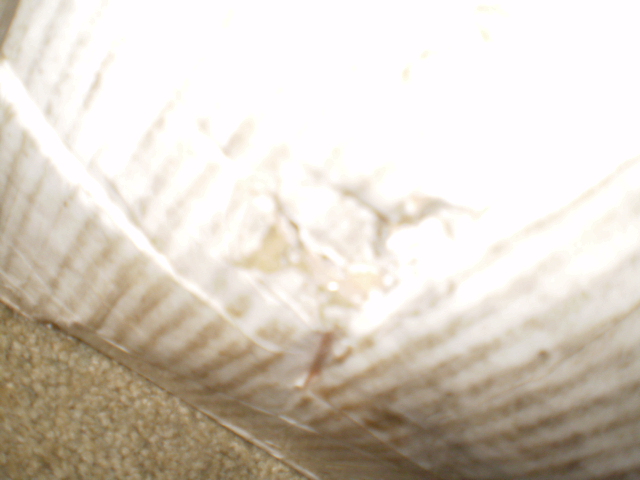
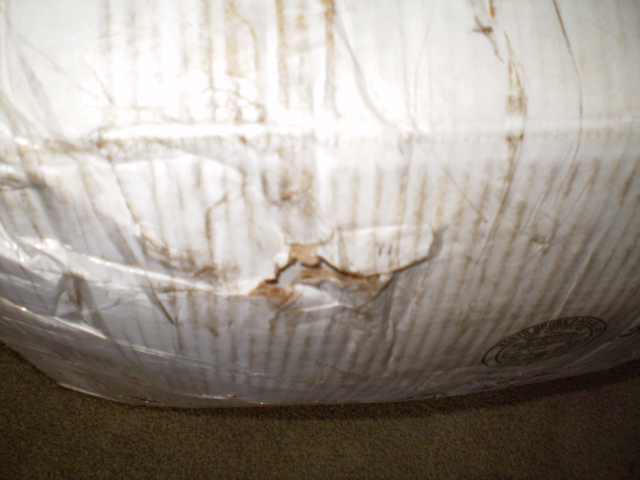
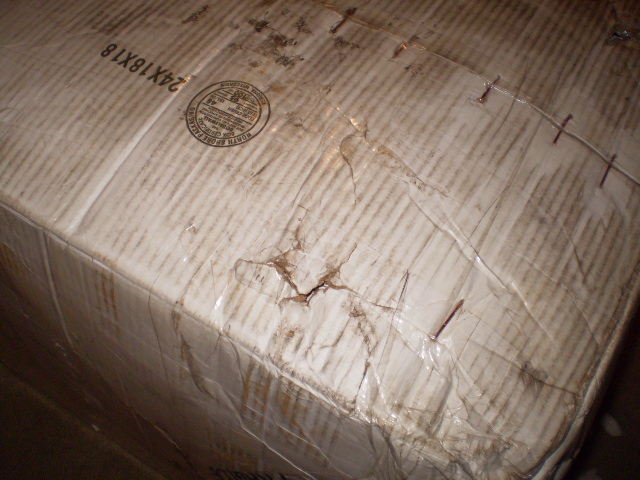
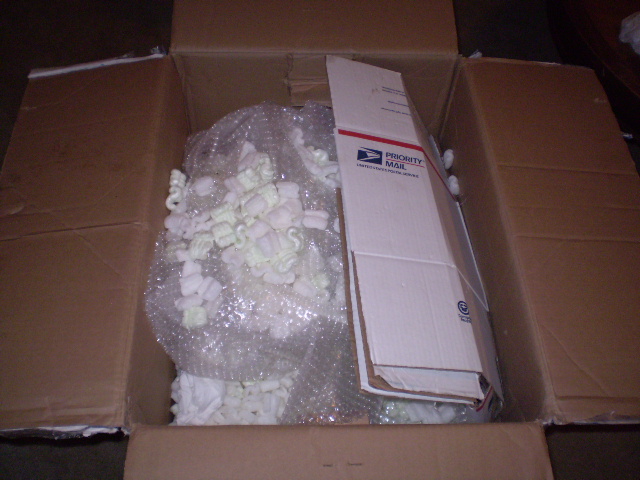
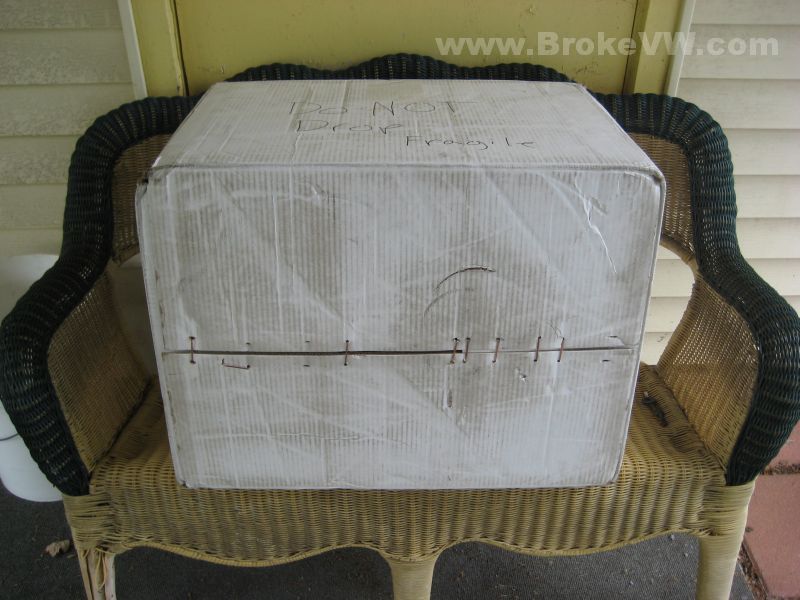
Damage to box...
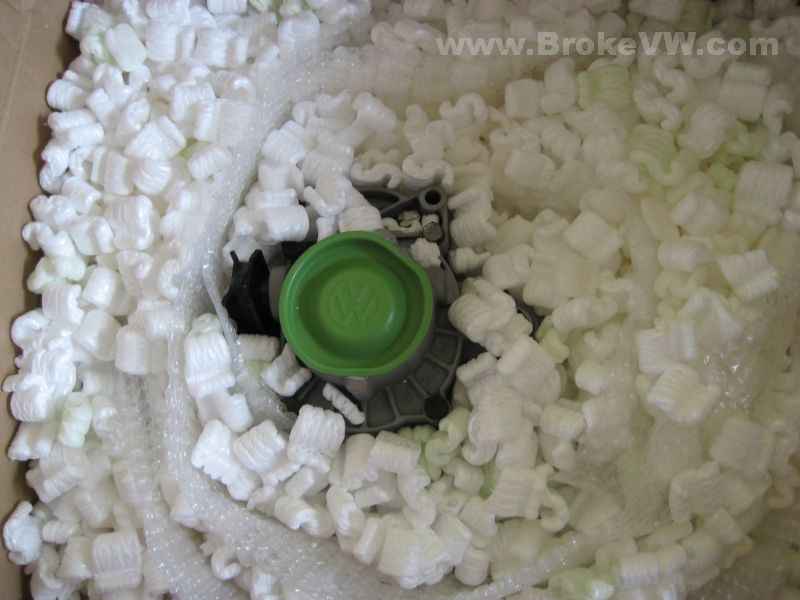
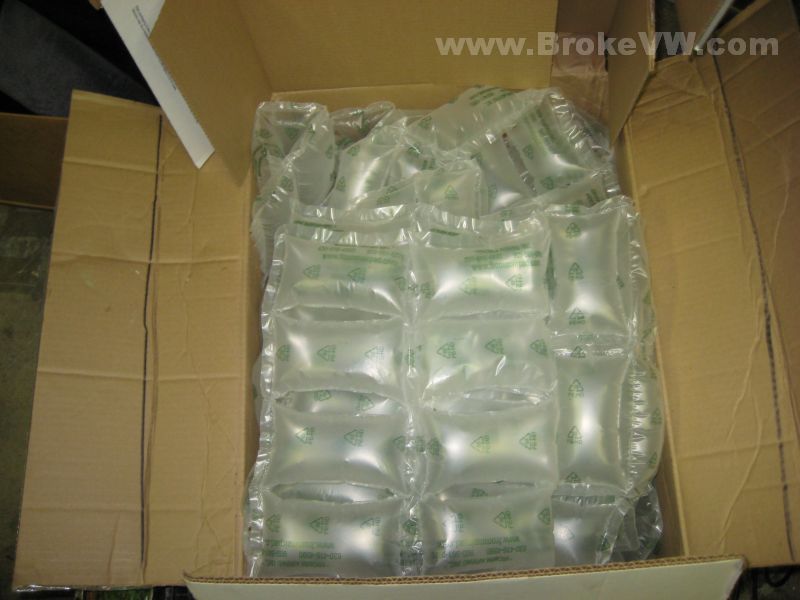
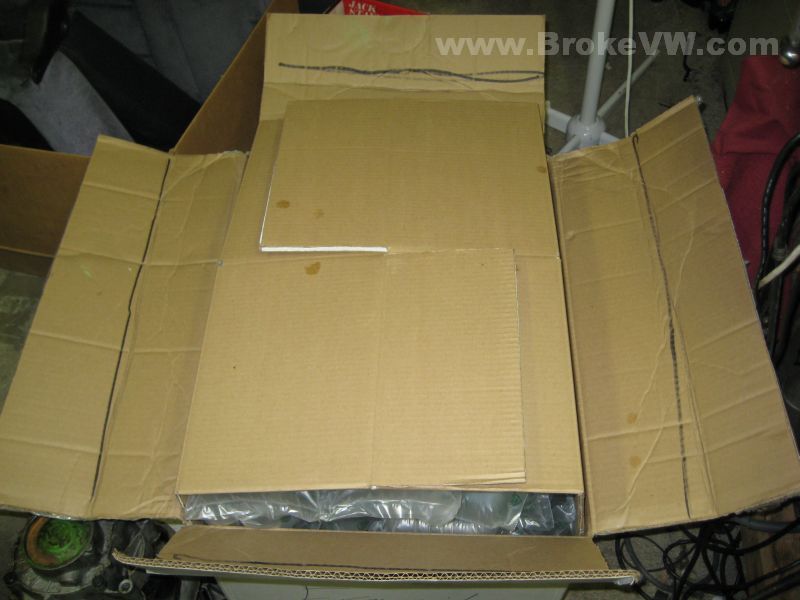
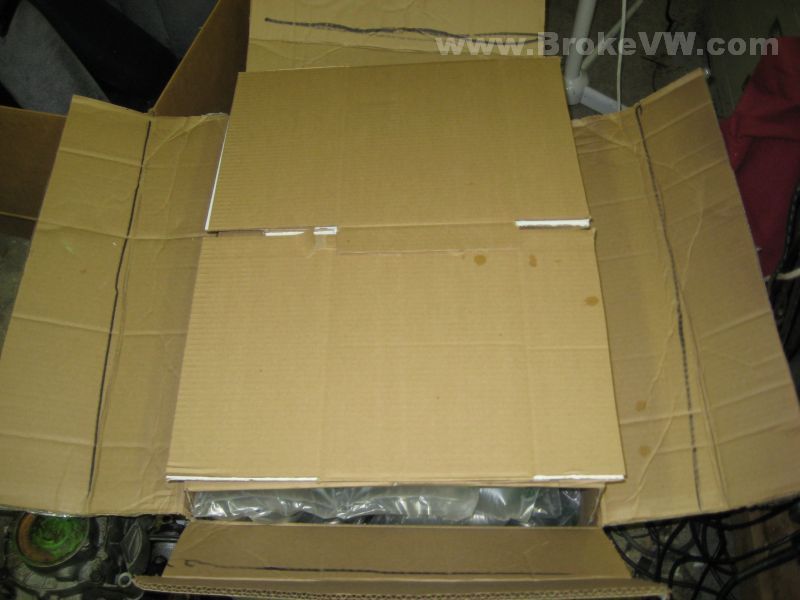
Packing was 8" of foam peanuts under the trans, with peanuts packed in around the sides, along with corrugate boxes folded up to make an additional 4 layers of protection for the sides, because I couldn't fit 8" of foam between the trans and the box on the sides like I did on the bottom. The top only had a few inches of peanuts on it, but I didn't think it would get turned upside down, so I was more concerned with the bottom of it.
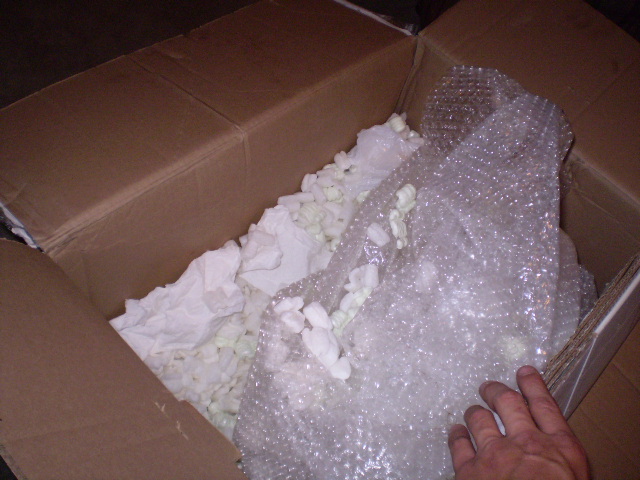
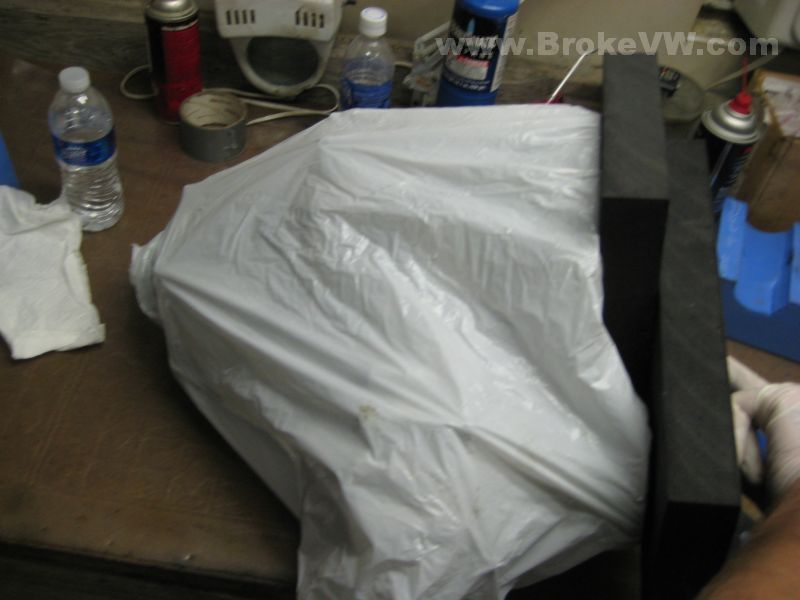
The trans itself was bagged in plastic, and then wrapped in about 4 layers of bubble wrap before being placed into the peanuts.
final packing depth, not 8" loose then the trans on top, the box was half filled with peanuts, and the trans compressed it to 8"
This is where one of the mounting studs hit the bottom, which means the flange had to be sticking out of the box bottom, as the studs are several inches from the bottom of the box...
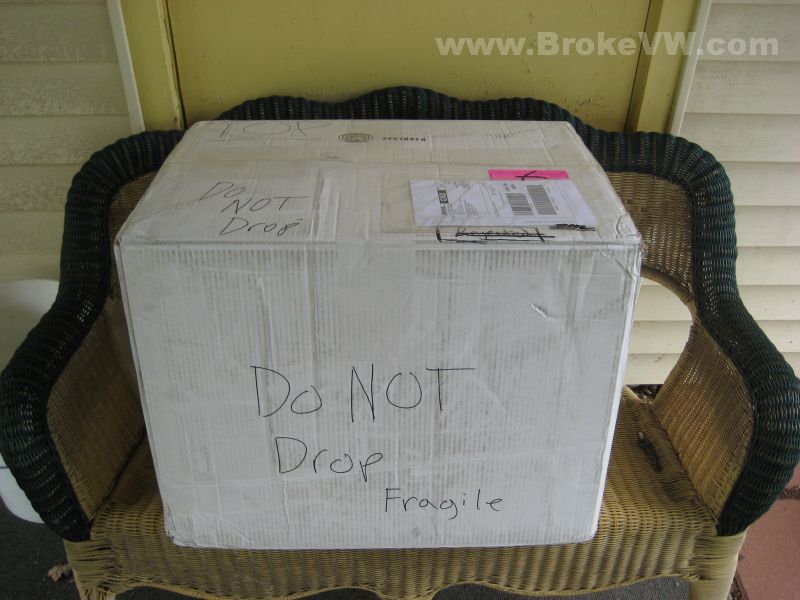
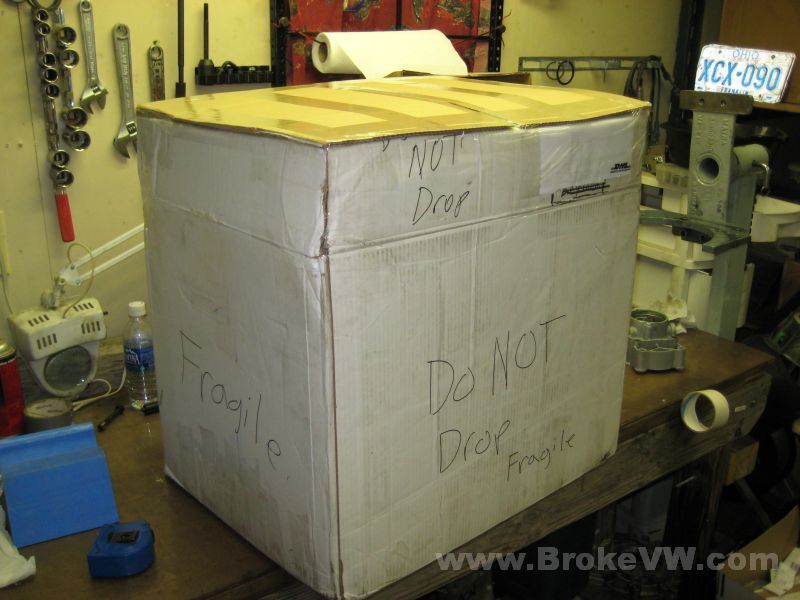
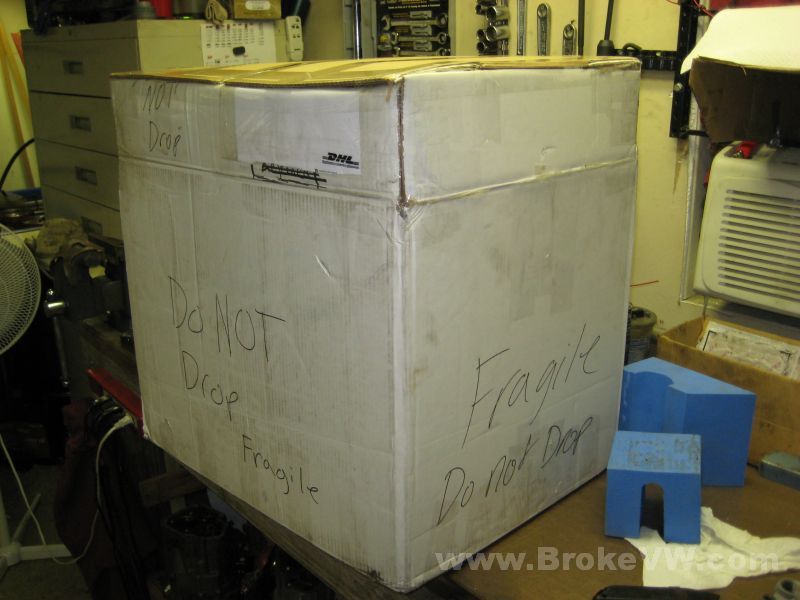
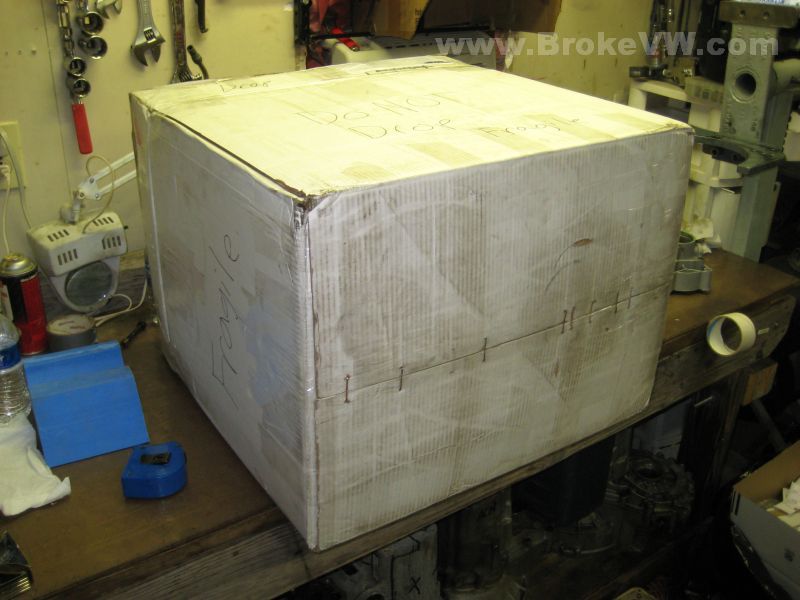
Marking on the box before I shipped it out. I made sure 5 sides of the box had it written on there, and I cut handle slots into the sides of the box so it wouldn't possibly slip from a persons hands, and to make moving it easier...
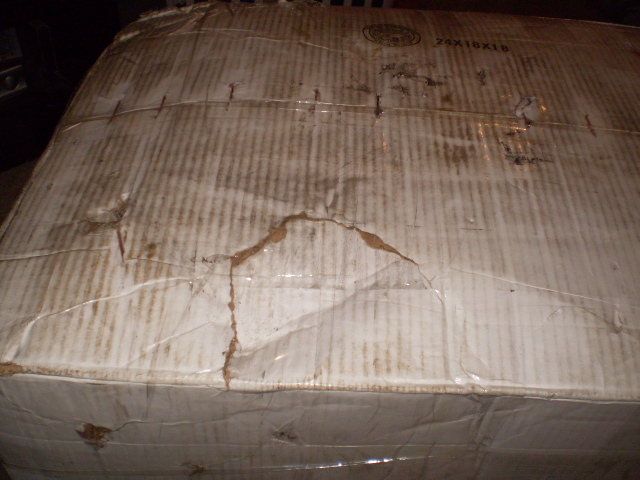
Arrived back 6/17/08 for damage inspection
The 5th housing has been hit, it didn't leave here like that at all...
Why bagging the trans up is ideal...
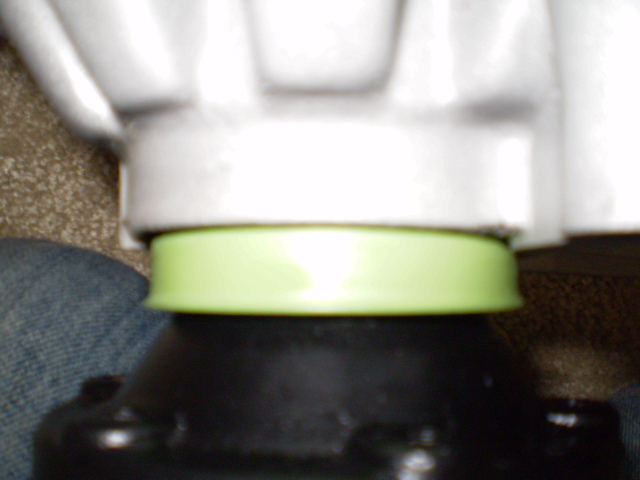
The 5th housing is shot, it is too badly damaged to use again. You had a slight flat spot which has been hit in the same spot again, mashing the housing much further, and the bottom of the housing has also been hit. Your end cap looked round to the naked eye, the only flat spot would be hidden by the new cap inside the bore, the cap itself was perfectly round when I shipped it out, so it has been hit a few times after I shipped it.
I'll get it pulled apart, replace the diff bearings, replace the 5th housing, and inspect the internals, and get it shipped back out. I'll update the page with more info when I have it.
Update 6/26/08
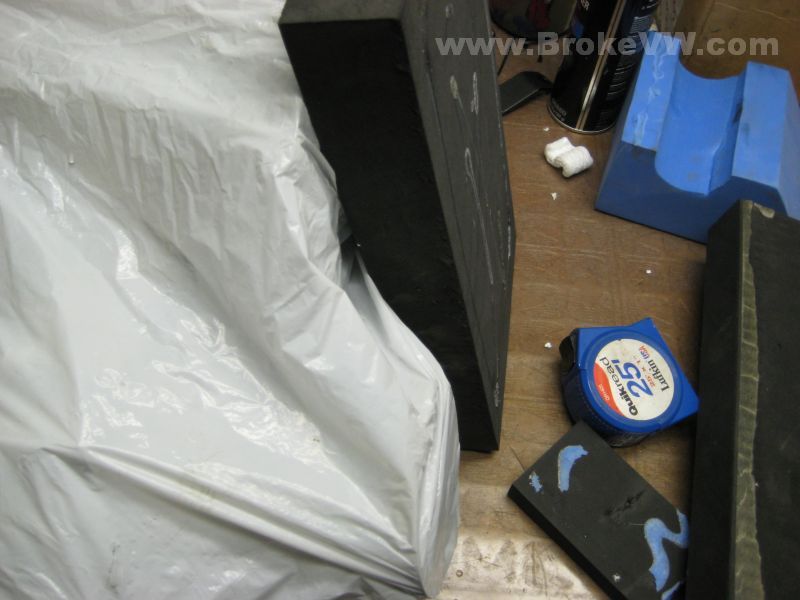
Done again. I've packed it so hopefully they can't hurt it. I've used high density foam blocks under the trans. One runs across the bellhousing, and makes up the height difference between the bellhousing and the passenger flange, and then another one spans the flange and the 1st foam block. The entire trans is resting on several inches of high density foam, so the bottom of it couldn't get much more protected for shock from being dropped. Let's hope it is enough.
The foam peanuts were fairly crushed after being used a few times, and starting to break down, so I have used air bags all around the trans, packing it so it can't shift around. The foam under the trans caused the box to be too short, so I had to make a new top for the box and fold the original flaps in half to get it closed. This also allowed a couple layers of air bags to be placed on top of the trans. I've got the bags rolled up and inserted into all 4 corners as well.
I feel bad this has been such a hassle for you, so I've replaced the flanges with zinc plated flanges, and they are also yellow chromate dipped. The zinc prevents rust, and the chromate adds an additional layer of protection to the zinc layer. The yellow is just a simulation of the original cadmium coated parts manufacturers once used, it actually looks a bit gold in color like a new cadmium coated bolt. Your bottom drain plug is also zinc plated and chromate dipped.
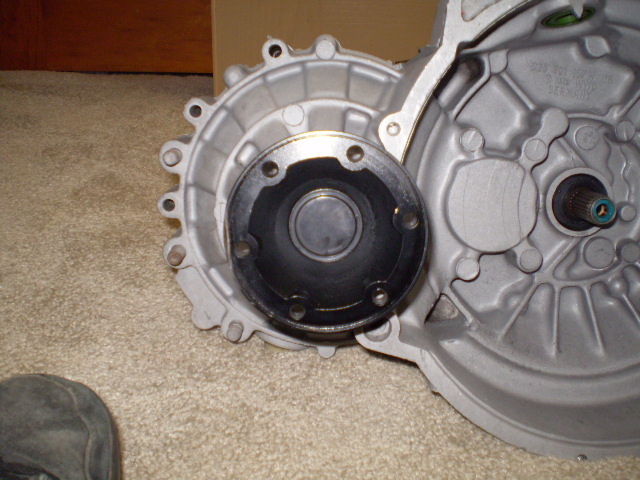
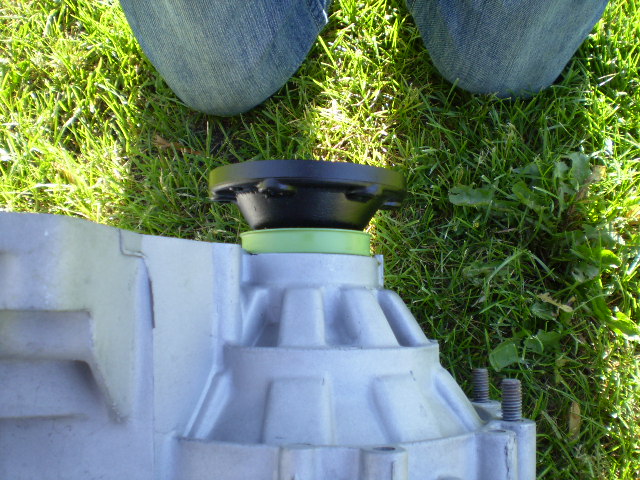
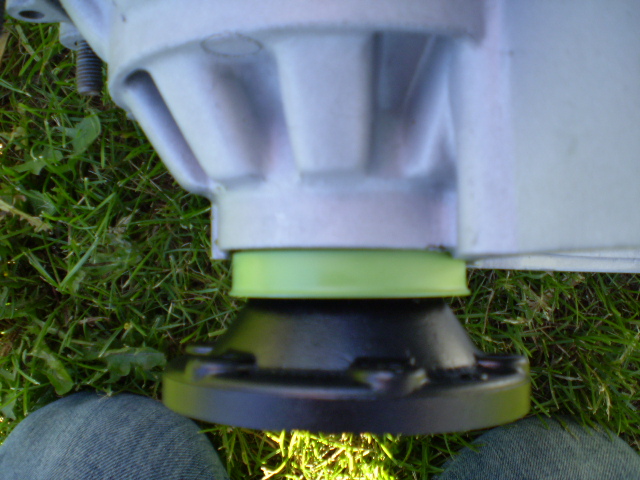
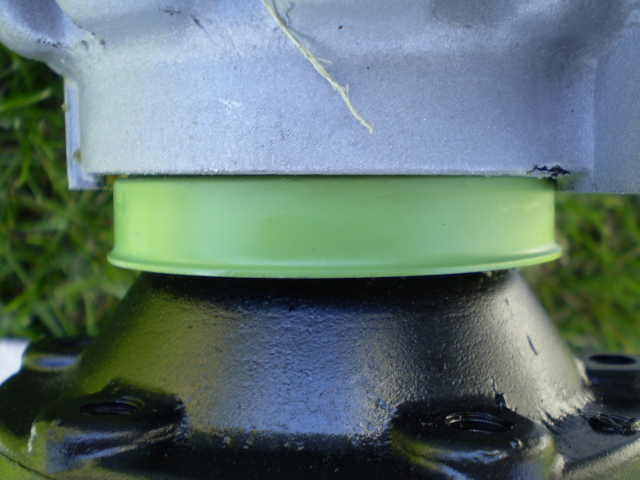
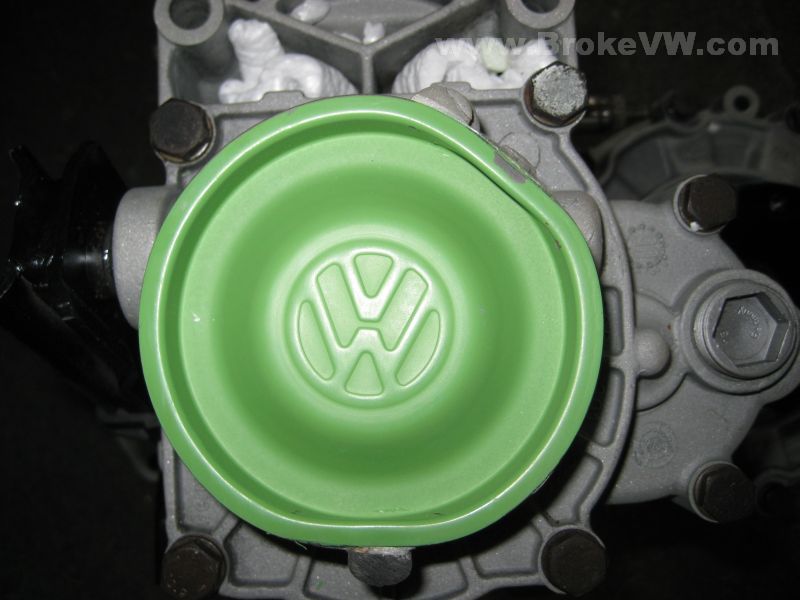
A pic showing the end cap, nice and round, just as it should be. I didn't notice it until I was adding the pic to the page... but the damned cover is slightly crooked. If they were $10 a pop, I'd do it again... that sort of stuff bugs me. I even stood up over it to make sure it was centered, but it obviously shifted on me a bit when tapping it in fully...
The foam blocks the trans is sitting on...
The bit of peanuts left in the bottom I simply didn't get removed because they were a PITA to try and get out!
Air bags packed around the trans. There are quite a few in there. I am hoping it doesn't shift around in transit. The bags are pretty tough, they shouldn't pop. I expect a few to possibly pop, but they should be OK for the most part, the weight gets spread out against them all...
I made a new box top for the box, I used 2 boxes on top interlocked and folded over the trans...
...another box on top of the first 2 boxes...
...then the white box flaps were folded over those 3 boxes, and I put a 4th box over the white flaps as a cap... the top should be fairly well protected now also...
The bottom of the box is taped up fully, hopefully it'll make the trip OK.
I'll be taking it to DHL tomorrow first thing and will get you another tracking number when I have one.
I was hoping to have large foam blocks like the blue blocks on the bench, but the foam company who sent me samples didn't have the right foam, so I'm in contact with another company to try and get the foam blocks the size of a cardboard box, one big block of foam. I'll cut the block in half with a band saw and then hollow out the 2 halves to fit the trans perfectly, so the entire square block of foam can be put into the box and shipped, and the trans won't be able to move at all once boxed. For now, I hope the air bags survive.