E-Flite Blade MSR Tail Motor Modification
I only had the little heli about 24 hours before the tail motor end cap popped out. I had hoped it was OK to pop in again and mangled the teeny tiny brushes (metal hair springs) in the process, so $14.99 later at the LHS and I had a new boom assembly. Time to modify this one to not fall apart.
I had seen the methods using tape and epoxy and other ideas, but I wanted something mechanically strong and lightweight so it didn't affect the balance, since I CANNOT fly this stupid heli at all.... it spins when you hit or drop the throttle, it just drifts constantly and I am non-stop trimming to fight it.... anyway, I decided to use a piece of wire to secure the end cap.
My other thought was to put a small sleeve on the motor shaft under the tail rotor blade, so in the event of a crash, impact would hit the motor shaft and rather than drive the shaft and end cap out the other end, it would then hit the sleeve which would put the force into the motor can, rather than through it. I decided I didn't want anything on the shaft that could cause any binding, so I went with the wire idea.
What we start with... a #70 drill bit, $1.99 at Hobby Land. A new tail rotor ELFH3002 for $14.99, and some strong craft wire I stole from my wife's craft cabinet. I believe it is a brass or bronze wire, and it is 0.20mm thick but it is quite strong...
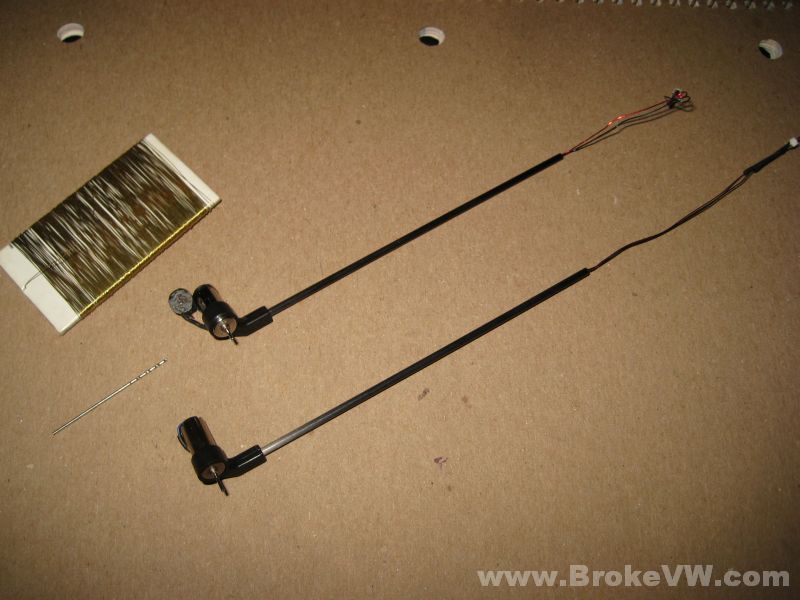
Bummer... one popped end cap, and some mangled "brushes" which are nothing more than ultra delicate springs...
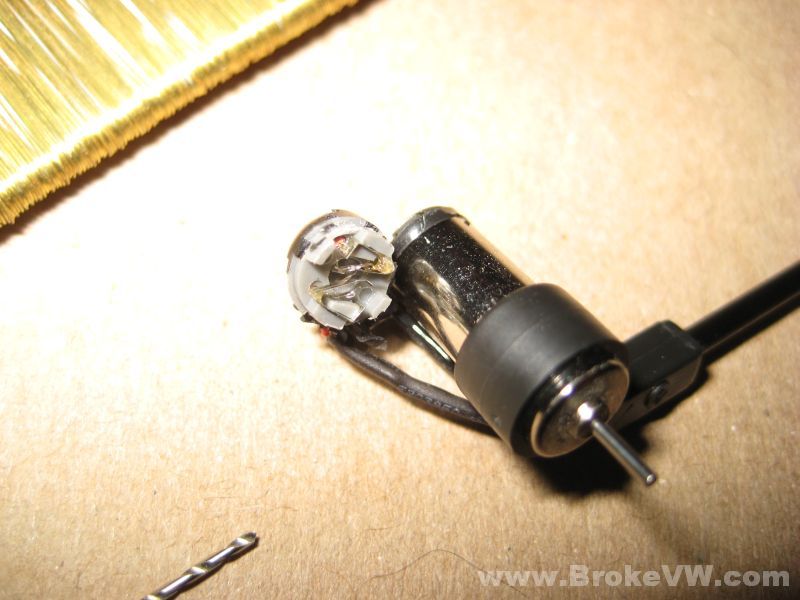
The new motor end cap....
The motor needs removed, but there is no slack in the wires yet...
Straighten the wire at the other end of the boom and push it into the tube carefully a few millimeters...
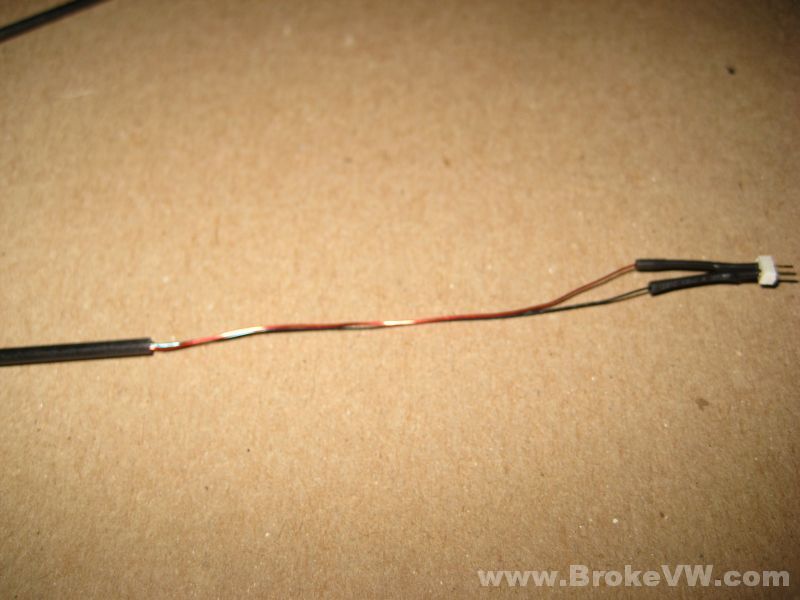
The wire will poke out of the motor end of the tube, giving you the needed slack...
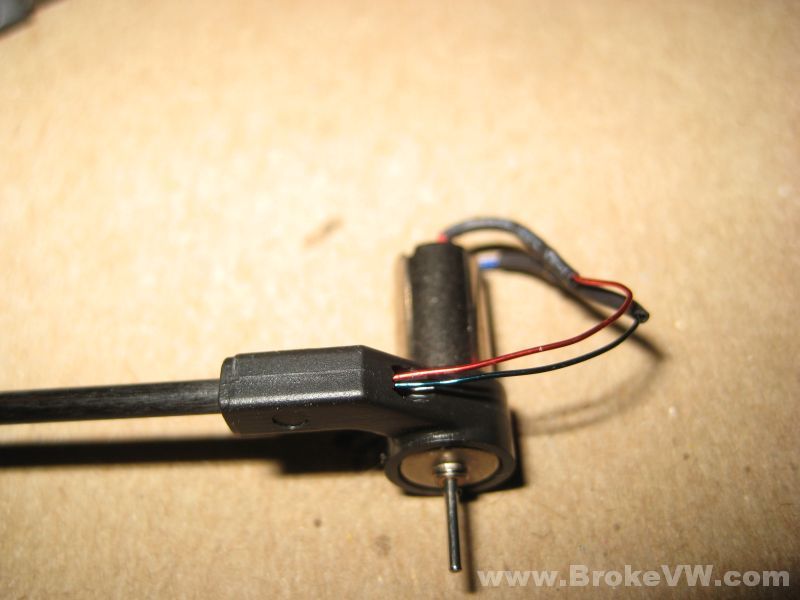
Press the motor from the housing. You may need to twist the motor a bit to get it to slip and pull out...

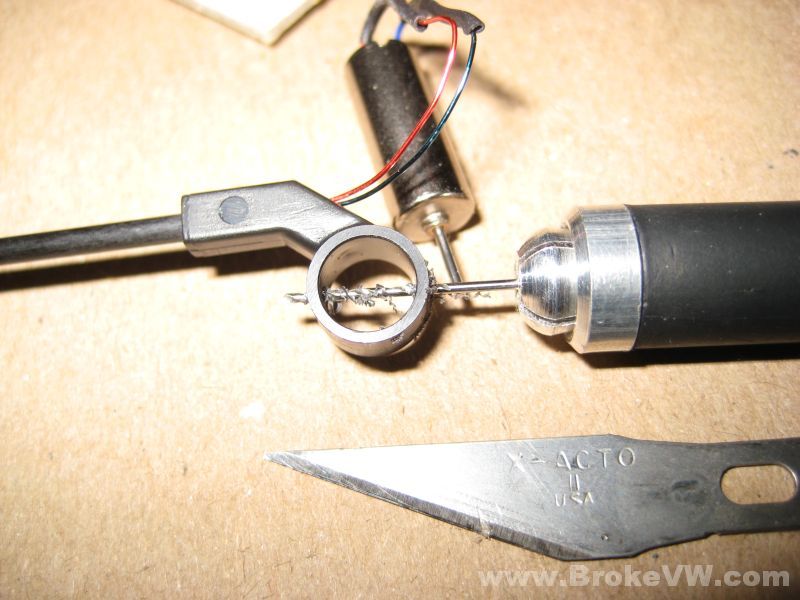
It didn't take long for me to realize I have no way to spin a micro drill bit. This is a 0.711mm or #70 bit, and I have nothing to twist it, and my fingers aren't doing the the trick. I recall the wife has an x-acto knife and it has a collet that tightens down tight... so I grabbed that and fit my tiny bit into the middle. It worked wonderfully.

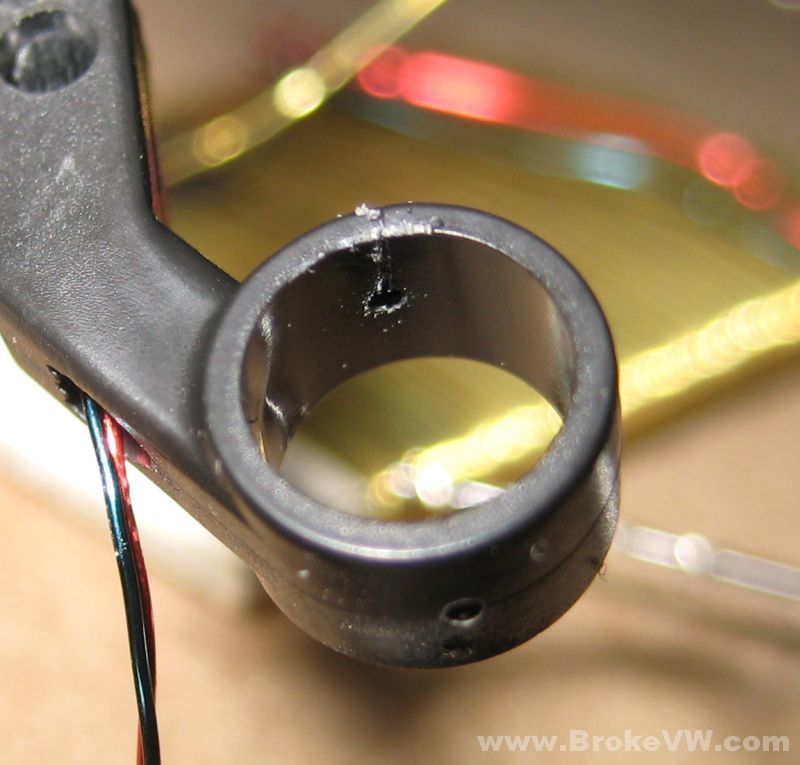
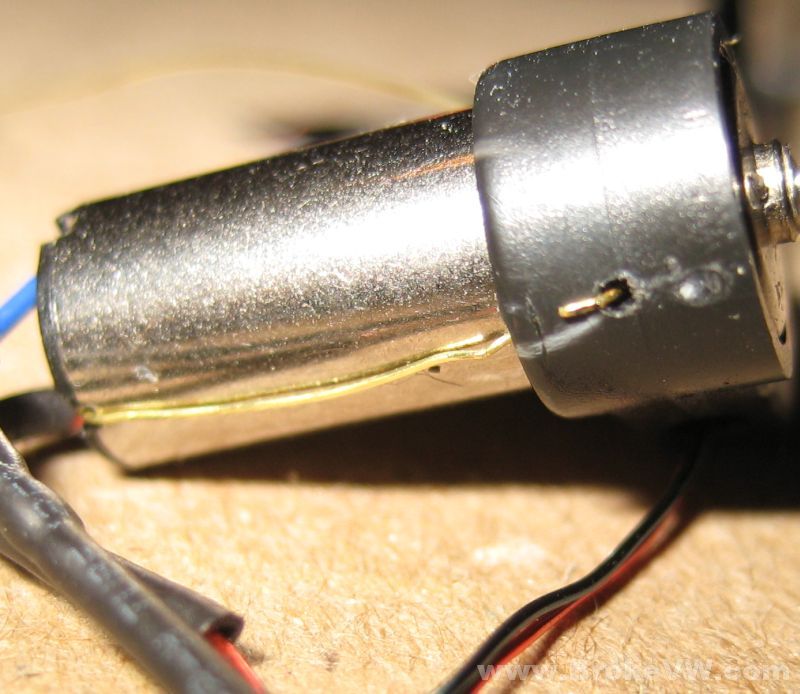
Drill a hole through the side of the housing as shown, running through both sides....
I used the x-acto blade tip to then scrape/scratch/cut/slice a small channel in the housing, where my thin wire will reside once completed. I decided the sleeve was quite tight on the housing, and forcing the motor in with 2 wires in the way would be too much, so I made the channels to help give the wires clearance, but not allow them to slip through easily... the wires have to jam tight to work right...
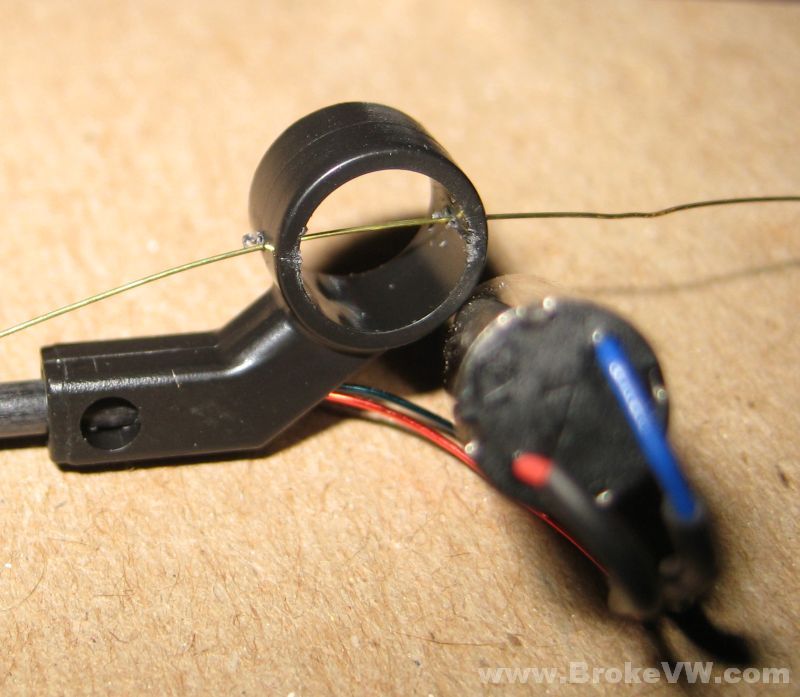
Run the wire through one side, then between the 2 motor wires, and back out the other hole. This pic shows the wire just passed through the 2 holes... after this, I realized I forgot to pass it between the 2 motor wires....
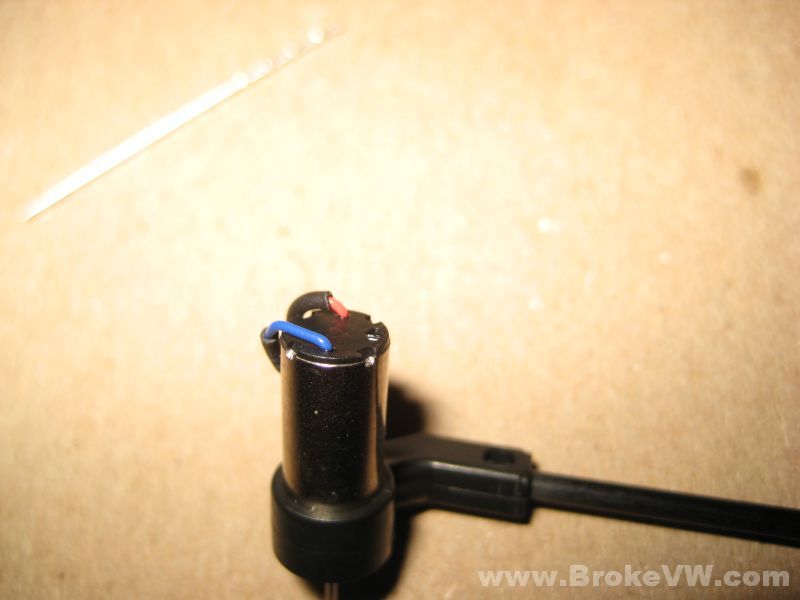
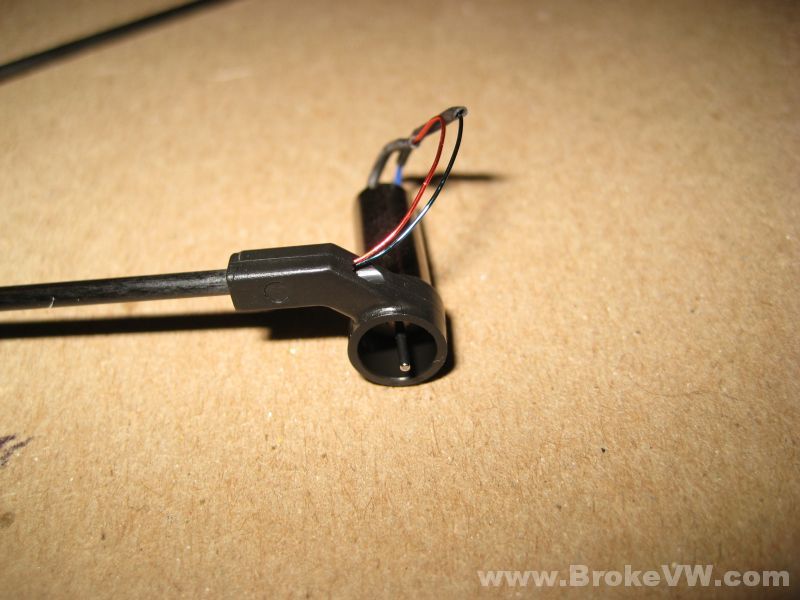
Pass the wire over the end cap, center it and if possible allow it to get "caught" in one of the "tabs" that are supposed to hold the end cap in place. I call them "tabs" because as short as they are, they're worthless and not worthy of being called actually tabs without the quotation marks:)
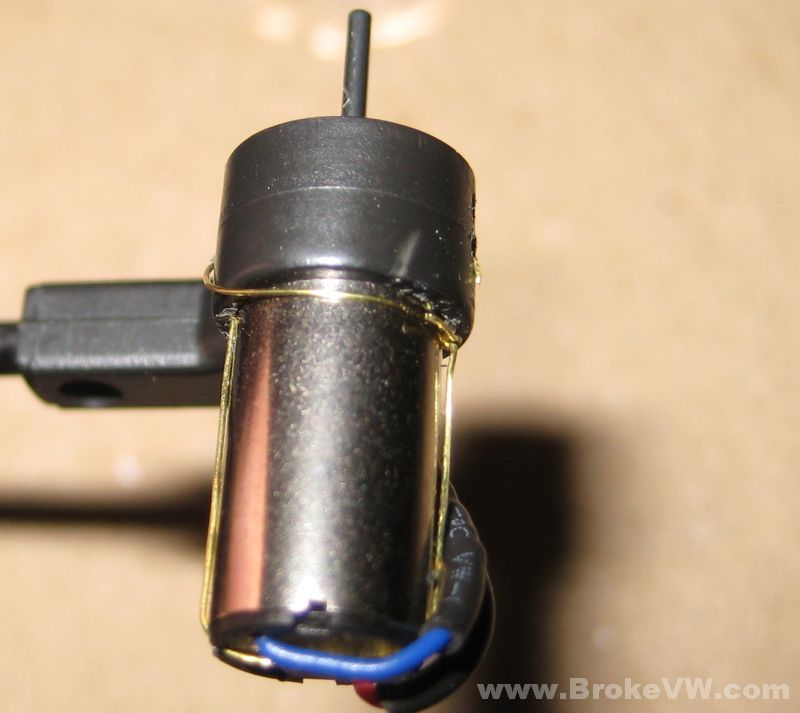
Push the motor into the sleeve and attempt to pull slack out of the wire as you do so... don't worry if it doesn't all come out yet, just get the motor back in and flush with the end of the sleeve (I think it should be flush, the new one was, the old one was not, it poked out past the sleeve a bit, not sure if it matters)...
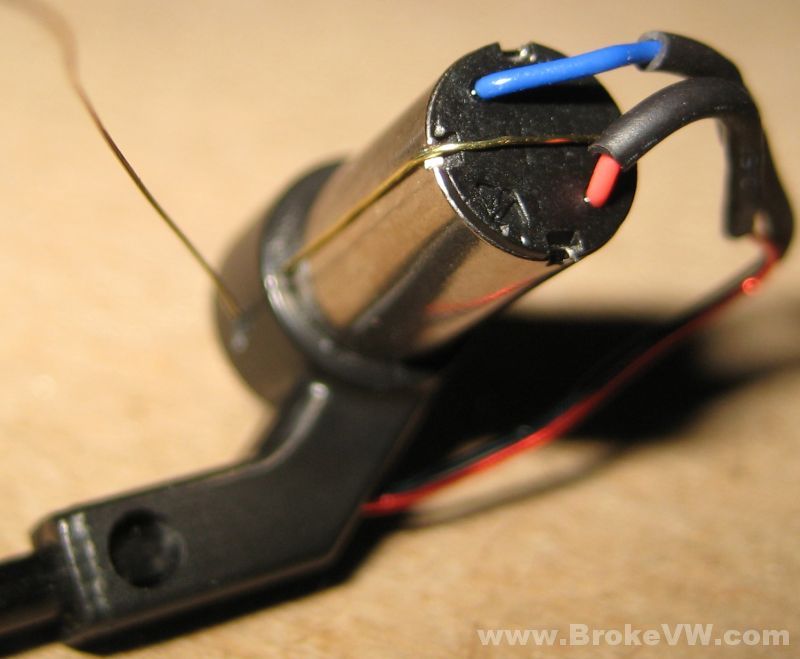
With the excess wire in this pic, I took it and wrapped it around a small screwdriver and used it as a t-handle to pull the wire taut...
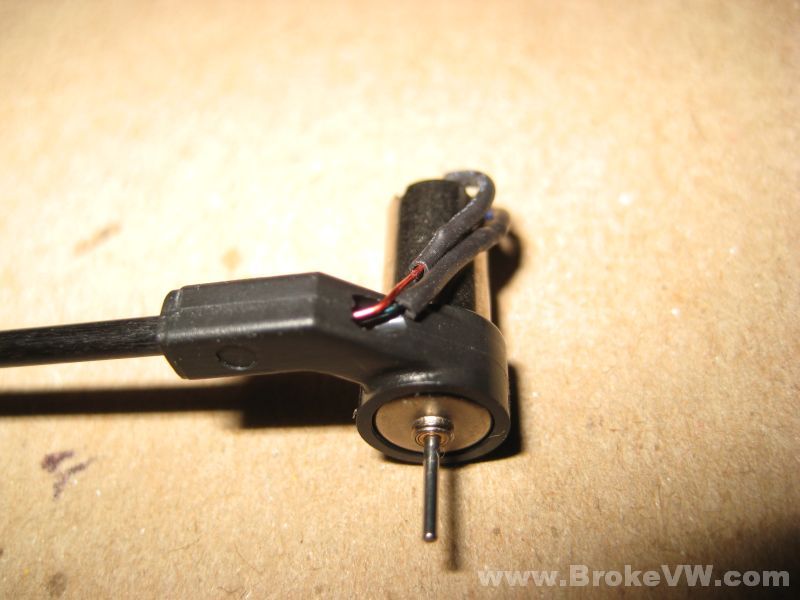
You can see the white stress-mark of the wire inside the tight housing... this ensures it won't slip out on impact and should help hold the silly motor together...
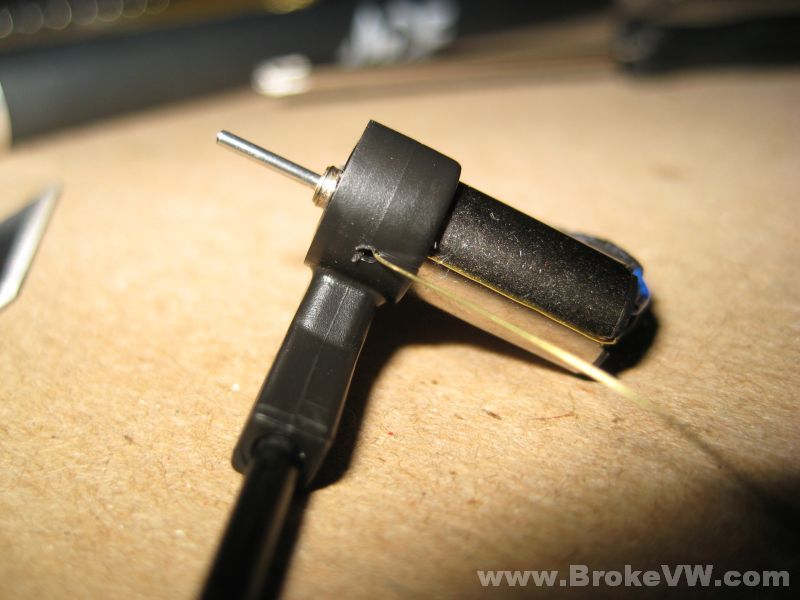
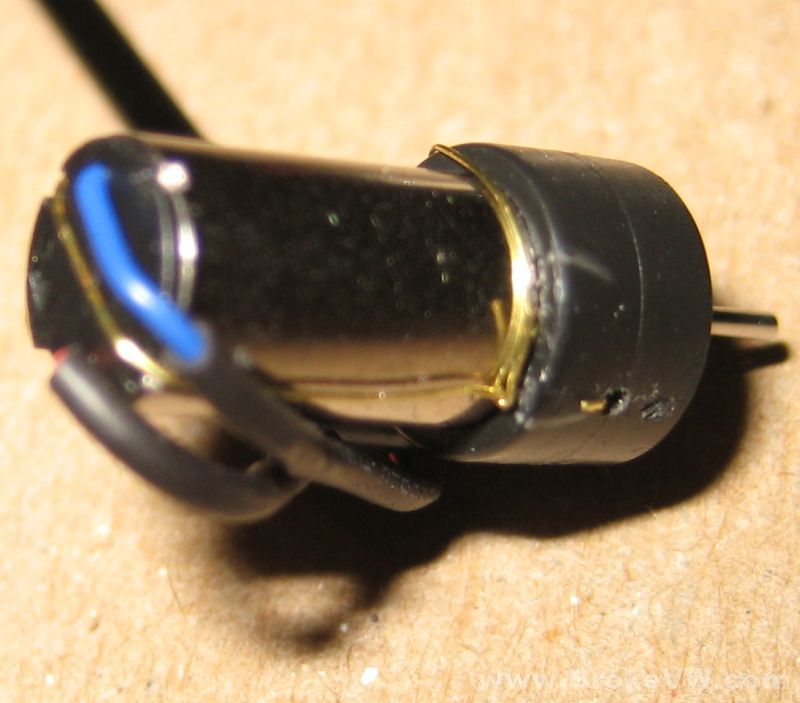
The other end of the wire I just wrapped around the can to the other side of the wire strap, and folded it over. You can clip it off as shown in the pic above, or wrap it around, it probably won't matter, I just left the one end a little long and wrapped it away rather than snipping it away as above...
That's it, hopefully it'll work, hopefully it'll become stable enough for me to fly it instead of spending several minutes fighting it until the battery is dead.