020 Syncro Angle Drive
This is a copy + paste from a larger page of a rebuild
I did. I added some spec info to this page in the text, but for the
complete page click HERE, and give it time to
load, there are a lot of pics. The rebuild of the actual trans
wasn't any different than any other 020 box, so it isn't covered again
here, just this angle drive portion is.
This is only partial info, I simply do not have the tools to properly do
or show the gear lash being set and or adjusted. The procedure is quite
involved for the lash, so I'm not covering it here in any detail.
This page isn't as detailed as I'd have liked it to be, but taking pics
while doing work is tricky, and trying to think about what pics you want
while working can be a PITA too, so it shows some things, but it isn't
super detailed. It is more detailed than the other syncro trans rebuild
pages, since I wasn't able to locate ANY info on the web about them, or
even showing one taken apart, so until someone comes up with a better
one, this will have to make do!
Brian
Mounted up on the rotisserie stand. The one drain plug on bottom has a magnet on it.
There is some metal deposited onto the magnet, but no chunks, and it looks pretty typical for a gearbox magnet to have that kind of sludge on it...
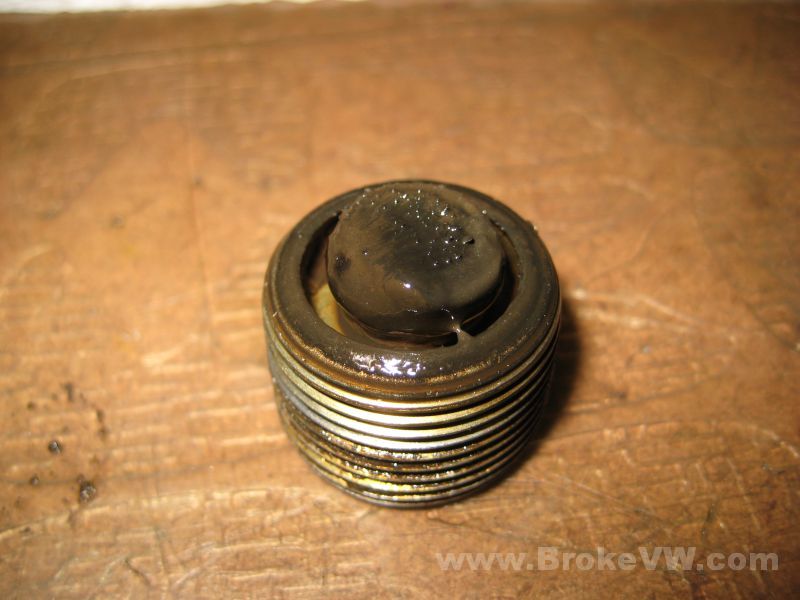
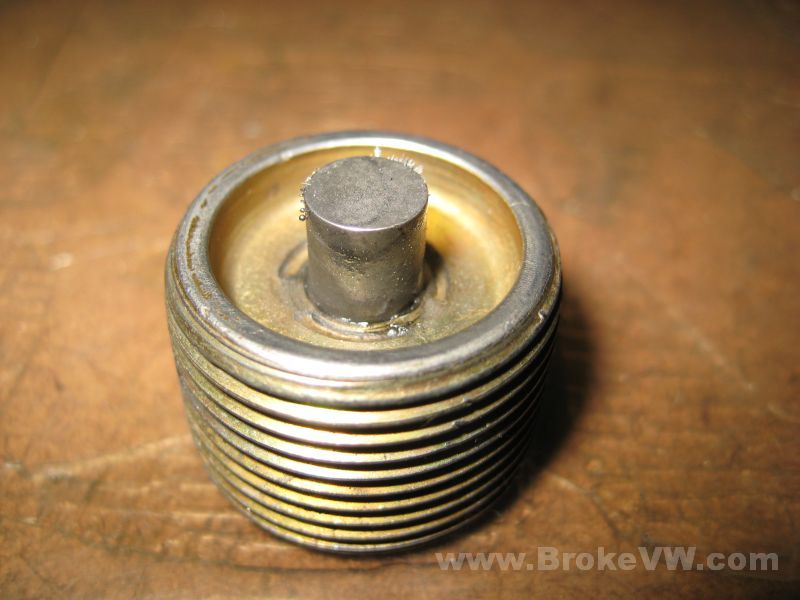
Cleaned of the oily sludge, leaving just a few bits of metal stuck on (I just wiped it off, the air line will clean it 100% later)...
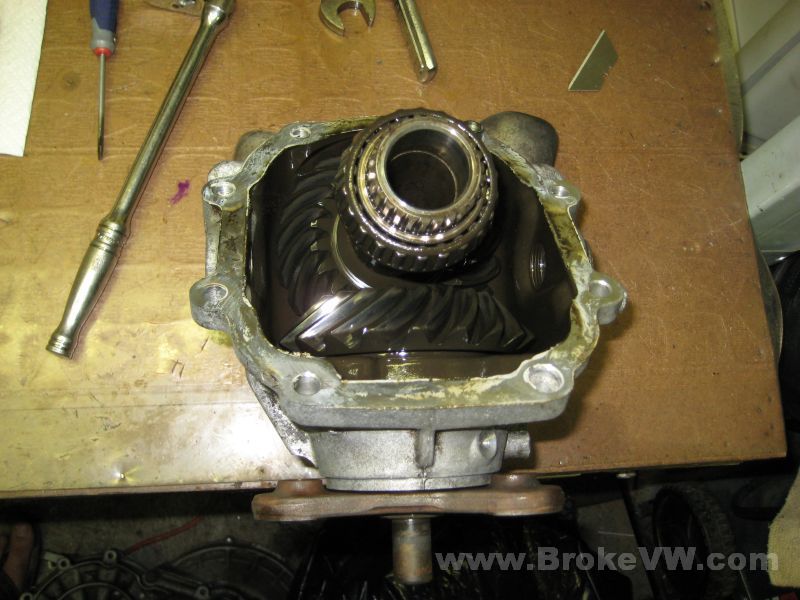
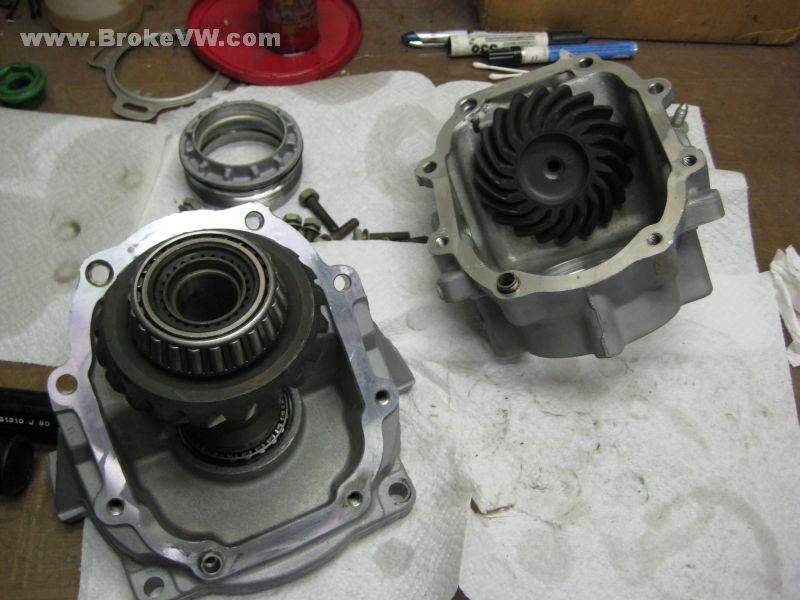
Cracking the transfer case open. Eight 13mm bolts secure the casing together, 4 on one side, 4 on the other....
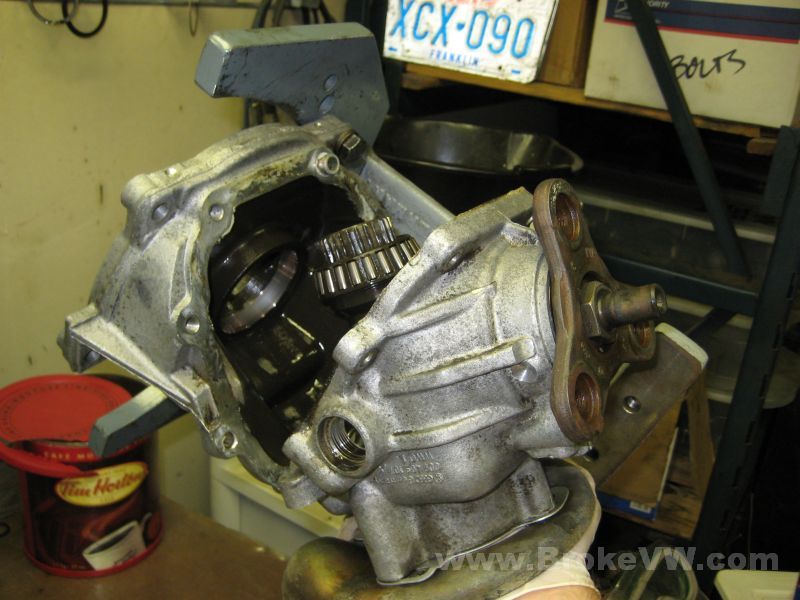
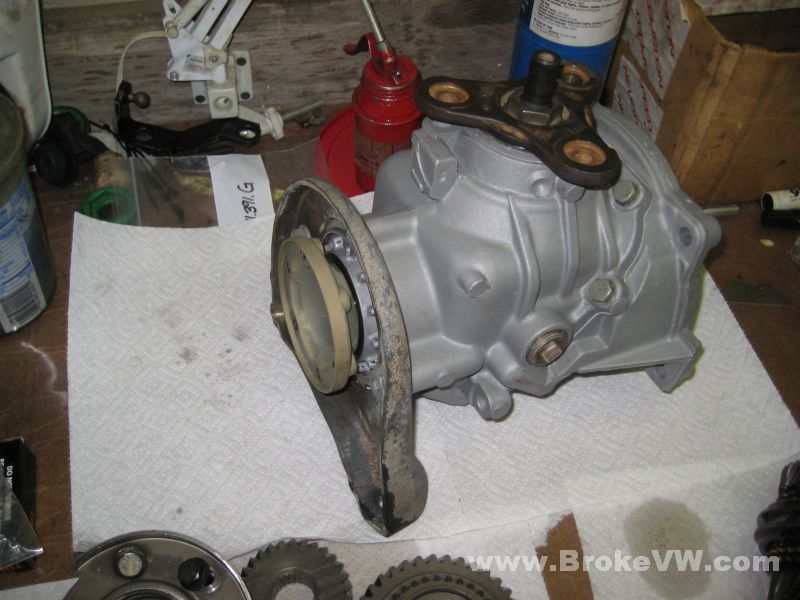
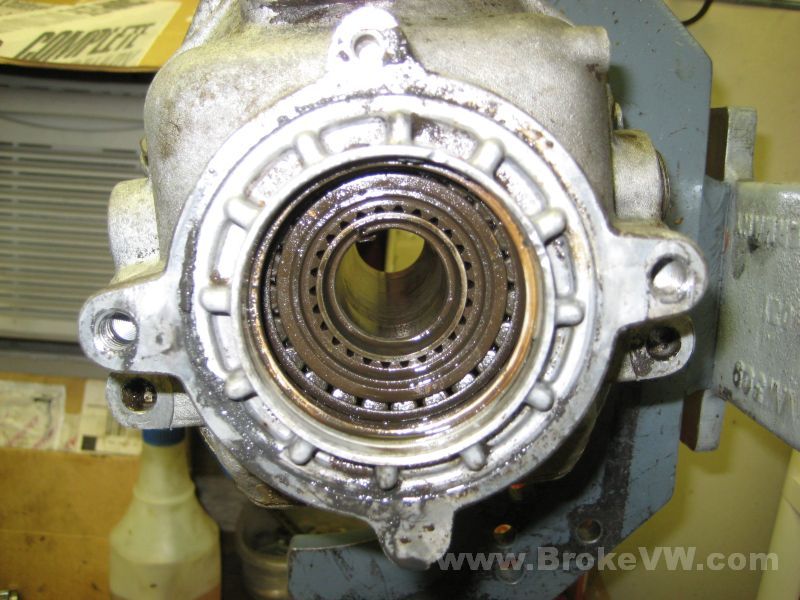
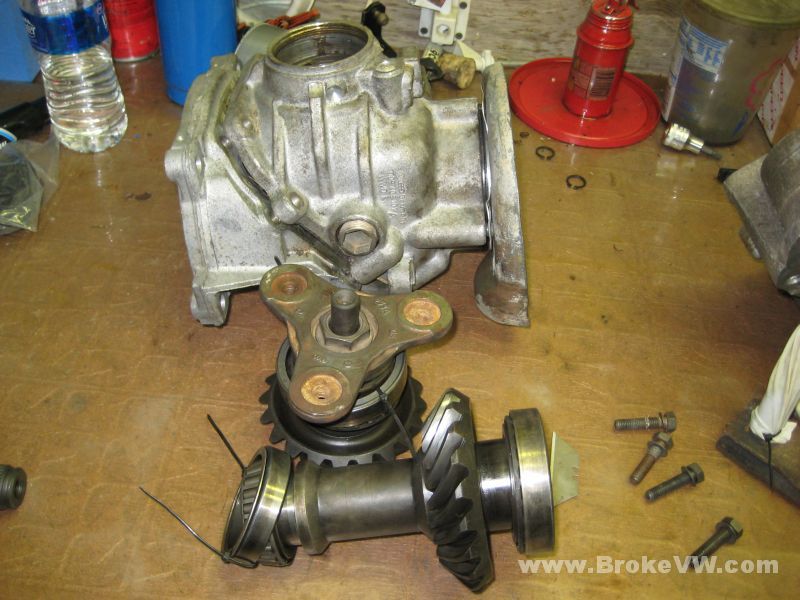
To get the gears out of the casing, you need to remove the tri-flange as shown a few pics below, and you need to un-screw the big ring nut that holds the bearing race. This will allow the big hollow shaft with the gear on it to drop down, and you can then tilt the shaft enough to lift it out of the casing. Once it is out of the way, you can then remove the big gear that the tri-flange bolts to. I have a pic of a tool I used for the ring nut. It is the VW support bar tool but it worked on the ring nut.
The 2 big gears that make up the transfer case...
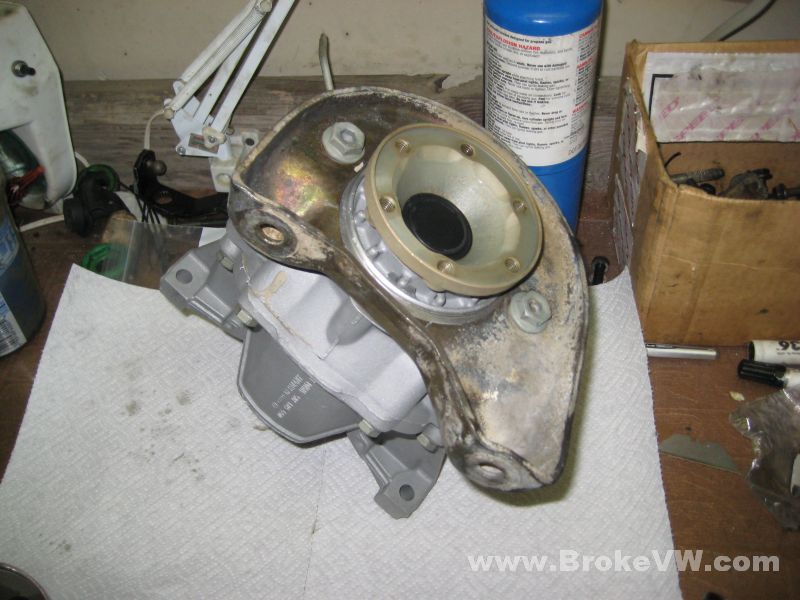
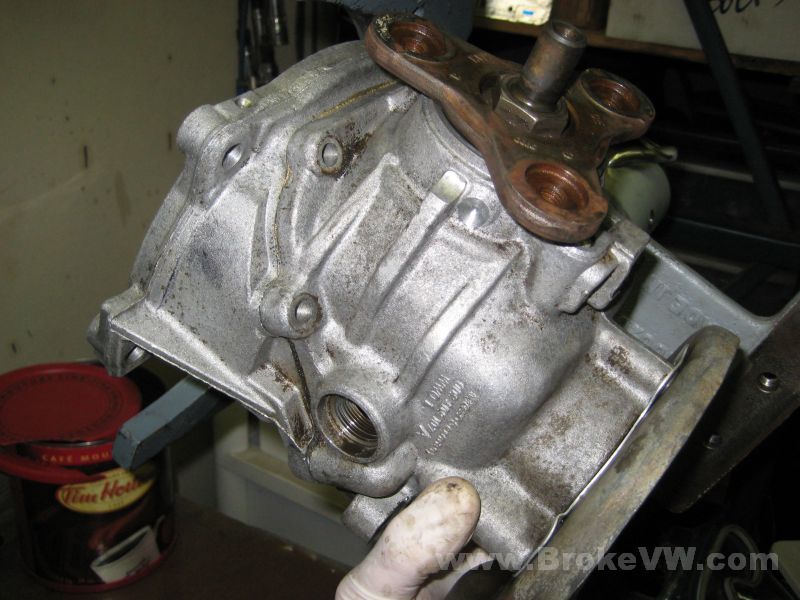
These pics show the end the right front flange attaches to...
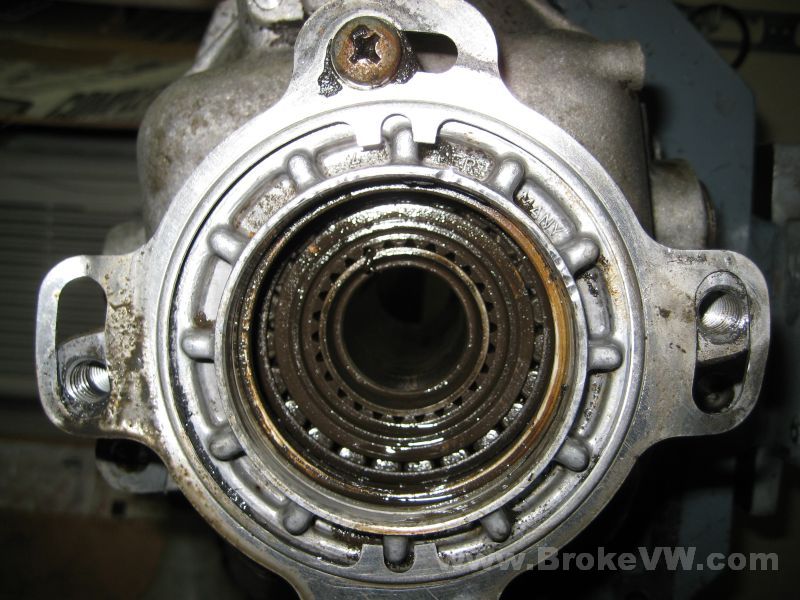
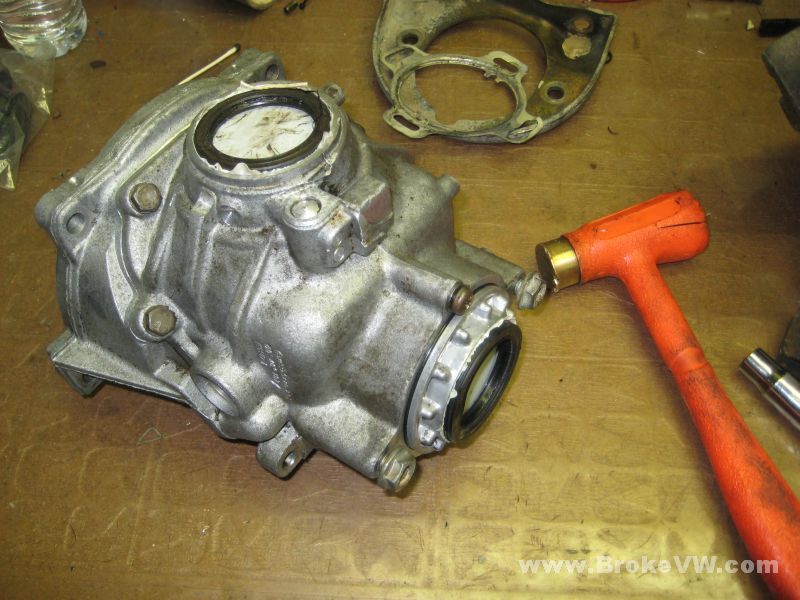
Removing the big nut to allow the rear prop shaft flange to be removed, it lifted right off the splines once the nut was removed...
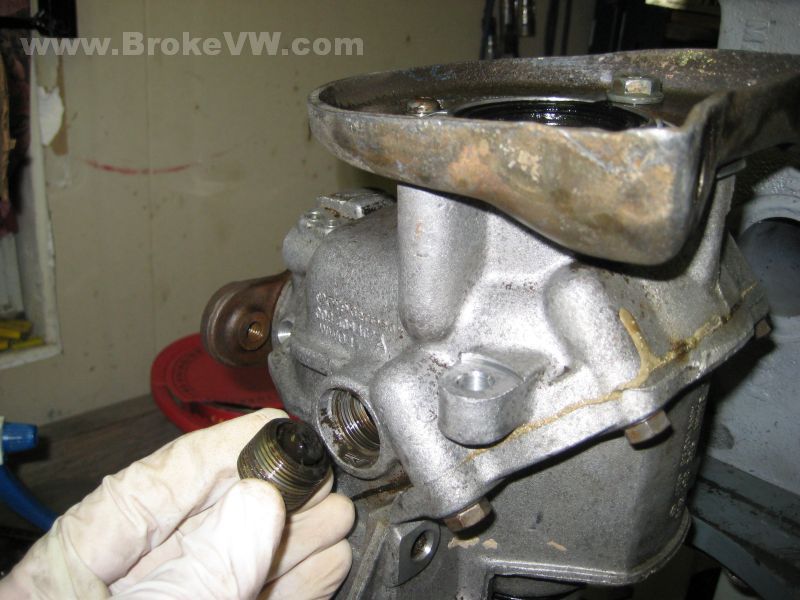
This seal isn't a standard 020 seal, and what's more, it doesn't appear to have any markings on it, giving the size, but I'll have a closer look later...
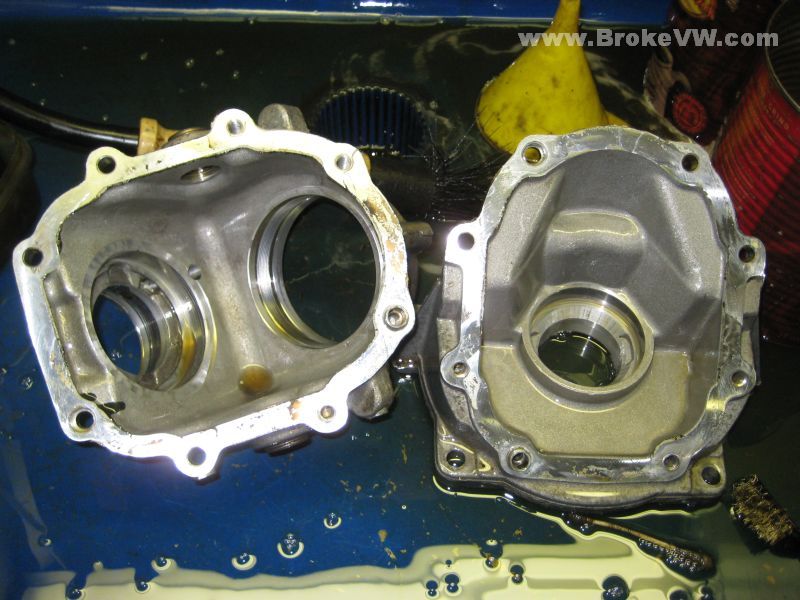
I need to clean the inside of the angle drive case before blasting, so it gets stripped and the gears and case get cleaned...
Before....
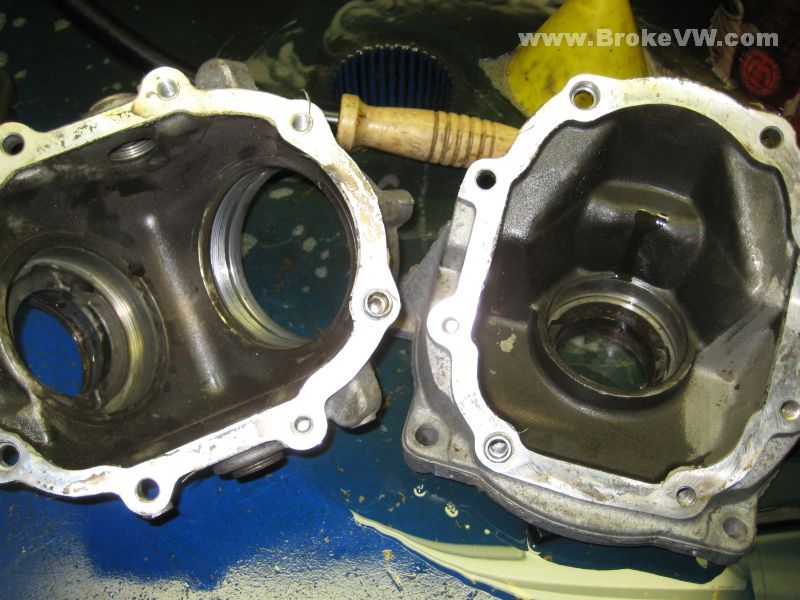
After...
Sealed up again with latex covering the openings...
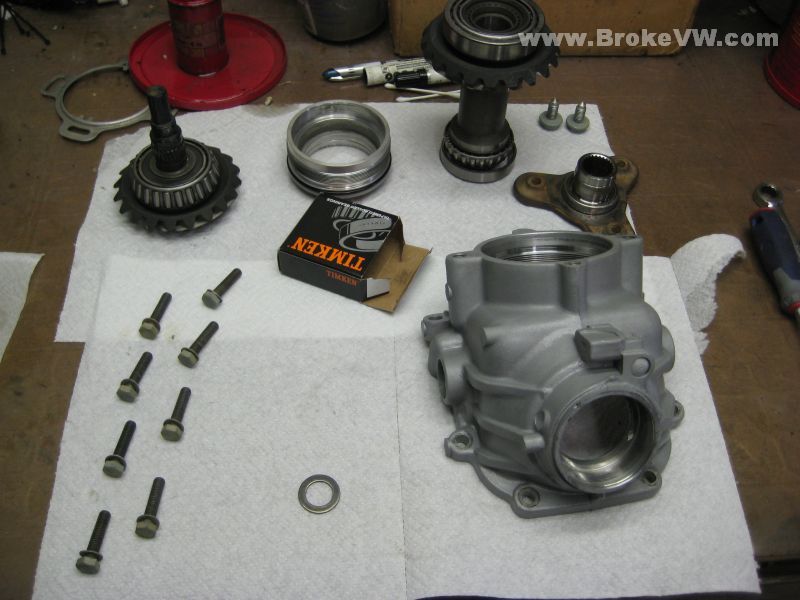
A pic of the internal parts clean, dry, and ready for cryo. They're assembled roughly how they go in the trans...

The parts ready to be assembled, I already have heated and pressed the taper bearings onto the shafts. This is pretty basic stuff here, you knock or drive the old races and bearings off, and install new. If it is a bearing being fit to a shaft, you heat the bearing. If it is a race being pressed into a bore, you just press it in, no heating...
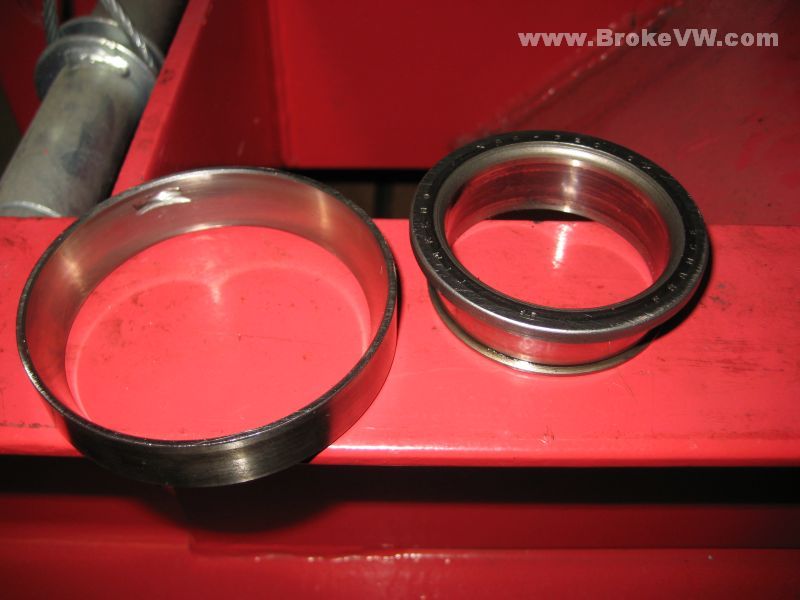
A pic of the "tools" I used to install the new bearings... you can't ask for a better fit than the old bearing! You can also see where I used a dremel to notch the inside of the old race so I could use a drift to knock it out of the case. It worked very well, and they lifted right out...
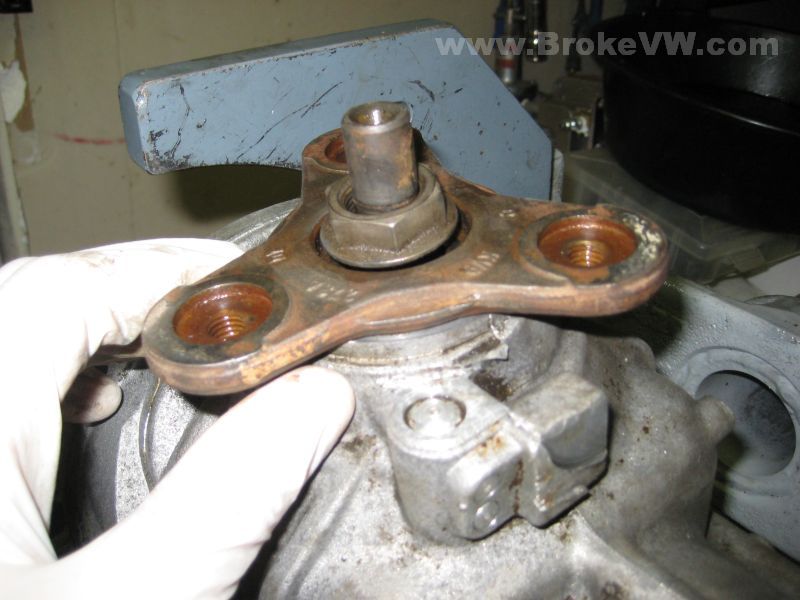
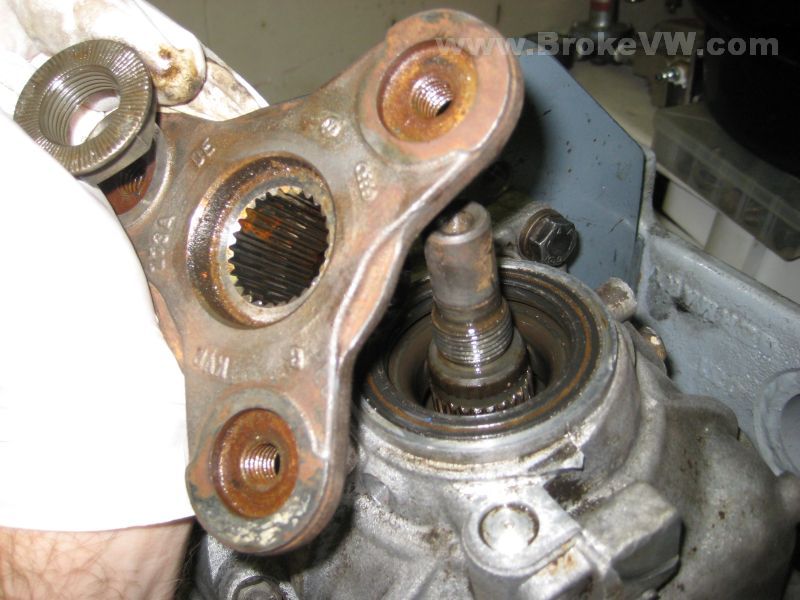
The preload procedure for the tri-flange shaft and gear is to assemble just that gear in the half of the angle drive casing, and you tighten the nut as shown a couple pics down. This will pull that threaded shaft and gear into the tapered bearing, causing some preload as the bearing is pulled tight. You can adjust this by using shims under the tri-flange itself. There are shims available from VW, and this will determine how much force gets applied to the bearing, and as a result will adjust the preload once you tighten the nut to torque. The nut gets tightened to 260 ft-lbs, so it is pretty tight! There is also another shim used, you measure the length of the tri-flange itself, then use some formulation and math to determine which shim to use, but this one will locate the entire assembly in the casing. It will alter the actual gear lash, since it will move the gear in and out of the casing a small bit.
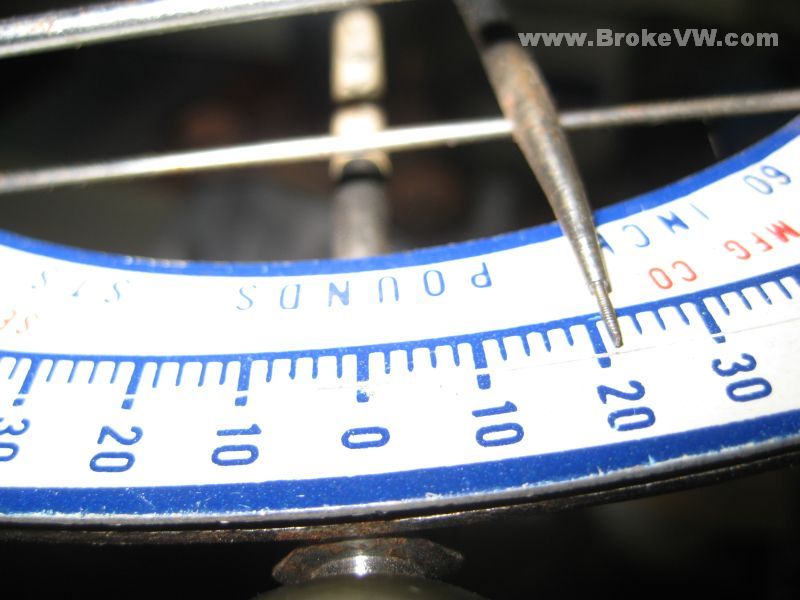
A pic of the preload for the tri-flange, spec is 18-22 in-lbs, and your preload is about 20.5-21 in-lbs, I'm happy with that...
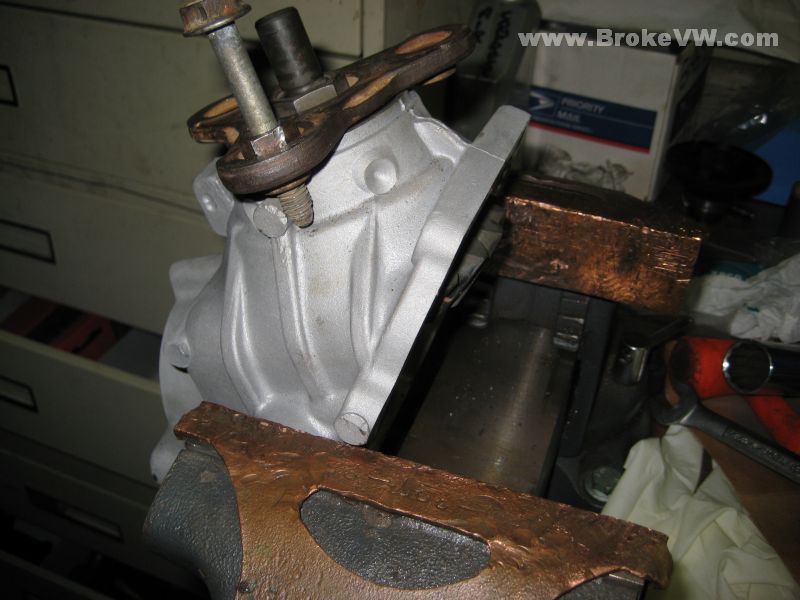
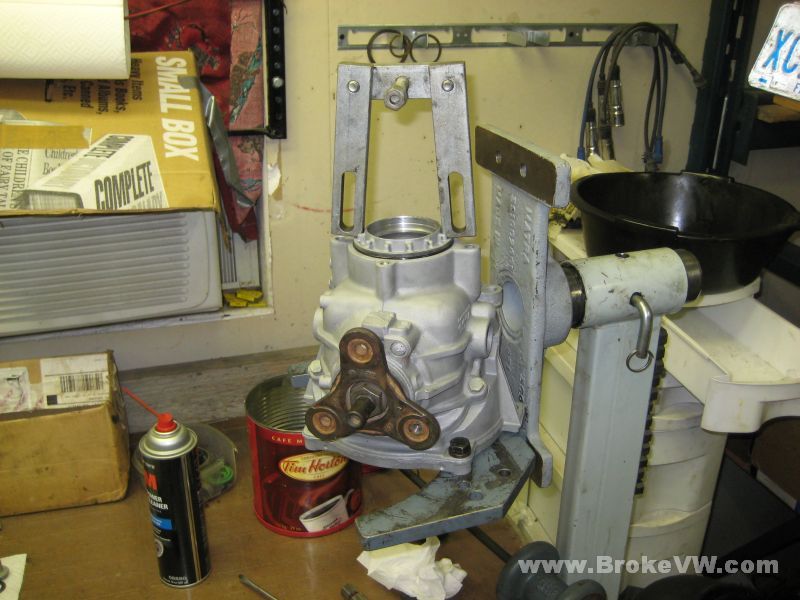
The VW procedure calls for the unit half to be mounted in a vise as shown, and the tri-flange is to be locked with a bolt and nut, the bolt extends past the flange and is stopped by that chunk of casing. I was nervous about THAT failing, but that's how they show it done. For the rebuild, you basically put the single large gear and tri-flange shaft in the one half of the casing, bolt the flange on to 260 ft-lbs, and measure the turning torque. You want the spec outlined above.
The press work for both shafts completed...
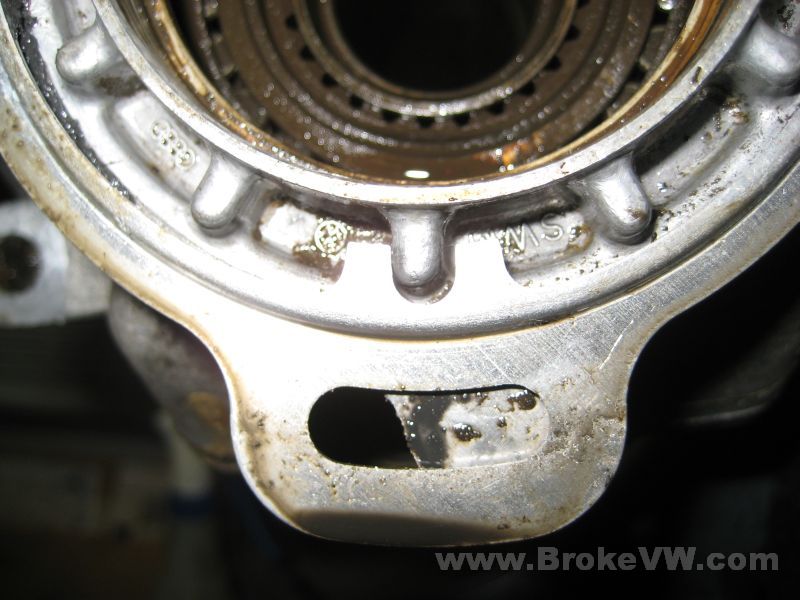
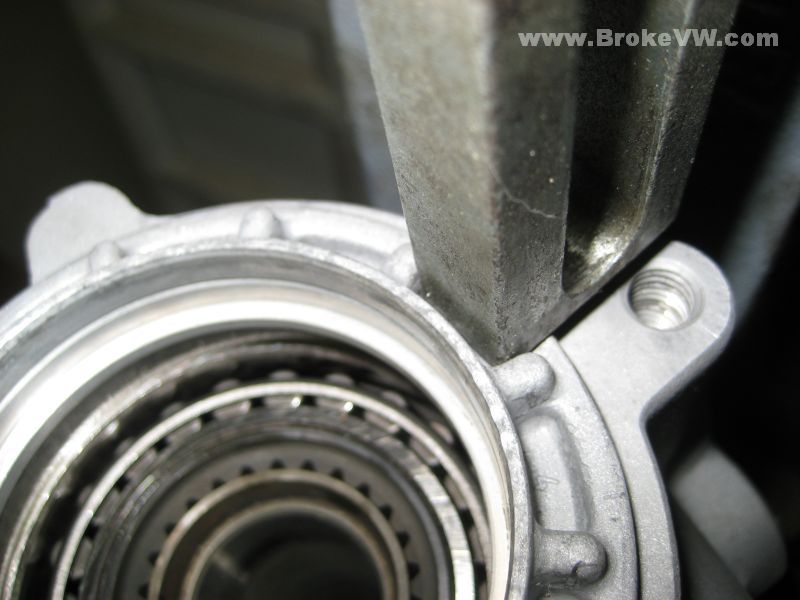
The special tool I "made"... it is the support bar under the 020
when the case halves are pressed together. The bar supports the input shaft. I
found it was the perfect width to fit between the tabs on the ring nut, and I
used it to adjust the preload on the other shaft. That went perfectly as well, I
started at 20 in-lbs (the setting from before), then tightened the ring nut,
until it raised the preload to 40 in-lbs, meaning I added 20 more, and I only
changed the one shaft via the ring nut, so I know I have 20 on each one, perfect
spec.
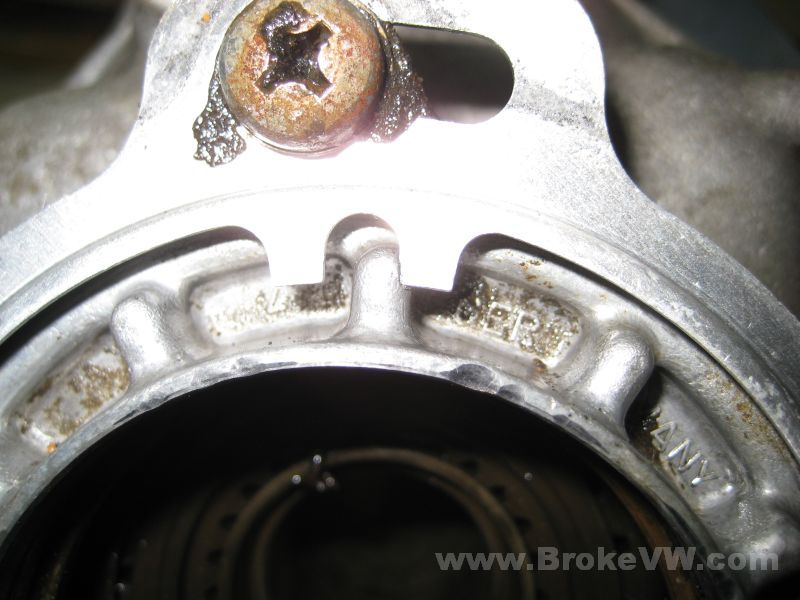
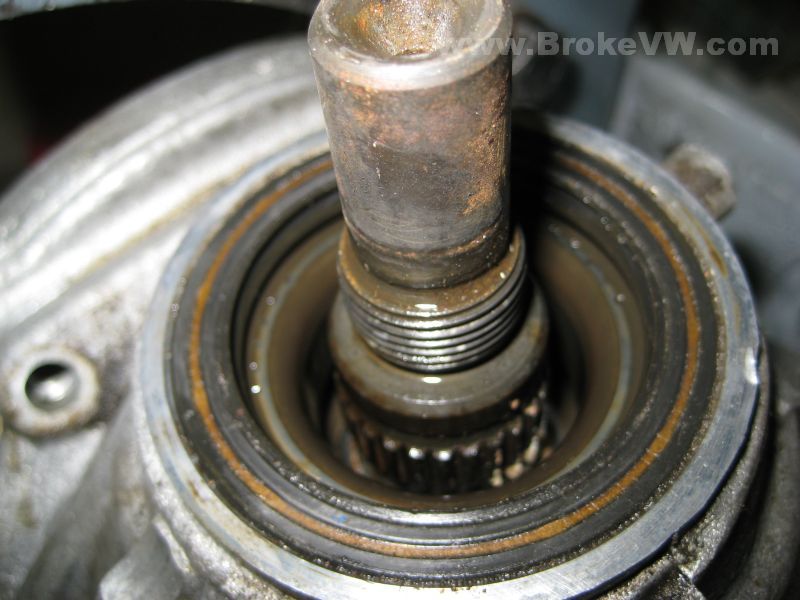
As you tighten the ring nut, it drives the taper bearing race tighter into the
shaft, increasing preload.
For those looking for the specs for setting gear lash and so forth, that is done with the set of shims under the bearing race at the other end of the long shaft in the angle drive. Both ends have taper bearings... one end is the ring nut, so it moves, the other end is set with shims. This is where the lash is adjusted. You move the entire long shaft back and forth in the angle drive case, and set it with the shims. Then the preload is created as you mash the ring nut bearing race onto the shaft.
You set the tri-flange preload first, by itself... using the shims and so on (which not only determine the bearing preload, but also the location of the assembly, so the lash as well), then you know it is 20 in-lbs to spin, so you go about setting the preload on the other shaft with the angle drive assembled.... with the ring nut just loose or just contacting the long shaft bearing, the preload when you spin the tri-flange is still 20... nothing added. Tighten the ring nut, and the long shaft gets harder to turn... and you see this as an increase up from 20 on the turning torque of the tri-flange, as it spins everything in the angle drive.
Crank the ring nut tighter, and you keep adding. When you get to 40 total, you know you have 20 on the first tri-flange shaft by itself, and then 20 more on the long shaft, and you're done.
I'd go into detail on the lash setting, but frankly, I didn't do it on this box, it didn't seem to need it, and I don't have the $3500-$5000 in VW tools needed just for the lash procedure! You can do it without the special tools, but my luck is poor, so I try to use the special tools when I can :)
Update 10/22/08
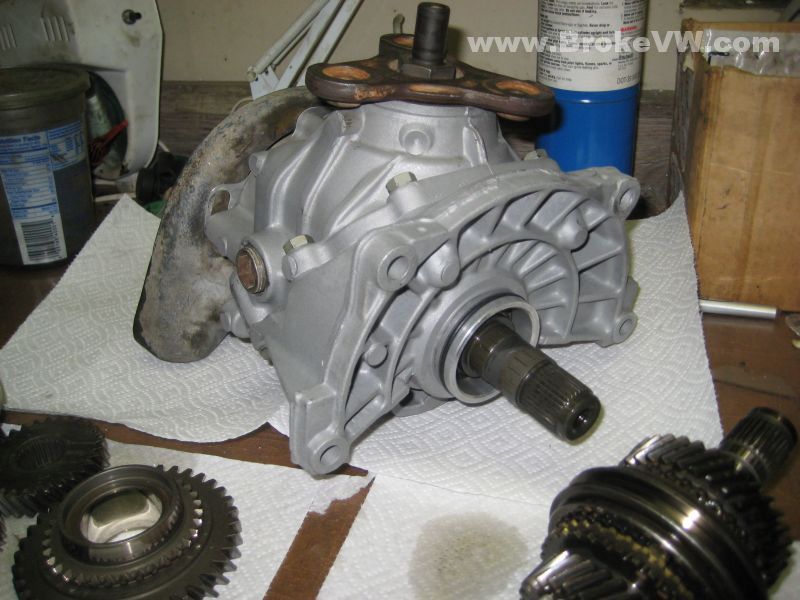
OK, pics of the completed angle drive...