Teardown Page 2
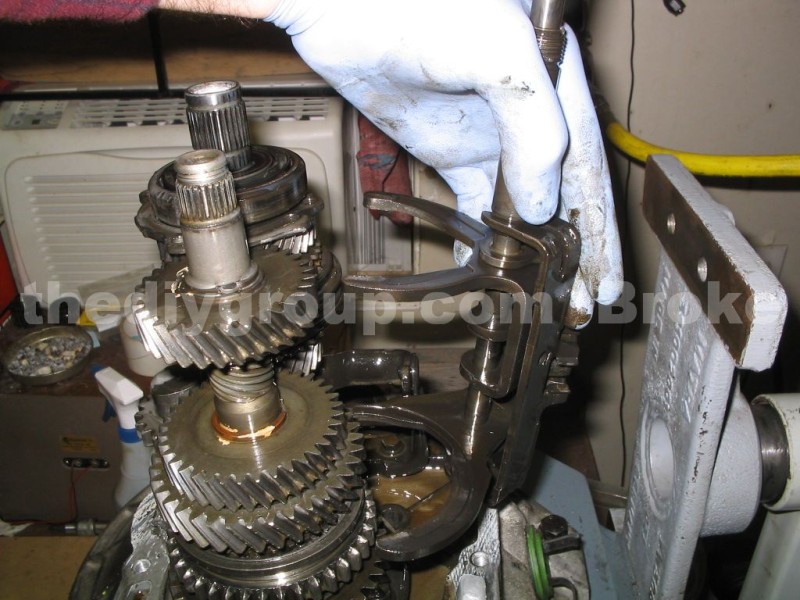
OK, the shafts are ready to be removed, start by lifting the shift forks and rod out of the box, wiggle the rod up a bit, to allow the bottom of the forks to swing away from the gear stacks, and lift the entire assembly out...
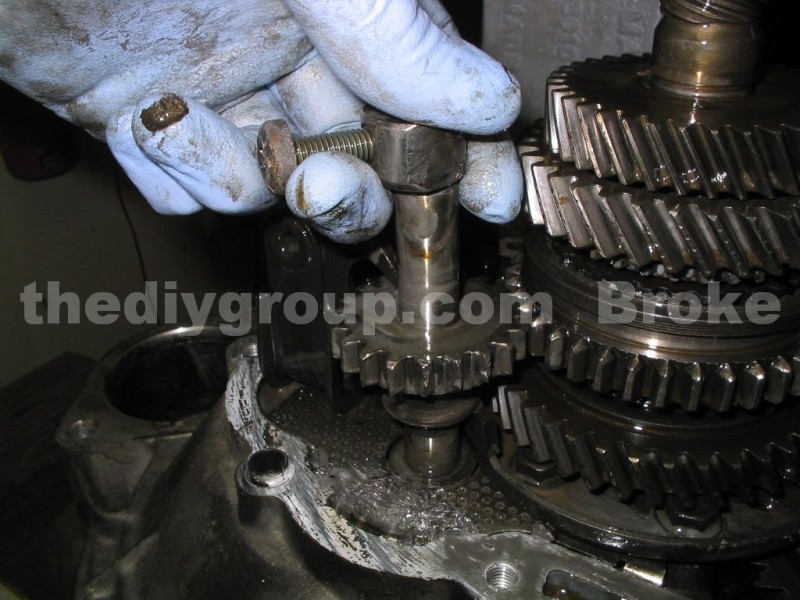
Now, the input shaft can't be lifted out until the 4th gear is removed the the output shaft. Use a pair of decent circlip pliers to remove the circlip that secures 4th gear to the output shaft...
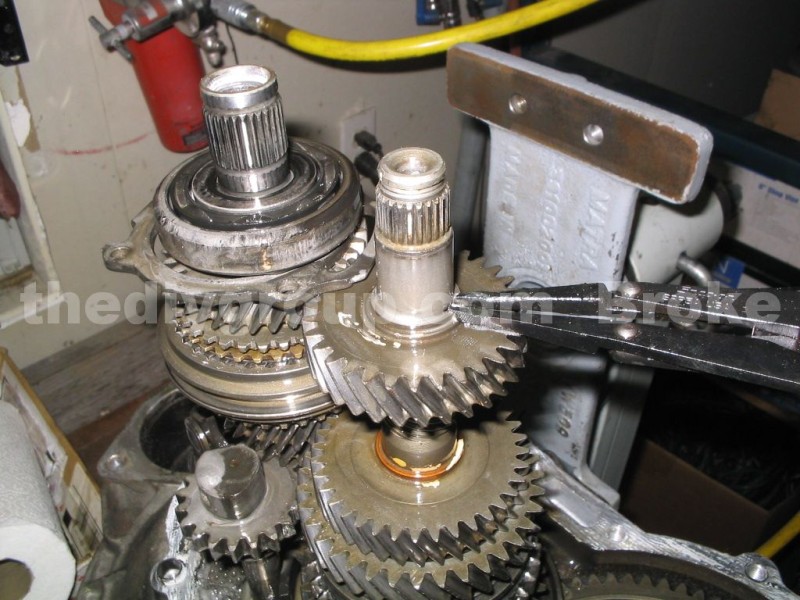
Here you can see when the 4th gear is removed, the input shaft can be lifted out as a complete assembly. You have to lift the input shaft and 4th from the output shaft at the same time, this pic is only because I needed one hand for the camera....
On 16V and 2.0L trans (up to date code 01067) the 4th gear will have an additional circlip under it. This DFQ is an August '97 trans, so they have stopped using the larger 4th gear wheel, and it is like the MK2 8V trans.
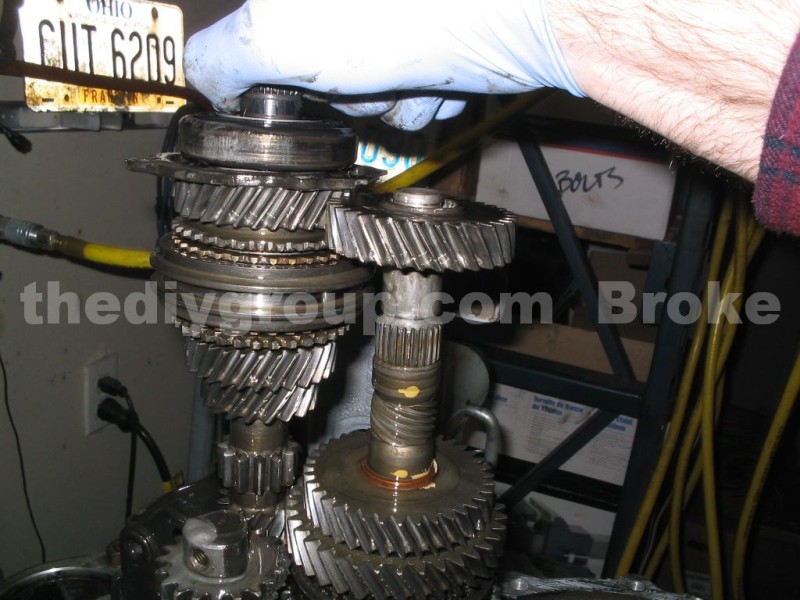
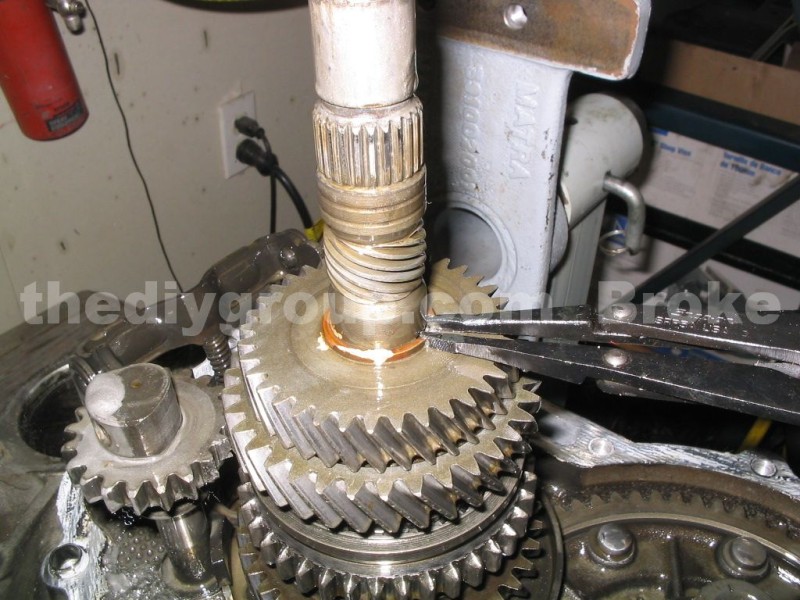
Remove the circlip that secures 3rd gear...
Pull out the reverse idler gear and shaft, the bolt can be used to help removal. Twisting it as you pull up can help it come loose...
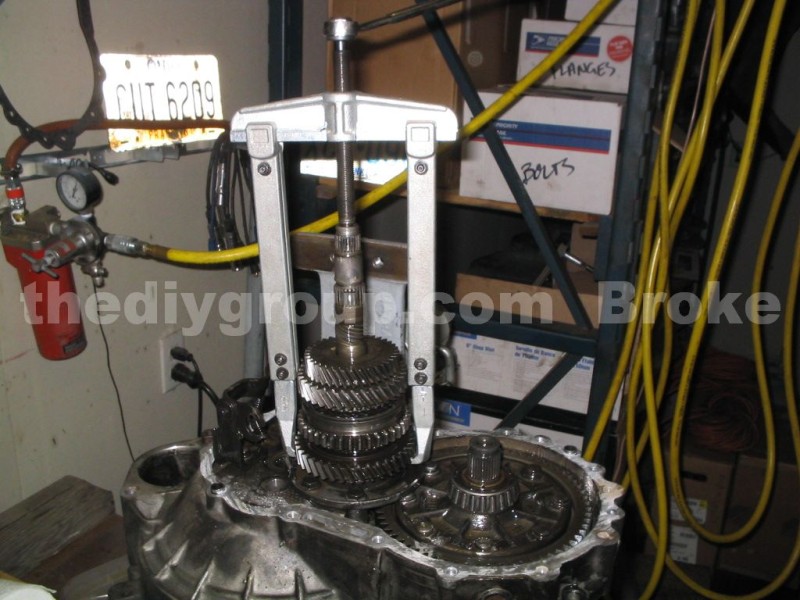
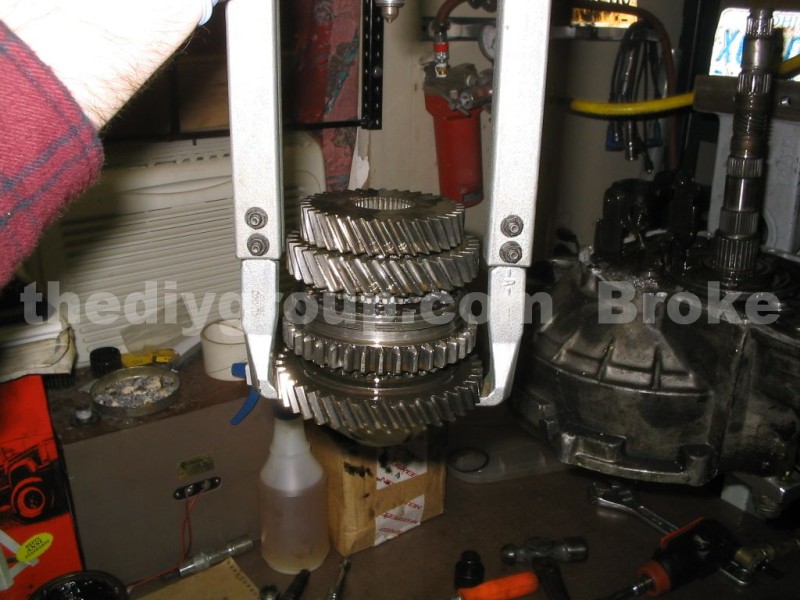
Use a puller with 250mm arms to reach down and grab the 1st gear. You will pull 1st gear, the 1st/2nd sync hub and collar, 2nd gear, 2nd gear needle bearing race, and 3rd gear off in one go.
The hooks will fit into a small cut on the output shaft bearing clamping plate to get under 1st gear...
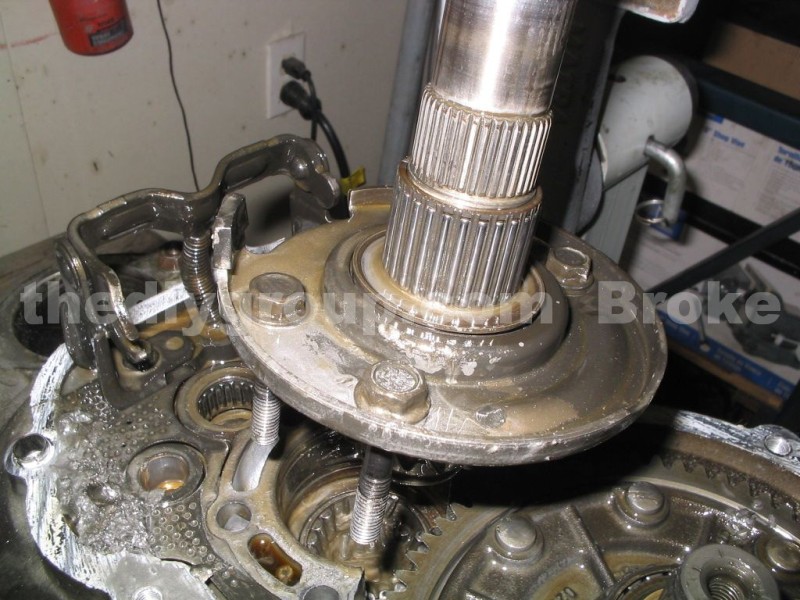
You are now left with the bare output shaft, and the 13mm bolts that hold the clamping plate on can be removed and the output shaft and both bearings can be lifted out...
Bearing rollers ideally will be in the bearing, this is a bad sign :)...

The shafts are out, now the diff can be lifted free and the shafts stripped bare.